Merritt's Yale Pin Cast
Background
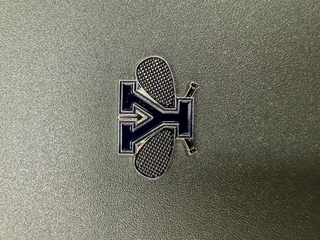
Have you ever had something small and previous that you did not want to lose? Well that was just me! Having received this Yale Squash pin from our team training trip to Ireland this winter, I was petrified to wear it. What was the solution to this problem? Cast it! I decided I wanted to try to replicate my pin with cast party design project. I planned to glue a magnet to the back of my cast and maybe be able to wear it.
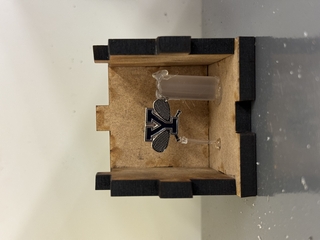
To begin this process of casting I recut a press fit box that I made in CAD in one of the first classes. Then after learning about sprues and vents through class lectures I felt confident to place my pin inside my box. I decided to attach a sprue to the right side of the pin and then a vent to the bottom left handle of one of the rackets. The sprue was made out of hot glue and the vent was PLA 3d printer filament. To attach both of these I used hot glue. This setup proved to be very flimsy as when I poured in the rubber and let it rest for a day the pin fell over inside the mold. To solve this problem I decided to glue the sprue directly to the back of the pin and have the pin face upwards. I did not use a vent this time which I new would lead to a less pure cast, but this guaranteed security.

One of the difficulties with this choice of sprue placement and attachment meant that I would be choosing to make an open face. I had to precisely cut little by little off of the back of the mold until I reached the pin. I used an exacto knife and chip little by little away. I was very careful to not cut too much since my pin is very thin and this would wreck the mold.
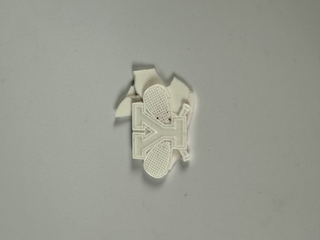
The first material we casted was polyurethane. I choose to cast white at first. As is shown it was very difficult to poor the proper amount of material. If I poured extra as i did the first time it flowed over the sides of the mold and made a large back to the cast. I tried again to make a better pour and still failed to be accurate enough. On my third try I was successful and poured the right amount of urethane. This picture is shown below.
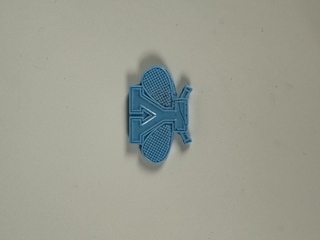
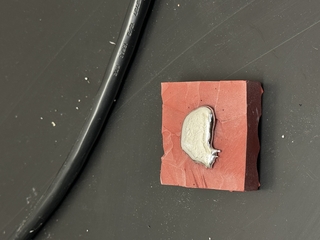
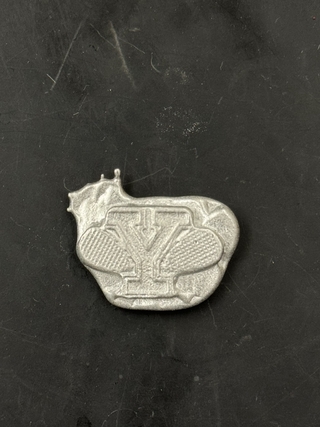
The last part of the project was casting pewter. Before casting we examined many pewter objects and learned about many ways of casting pewter. Pewter was also quite difficult to pour which resulted in over pouring again. At first I thought this was alright because I could use post processes to either sand of mill down the back. When attempting to belt sand the back of my pin I ended up loosing the cast to the machine. I am still very happy with the quality of the mold and the imprint it put on the pewter. I think this project was a great insight into how many plastic and pewter products are created.
