Skills Learned
- Waterjet Cutting
- Jensen Linkages
- Teamwork
- Assembly
- Shaft Configurations
- Pulleys
The goal of this project was to understand Jensen linkages, learn to use the waterjet cutter, make something complicated that moves, and work together in a team. Overall, I learned a lot from this project. First, I learned about linkages. I understand 4-bar linkages now and how to use Jensen linkages. I also learned to design for and operate the waterjet cutter. And mostly, I learned how to complete a complicated engineering project from start to finish. I’m very proud of my strandbeest!
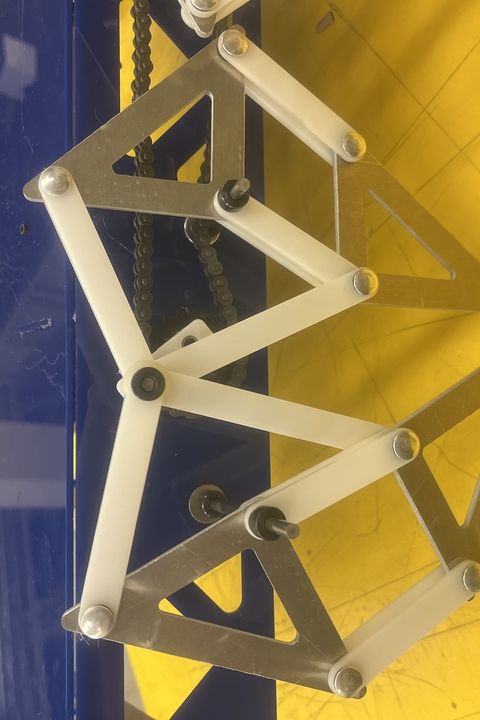
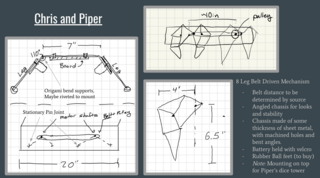
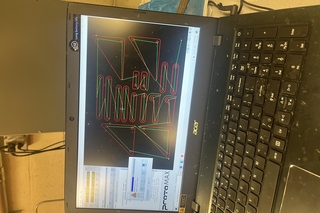
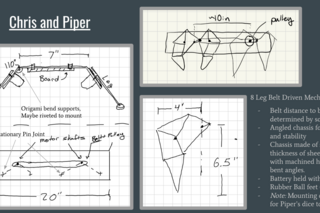
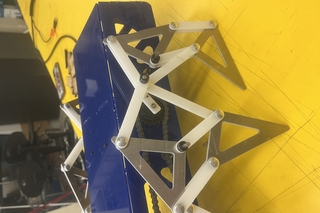
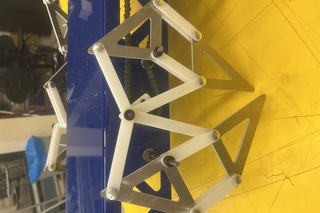
We started this design process by meeting together and brainstorming ideas. During the initial meeting, Chris and I both made lots of sketches and iterations of our design before settling on an idea we liked. We decided to make a long strandbeest with 4 leg pairs connected to two motors using pulleys and the legs flaired out at an angle. From our sketches, Chris made a SolidWorks model of the chassis which we originally planned on making out of sheet metal. We made an attempt at making it out of sheet metal. We cut a piece to the right size, tapped holes where we needed to in order to mount the motors, shafts, pulleys, and the circuit board. Unfortunately, the metal broke when we tried to bend it. But we did not despair. We used a skill we learned earlier in the class to laser cut the chassis instead. Chris converted the SolidWorks file to have tabs instead of bends and I converted that into Illustrator and did the laser cutting. I then assembled it using hot glue to get everything to hold together. Simultaneously, we were working on our leg pairs. We used the Jensen design, and Will’s CAD to cut aluminum into our linkage pieces. Due to limited access to the waterjet cutter, we only made the triangles in the legs out of the aluminum and we made the other parts out of laser cut acrylic. But through much trial and error, I now feel very confident designing for and operating the waterjet cutter. The next step was assembly. We first assembled all four leg pairs with the correct shafts, which we cut in the machine shop. We used bolts, washer, spacers, and shaft collars to get everything together. After assembling the legs and the chassis we attached them to each other and attached the motors, pulleys, and circuit board to the chassis as well. We did lots of small tweaks and adjustments on everything while assembling, testing, reassembling, and retesting.
