CNC Machining And Flash Drives
Summary
The goals of this project were to learn CNC machining and make a flash drive case. I accomplished these separately. I used the CNC to make a Yale engineering ring, and I 3D-printed a flash drive case. Starting with the ring, in order to make it, I learned how to program a CNC to make pockets and to draw lines. I also learned how to set up and operate the machine. For the flash drive, I learned how to make engineering drawings and use a 3d printer. Both of these were very educational!
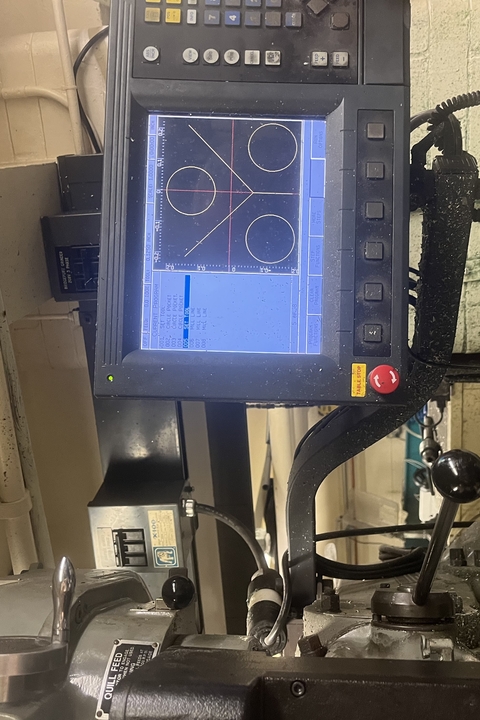
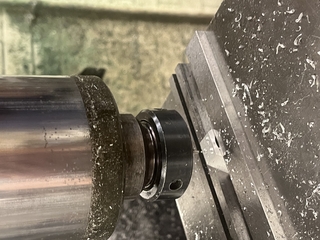
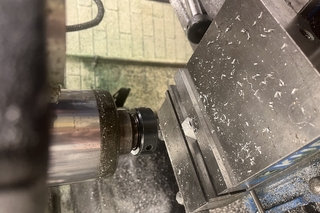
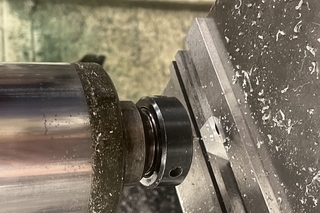
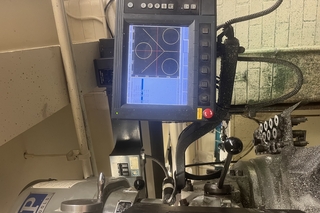
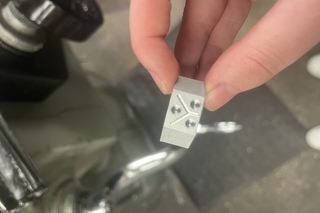
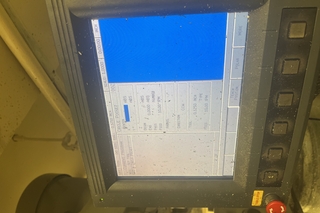
For the CNC Machining portion of this project, I made a Yale Engineering ring. The ring has three holes and three lines. The lines make a Y, and the holes will have little gears to accentuate the design. I borrowed the design from a senior and used it to learn how to use the CNC. I used his engineering drawings of the part that included the required dimensions. First, I set the part in machine, clamping it sturdily. Then I used the center tool to mark the edges of the part and set the center. I brought the center tool over to one side of the machine, set it to 0, brought it to the other side and divided that distance by 2 to find the center of the part. I did this for both the x and y directions and I set the z direction by simply bringing the tool down until it touched the top of the part. Once I had the center coordinates, I set those as my datum (0,0). I then looked at the engineering drawings which indicated how far from the center the three holes needed to be. I programmed the CNC to make those holes using the pocket function. I was able to tell it the coordinates of the center of each hole in relation to the center, the depth, and the radius. I programmed all three holes and then ran the machine. It made the holes exactly as programmed. Then I switched out the tool and programmed the lines. I again looked at the engineering drawing to get the start and endpoint of each line in relation to my center datum. This was a simple process and the CNC made the three lines perfectly. There are even more things you can program a CNC to do and I am confident in my ability to do them all.
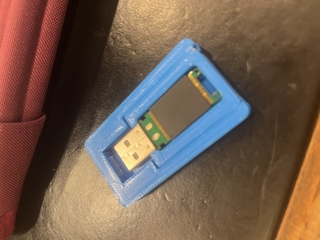
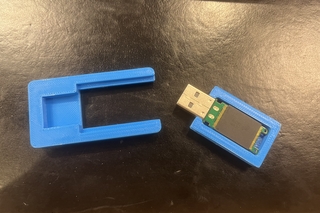
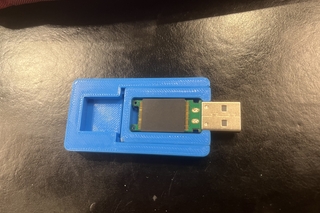
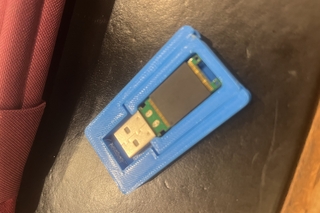
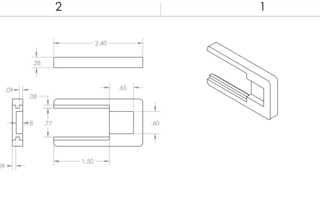
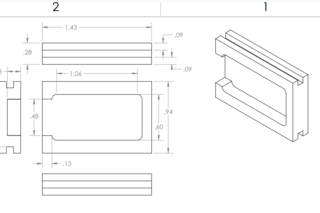
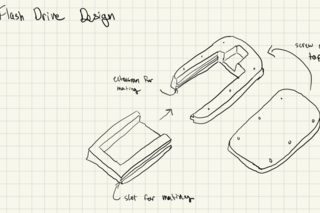
For the flash drive portion of this project, I made a flash drive case that was reversible. I started by sketching my ideas, sharing them with my classmates and teachers in the design review, and making edits. Then I modeled the part in SolidWorks and made my engineering drawing. Doing this I learned about engineering drawings. I learned about datums and how to represent what is important about your dimensions. I can now translate designs into engineering drawings and engineering drawings into machining plans. I did not end up machining my part for the flash drive. Instead, I 3d printed it. To do this I learned how to export my SolidWorks model to the slicer, how to add supports, export the gcode, and operate the 3d printer. Then I did some trimming and filing in post-processing to make everything fit together.
