Team Members
- Beecher
- Jimmy
- Boris
- Derek
Project Description
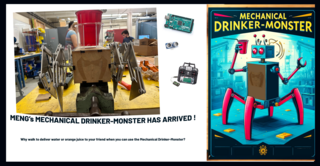
In this project, we made a “Mechanical Drinker-Monster” (or, depending on the event, the ‘Monster-Drinker) as part of the MENG287 course requirements. The monster was built to serve dual purposes: delivering drinks and facilitating a ping pong ball game.
Design and Fabrication
Concept and Functionality
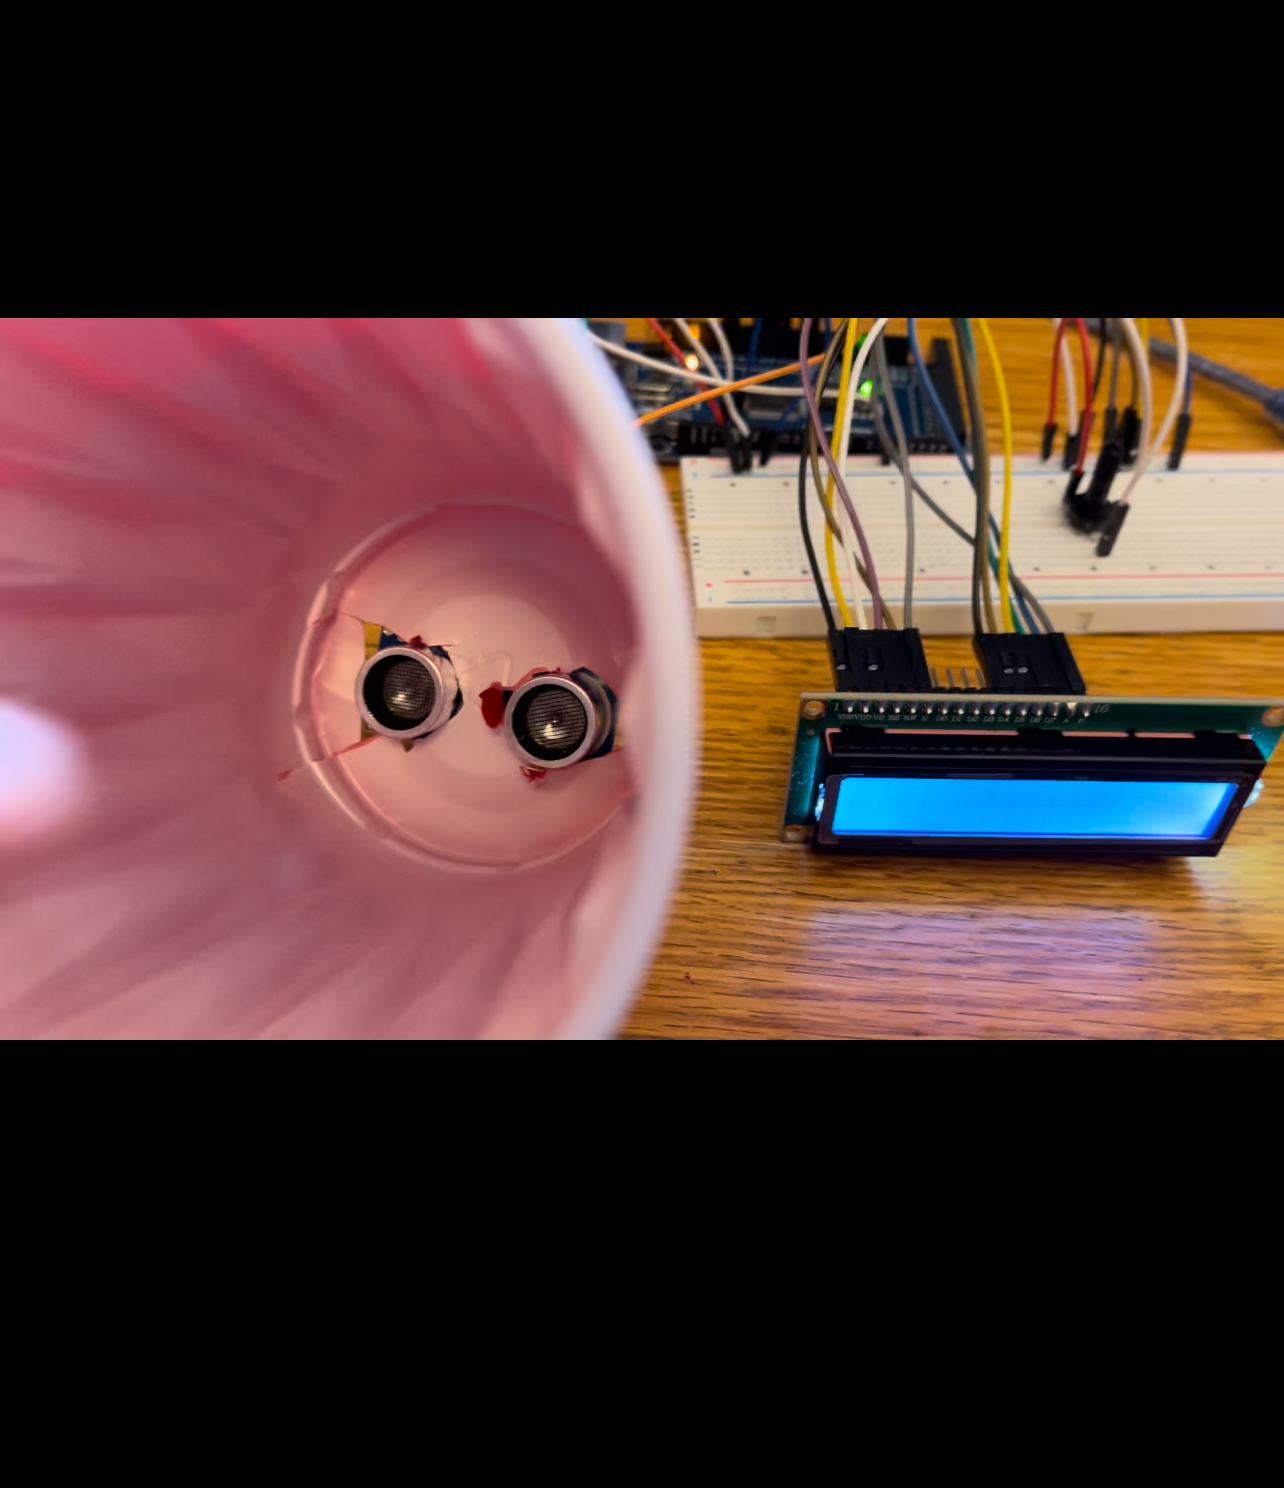
Our mechanical monster was developed with a playful and practical application in mind. It features a sturdy chassis equipped with 8-bar Jansen linkages for leg-based locomotion, adhering to the project’s no-wheel stipulation. We were given an RC controller and accompanying circuit so that we can control the motors that drive our drinker-monster. Mounted atop the monster is a red plastic cup used for delivering beverages. Additionally, the cup can be transformed into the target for a ping pong ball game by substituting the cups.
Manufacturing Processes
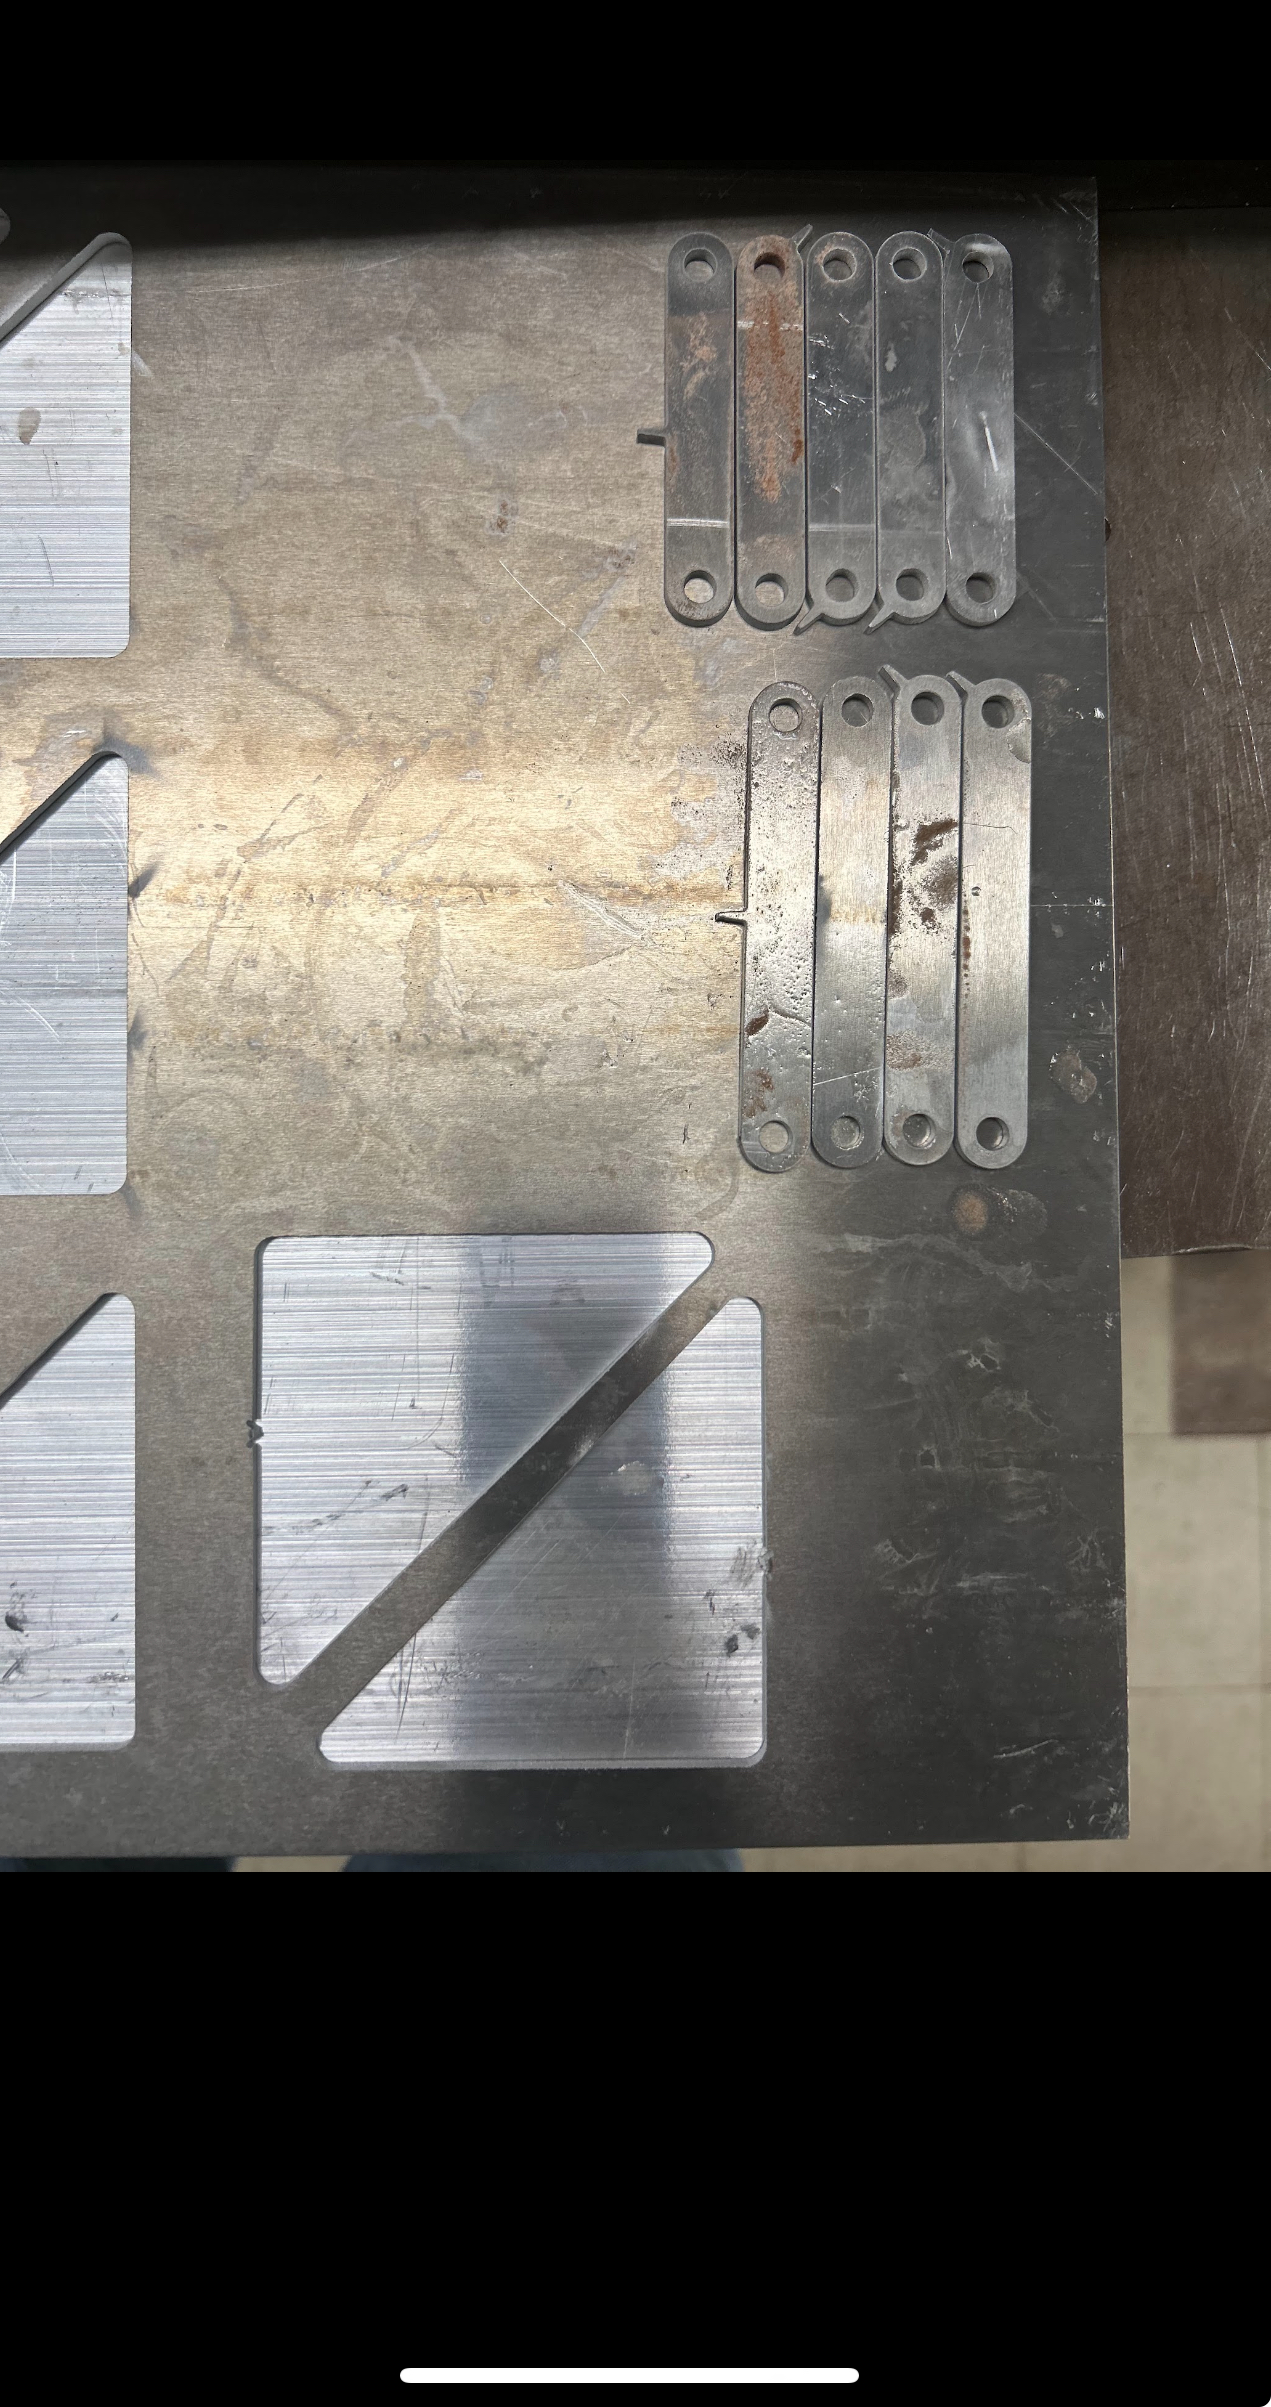
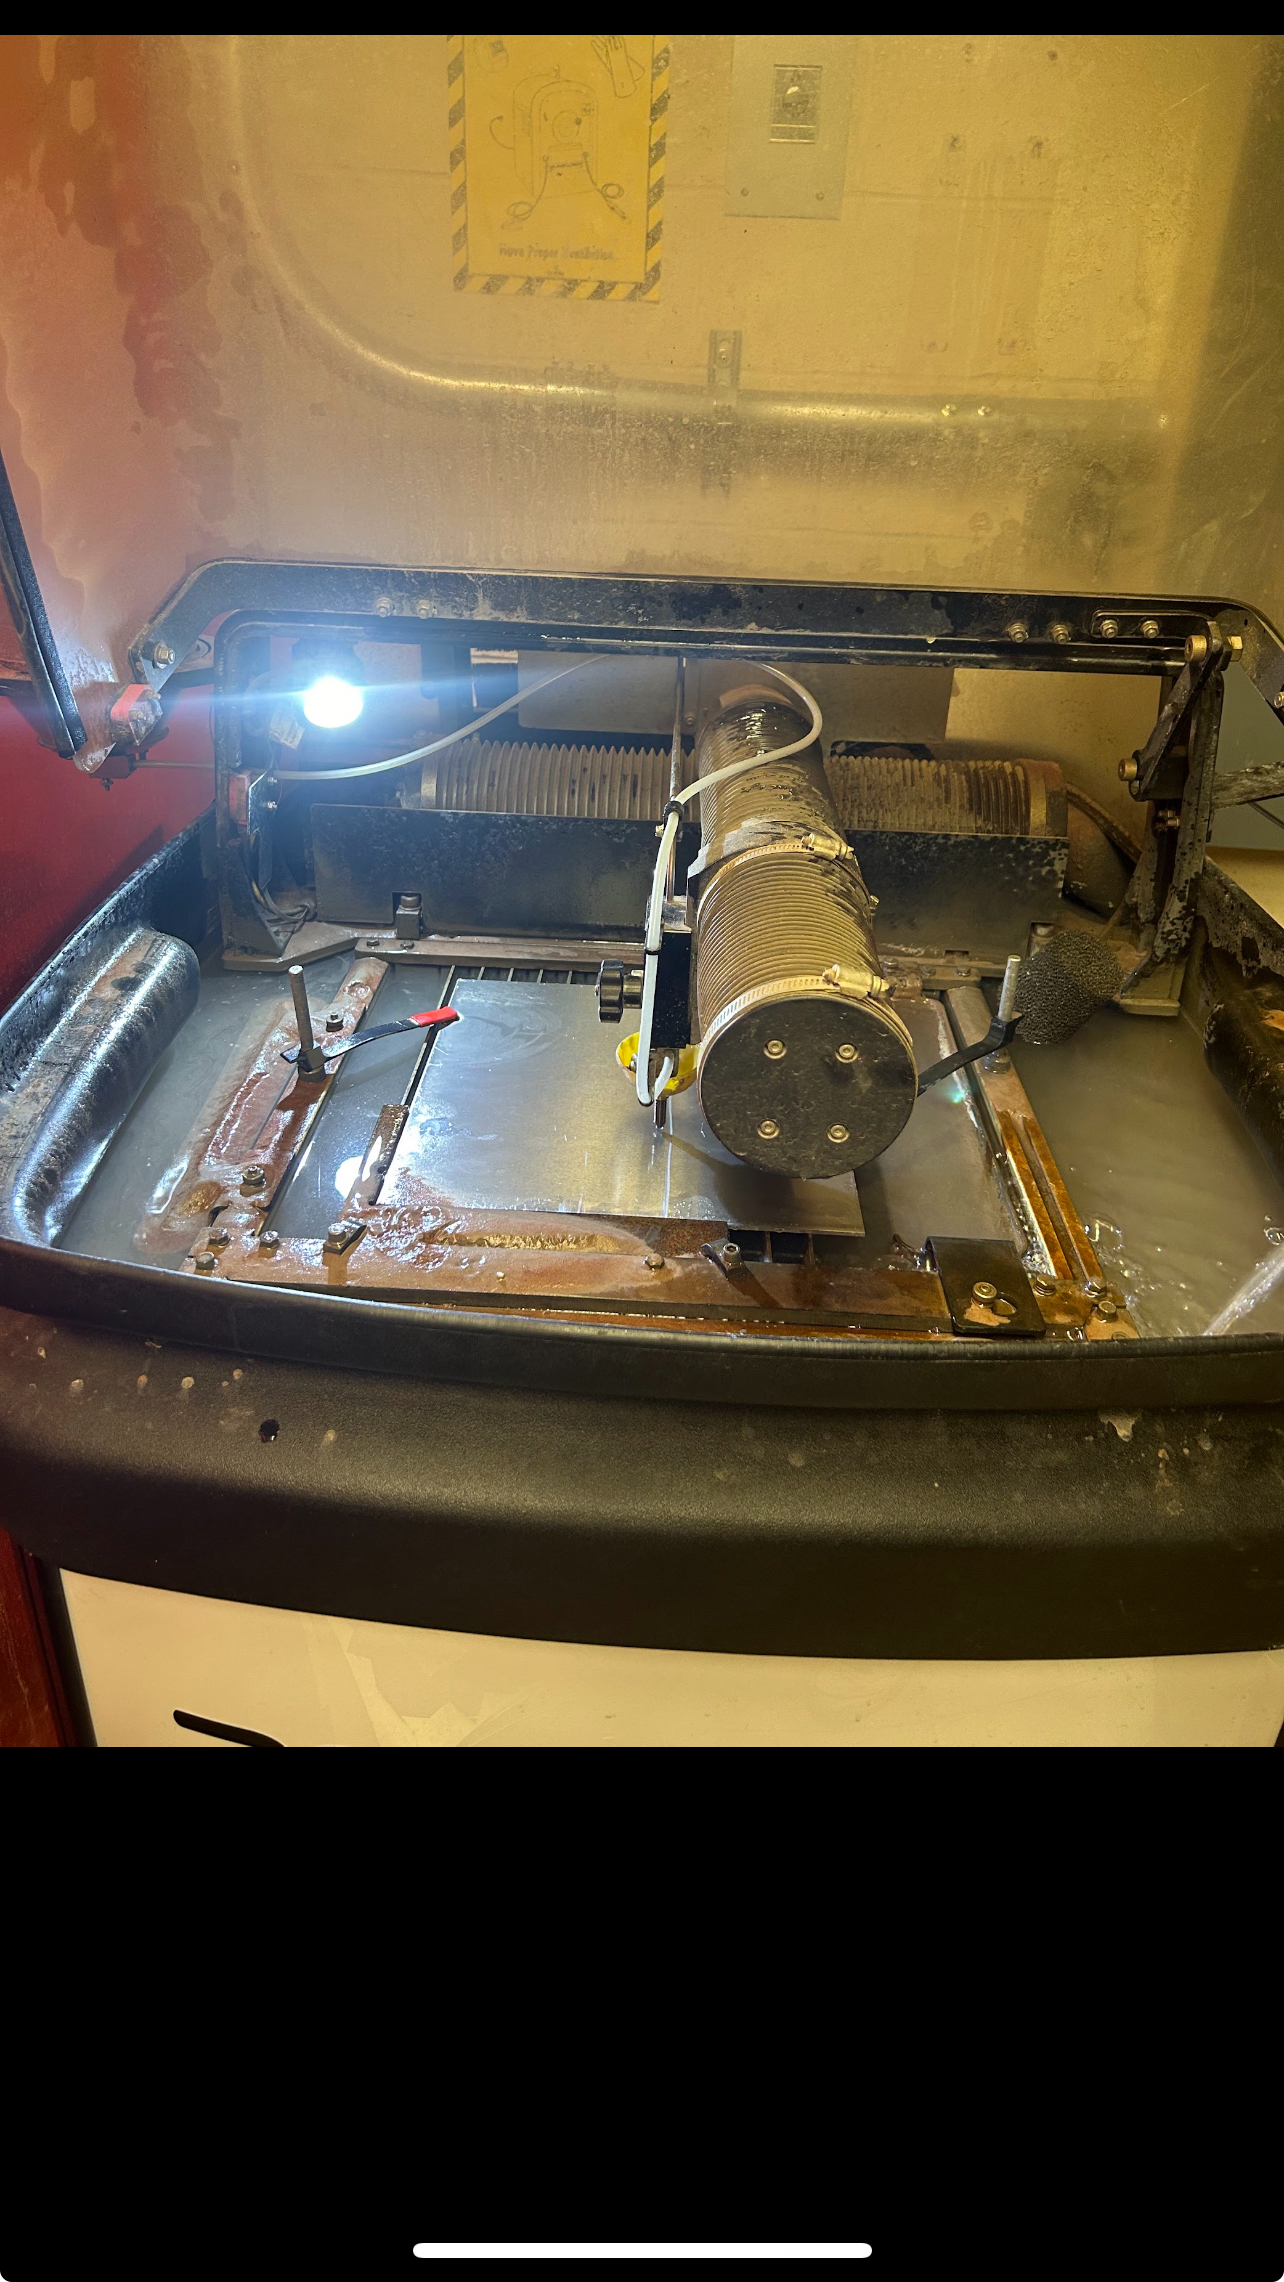
- Waterjet Cutting: We were responsible for fabricating the Jansen linkages using the waterjet cutter. This process ensured precision and uniformity in the critical components of our monster’s movement.
- Additional Components: we also used the laser cutter (MDF wood), as well as custom electronic assembly. These methods were used to create structural components, aesthetic enhancements, and the functional electronic module respectively.
Electronic and Control System
- RC Controller (provided)
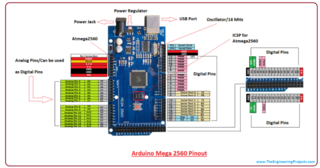
- Arduino Mega Controller Board: Serves as the central processing unit for controlling the game of the monster.
- LCD1602 Module with Pin Header: Utilized for real-time display of game scores and system statuses.
- Ultrasonic Sensor HC-SR04: This sensor detects when a ping pong ball lands in the cup, triggering the scoring mechanism in the game setup.
- Potentiometer 10K
- 9V Battery with Snap-on Connector Clip
- Breadboard
- Jumper wires (M-M, F-M Dupont Wires)
Project Challenges, Solutions, and Overall Learnings
Fabrication Challenges and Solutions
- Waterjet Cutting Issues:
- Problem: During the initial cutting phase, pieces frequently fell into the waterjet tank due to insufficient support in the cutting path.
- Solution: We added tabs to the cutting path to stabilize the pieces during the process, preventing them from falling and ensuring more precise cuts.
- Learning: Future projects will benefit from early design considerations for cutting path stability to avoid material loss and rework.
- Jet Nozzle Maintenance:
- Problem: The waterjet’s nozzle repeatedly clogged, interrupting our workflow.
- Solution: Regular maintenance, including blowing out sand from the nozzle, was implemented to keep the cutter functional.
- Learning: Regular maintenance checks and immediate problem-solving are essential to avoid prolonged downtime in manufacturing processes.
- Hose Management:
- Problem: The sand hose kinked when the cutter moved too high on the plate, which limited our cutting range and efficiency.
- Solution: We adjusted the joint that held the hose to allow for more flexibility and range of motion.
- Learning: Equipment setup must be optimized for the full range of operational movements; modifications might be necessary to accommodate material dimensions.
- Laser Cutting Depth:
- Problem: The laser cutter required multiple passes to fully cut through both acrylic and MDF.
- Solution: We adjusted the power settings and speed of the laser cutter to enhance its cutting efficiency on the first pass.
- Learning: Understanding the capabilities and limitations of our tools is crucial, and adjusting settings based on material properties can reduce production time.
- Axle and Bearing Adjustments:
- Problem: Axle pieces were too large for the oil-embedded bearings, creating assembly difficulties.
- Solution: We manually sanded down the axles to fit the bearings properly, ensuring smooth operation.
- Learning: Precise measurements and tolerances are critical in mechanical design to ensure components fit seamlessly.
- Axle Cap Fabrication:
- Problem: The legs risked sliding off the axles, which could lead to structural failures.
- Solution: We designed and fabricated small caps to secure the ends of each axle, maintaining the integrity of the leg assemblies.
- Learning: Securing moving parts is fundamental in mechanical engineering to maintain the functionality and safety of the device.
Electronic and Coding Challenges and Solutions
- Sensor Integration and Code Stability:
- Problem: The inexpensive ultrasonic sensor was prone to noise and erroneous readings, complicating the scoring mechanism of our game.
- Solution: We incorporated a data filter in the Arduino code to stabilize the sensor readings and prevent the system from adding points indiscriminately.
- Learning: In electronic design, especially with lower-quality components, software solutions such as data filtering are essential to enhance system reliability.
- Complex Wiring and System Integration:
- Problem: Integrating multiple electronic components (sensor, monitor, Arduino) was initially challenging due to complex wiring needs and the fragility of the cables.
- Solution: We planned the wiring layout and conducted multiple tests to ensure that all components communicated effectively for what we needed it to do.
- Learning: It’s better to use wires with specific colors in advance (when supplies are available) in order to facilitate mounting and dismounting of the circuit.
Conclusion
Each challenge encountered during this project provided a unique learning opportunity, reinforcing the importance of meticulous planning, adaptive problem-solving, and continuous learning in mechanical and electronic engineering. These experiences have not only honed our technical skills but also enhanced our ability to work effectively as a team under challenging circumstances.
Overall this was a very exciting project and we’re all looking forward to using this experience toward ‘bigger and wilder’ Mechanical Drinker-Monsters.
