Introduction
This report details the development of a custom USB flash drive case. The project involved designing and machining a case that not only serves a functional purpose but also pays tribute to the early days of personal computing.
Design Concept
This USB case design, the “RetroByte: Heritage Collection” was inspired by a blend of old and new technologies. It consists of a main body machined from aluminum and a lid that combines MDF wood with a 3D-printed model of a Mini Hewlett-Packard HP85. The design intent was to honor the legacy of computing innovations while providing a durable and practical storage solution for a USB drive.
Technical Execution
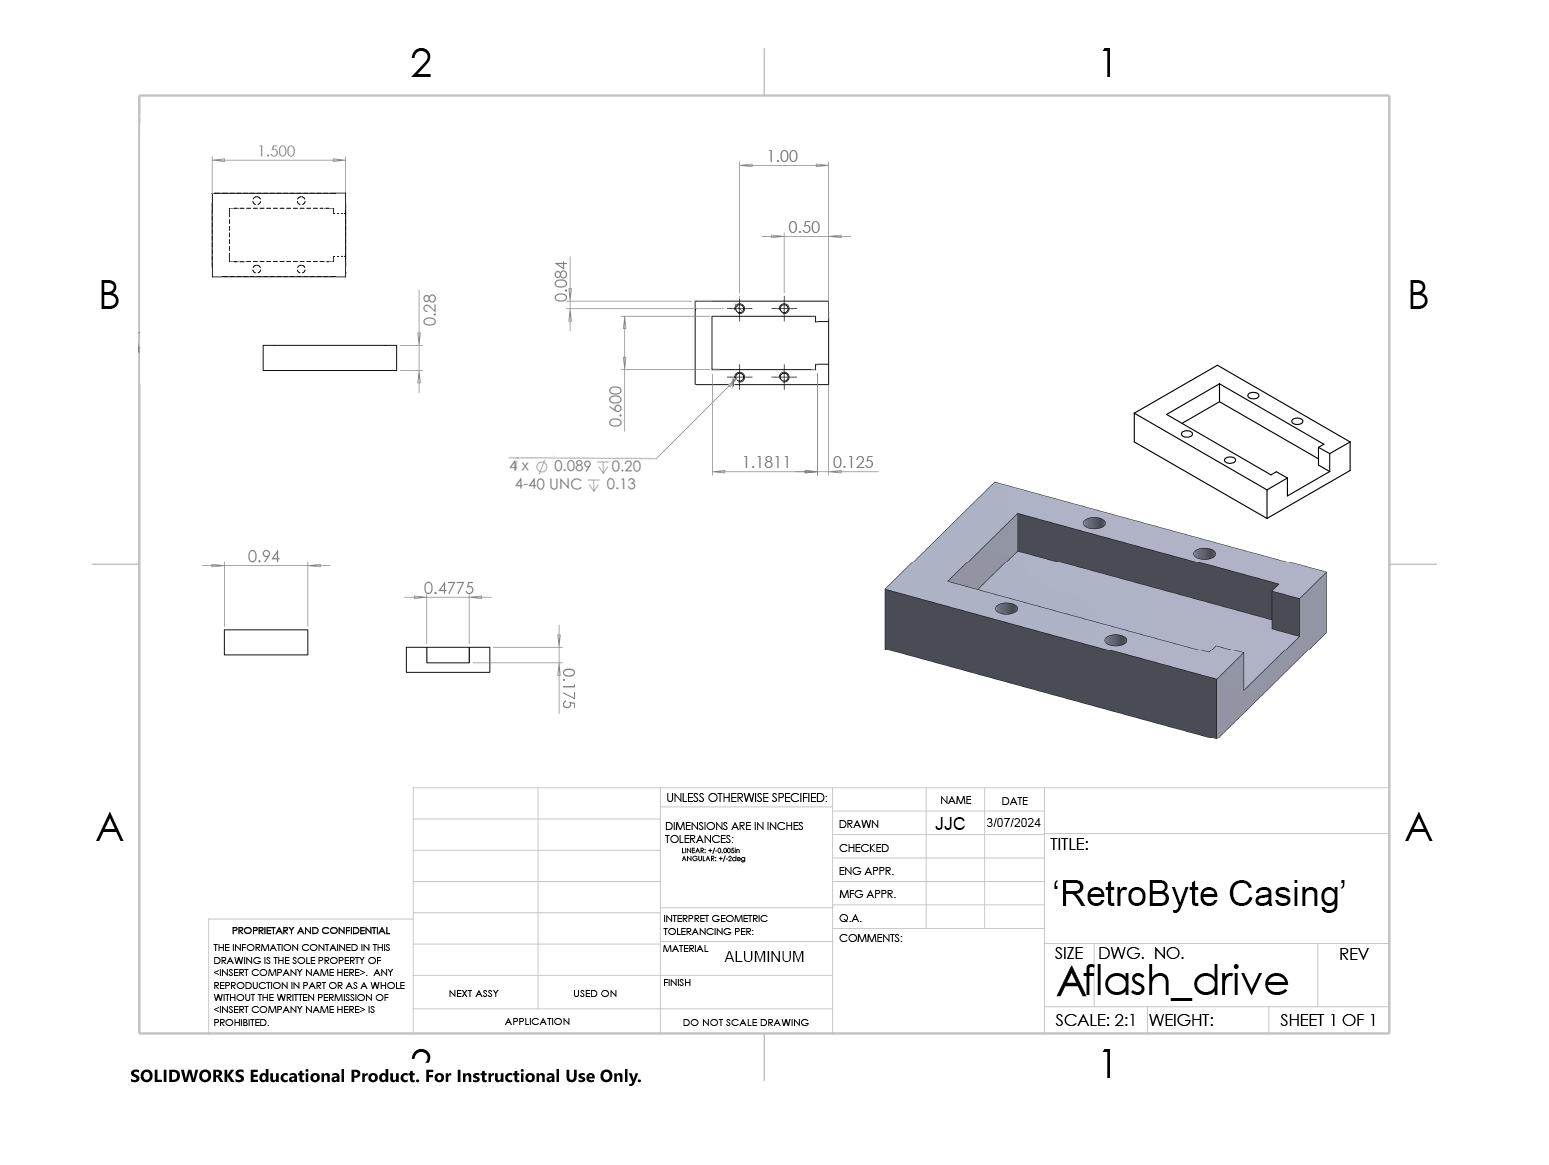
- Material Selection and Machining: The case’s main body was constructed from aluminum due to its durability and ease of machining. The machining process included several key operations:
- Facing Operation: This was done to ensure the surface of the aluminum was smooth and even, preparing it for further machining.
- CNC Machining: Utilized to precisely shape the aluminum to fit the USB drive’s circuit board and connectors.
- Tapping Operation: Implemented to create threaded openings for screws that would secure the lid to the main body.
- Lid Fabrication: The lid was laser cut from 1/8th inch MDF wood and featured a 3D-printed Mini HP85, which was sourced from Thingiverse.com. This combination provided a visually interesting contrast to the aluminum base and highlighted the theme of technological evolution.
3D Modeling: HP85 Replica
- Model Design: The Mini Hewlett-Packard HP85 (the 3D model) was adapted from an existing design available on Thingiverse, which served as a base for slight modifications to better suit the aesthetics and dimensions of the flash drive case. (Here is a hyperlink to the original design for reference: Thingiverse’s HP85 Model. )
Material Selection: MDF vs. Acrylic
- Material Choice: The decision to use MDF instead of acrylic was primarily driven by a desire to explore the material’s properties and how it integrates with other materials like aluminum and 3D-printed PLA. I opted for MDF over acrylic to avoid the transparency characteristic of acrylic, aiming for a more solid and composite-like appearance that subtly blends the different materials used.
- Consideration for Painting: Regarding the potential to paint the MDF, the idea is still under consideration. While painting the MDF might indeed obscure the circuitry engraving, my intention is to experiment with surface treatments that could enhance the visibility of the engravings while improving the overall aesthetic. I could then potentially paint ‘over’ the engraving with a different color, in an artistic fashion. Painting the MDF in black or white could offer a sleek, more refined look, aligning with the modern-retro theme of the design.
Design Choices: Bulkiness and Practicality
- Bulkiness and Portability: The larger, bulkier design of the flash drive was a deliberate choice, tailored to personal needs and preferences. I tend to misplace smaller USB drives, so a larger design makes the device harder to lose and easier to handle, particularly for users who face similar challenges with small, easily lost items.
- Component Fit and Assembly: The aluminum casing as well as the MDF board were checked in SolidWorks to ensure a good fit.
- Attachment Method: When deciding on how to attach the 3D printed Mini Hewlett-Packard HP85 to the MDF lid of the USB flash drive case, I chose to use glue rather than screws for several reasons, which I detail below.
Assembly: Some key decisions
When deciding on how to attach the 3D printed Mini Hewlett-Packard HP85 to the MDF lid of the USB flash drive case, I chose to use glue rather than screws for several reasons:
Smooth Surface Aesthetics
Gluing the model to the MDF lid ensures a seamless and clean appearance. Screws could disrupt the visual flow and aesthetics of the miniature HP85, which is designed to be a focal point of the design. Glue allows for a more integrated look, preserving the smooth lines and detailed features of the 3D printed model without visible fasteners.
Material Considerations
The materials involved—PLA for the 3D print and MDF for the lid—respond differently to physical stresses. Screwing into PLA can sometimes lead to cracking or deforming the plastic, especially if the screws are overtightened or the plastic is under undue stress. Glue provides a more gentle adherence method that doesn’t risk damaging the delicate details of the mini HP85.
Design Integrity
Using glue also maintains the integrity of the MDF wood, which can splinter or weaken with the drilling required for screws. Glue distributes the attachment force more evenly across the contact area between the HP85 model and the MDF lid.
Simplification of Assembly
Gluing simplifies the assembly process, requiring fewer steps than aligning and drilling for screws. This ease of assembly was favored in this project, as it helped reduce the risk of misalignment during the assembly phase.
Challenges and Solutions
- Dimensional Accuracy and Tolerances: Achieving the tight tolerance of less than 0.03” of play around the USB drive required precise machining. Adjustments were made throughout the process to ensure the fit was good.
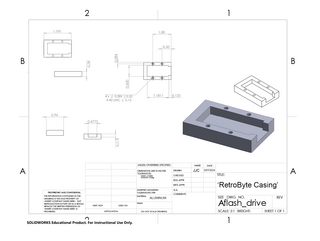
- Engineering Drawings: Properly dimensioning and labeling the engineering drawings was an aspect I found challenging. This project helped improve my skills in creating detailed and accurate technical drawings, essential for successful machining.
- Material Integration: Combining different materials (aluminum, MDF wood, and 3D-printed plastic) in a cohesive design presented challenges in terms of aesthetics and structural integrity. The project involved several iterations to ensure that all components aligned correctly and were securely attached.
Conclusion
The “RetroByte: Heritage Collection” project demonstrated the application of key machining operations to meet design specifications and tolerances. It also provided valuable experience in creating and interpreting engineering drawings. The final product not only serves as a functional tool but also as a tribute to the historical development of computing technology.


