Beecher's Lego Key Chain Pewter Cast

By Beecher Porter | Tuesday, April 30, 2024
Initial Sketch

Initial Steps

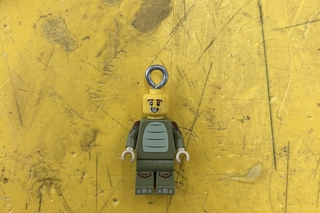
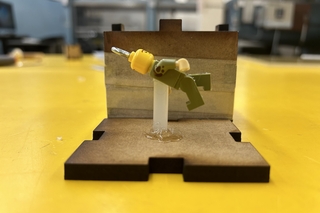
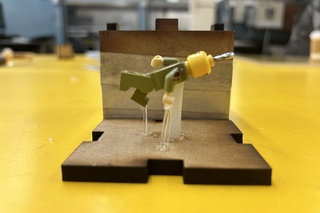
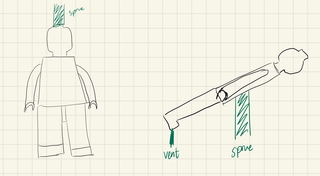
When tasked with casting a small item out of molten pewter, I immediately thought of making something to hang on a key chain that I could add to my car keys. After brainstorming small items that might fit the size specification, I landed on a lego figurine, a symbol of my favorite toy as a child and still to this day. I began the process with some simple sketches of how I might position the piece within the casting box. After receiving advice from my peers and instructors, I opted for the slanted position to ensure that the piece would be properly vented and the pewter would fill it entirely. I also decided to position the piece in a running stance with its legs and arms spread away from its body so as to avoid the tight gap between its legs and armpits in the upright stance. This was to ensure the mold would come apart and slide out of the tighter spots without breaking.

Preparing to Mold

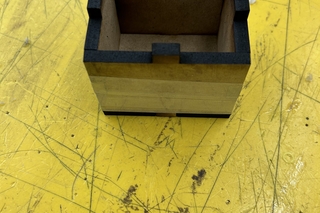
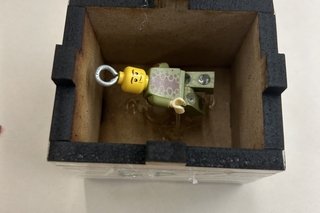
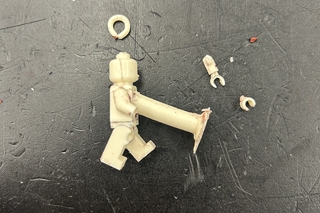
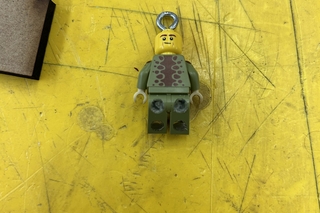
I then began to prepare the lego piece for the mold making process. First, I filled the holes in its legs, arms, feet, and head, using hot glue and a straight edge to flatten the surface. I then modified a small metal eye hook to function as the ring for the key chain and secured it to the head of the lego piece using hot glue. This was to ensure I could cast the entire keychain in one go. Next, I quickly laser cut a 3 x 2 x 2 inch box using the modifiable parameters from the MDF cube we had cut early in the course. I secured the lego piece to the bottom of the box using a glue stick as the sprue, and then went about adding my vent pieces with the filament. I placed a vent at every local minimum on the lego piece which included its feet, hand, chin, and hip. I then assembled the box around the piece and was ready for the liquid mold.
  • Lego piece prep
  • prep2
  • prep3
  • prep4
  • prep5
  • prep6

Making and Testing the Mold

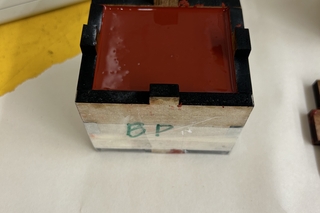
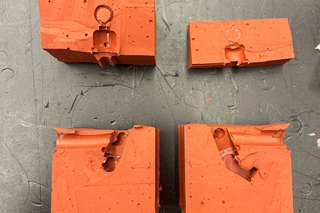
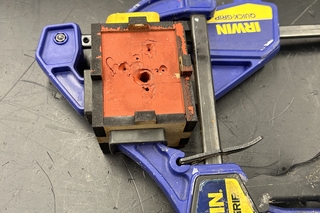
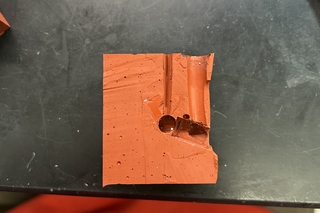
Once the mold had set, I was able to disassemble the box and begin cutting into it with an exacto knife. I realized due to the orientation of the keychain loop on the head, I would have to make it a four part mold. One cut would split the body down the middle between the legs, and the other would have to be inline with the loop and head so that the inner part of the loop’s ring would not get caught on the mold when trying to remove the piece. This was without a doubt the most difficult part of the process. I had to estimate where the piece was within the mold to make sure I cut along the right lines and was able to extract it. Unfortunately, I made an error along the loop cut and had to retry, resulting in a five-part mold. Once I pried the lego out of the mold I was able to reassemble it within the box and proceed to testing it with polyurethane. Luckily, this process revealed a missing vent on the hip joint of the piece, which I was able to easily cut out using the exacto knife. The polyurethane molds were unfortunately too fragile to pull out completely in one piece due to the complex nature of my mold, however they proved that it was filling correctly and provided reassurance that the pewter would fully form. I proceeded, confident that the pewter would make it out in one piece.

  • Poured Mold
  • disassembled mold
  • Mold Prepped For Testing
  • Polyurethane Test
  • New Vent Added With Exacto Knife

Casting

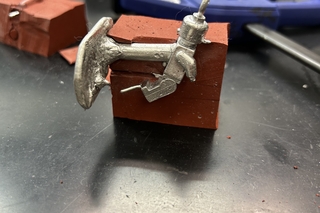
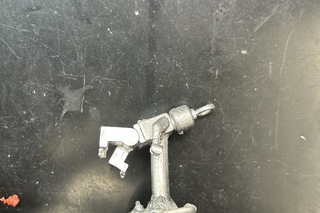
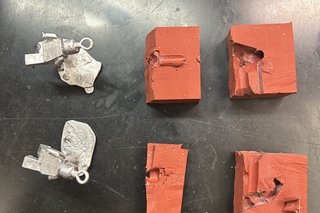
Finally, I was able to cast using the molten pewter. I ended up doing two pours because on the first pour, one of the hands did not fully form. On the second pour, I heated the mold to the same temperature as the pewter prior to pouring it in so as to help it flow more easily through the mold before cooling down. This helped slightly, but unfortunately the hand still did not fully form. I was unable to try again because the mold broke when extracting the second attempt. This leads me to think the hand might have not been properly vented or it was clogged in some manner, because the other hand formed perfectly. On the bright side, the key chain loop formed perfectly, along with every other part of the figurine. 

  • First Pewter Cast Attempt
  • Pewter Cast
  • Both Pewter Cast and Mold

Final Steps

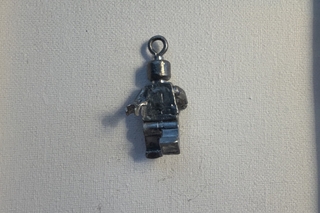
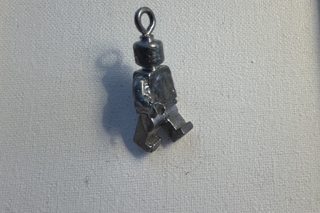
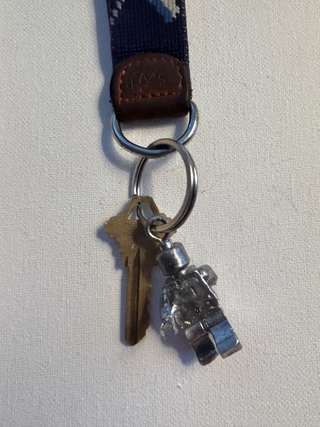
To finish off my pewter cast, I went to the lab and used a dremel saw to cut off the sprue and then sand down the joints where the vents were connected. I also was able to smooth out some of the buildup that unfortunately gathered around the armpit area. I finished it off by polishing the surface to make it shine. Overall, this project was a learning process that taught me not only the general steps to making a mold and casting, but also the importance of forethought and careful planning during the process. It is essential to picture how you will cut apart your mold and extract your item prior to pouring in the liquid mold. Despite its challenges, I am very pleased that I was able to successfully cast such a complex object, and gain a shiny addition to my keys.

  • Final Casting
  • Final Casting
Lego Keychain Casting