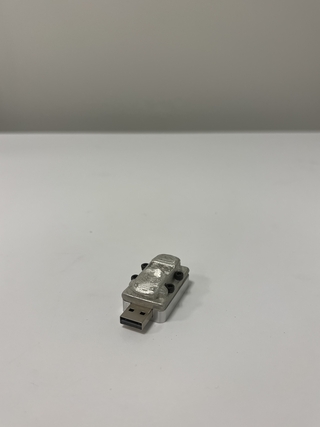
Welcome to my project presentation where I’ve created a custom USB drive with my car. In this post, I’ll walk you through the steps I took, from the initial design and modeling to the casting in pewter and the final machining. I aim to demonstrate the processes and techniques I used to bring my idea to life, transforming a simple concept into a crafted reality. Let’s dive into how I developed this unique piece.
Derek's Miata Cast
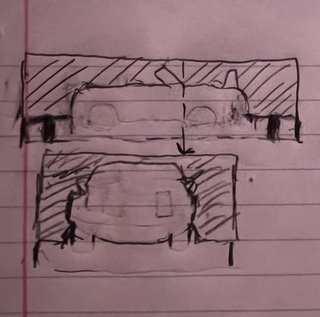
Initial mold drawing
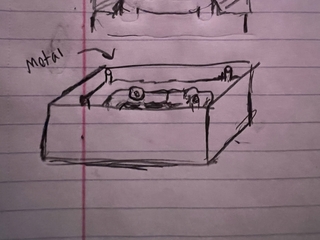
Perspective view of open-face mold. An open-face mold was selected because it can only be done on parts with a flat face. The benefit of this process is that no sprue is required, lowering the chances of unwanted bubbles in the cast.
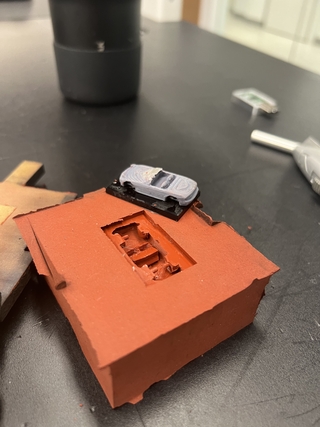
To create the positive for my mold I 3D printed a small version of my car. The width allows enough clearance for the screw holes on the sides to mount the bottom plate to the base of the flash drive. To reduce unwanted textures from the 3D printing process, I sanded the flat surfaces of the car. The print also had some gaps in parts of the windshield so to fix this I placed some hot glue and then sanded it down to match the shape of a full windshield. To create the baseplate that the car sits on, I laser cut a piece of acrylic to the same dimensions as the base of the flash drive.
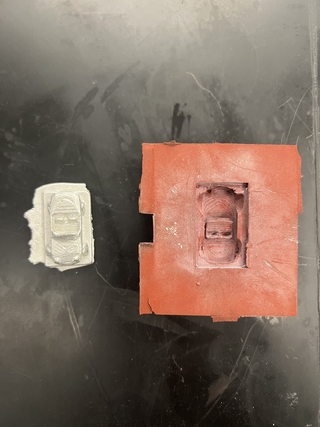
While pouring the pewter into the mold, I decided to overfill a little bit to ensure that there were no low points on the bottom of the base plate, because when machining the part I can only remove excess not add more material. That is what caused the excess that goes beyond the dimensions of the base plate.
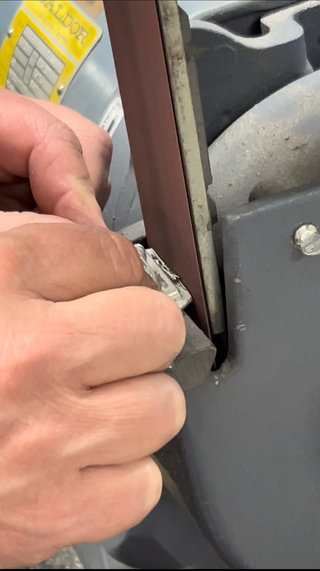
To remove the excess caused by the overpouring I first sanded down the sides so that the bottom of the baseplate would be to the correct dimensions and would also have flat sides to be held in the mill. After the sides were adjusted, the part was placed in the mill where the excess height from the pouring could be removed to ensure a flat surface. A video is included below about the second part of this project.
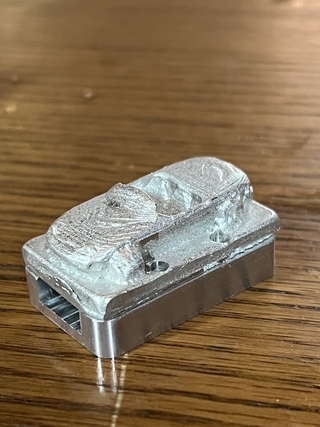
Once the large excess was removed and the screw holes were created, this is what the part looked like. I wasn’t fully satisfied with the texture that remained from the cast and the machining, so I sanded the flat parts of the car as well as the sides of the baseplate to remove any unwanted surface texture. I increasingly moved up in grit as I sanded to get a smooth finish. Once this step was completed I inserted the USB chip and fastened the car to the base of the USB with the screws. Below is the finished product.
