Reid's Cast Key

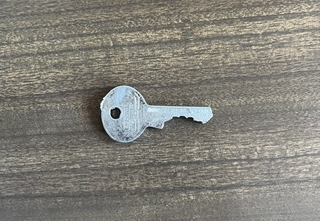
My roommate and I share a mailbox, but we unfortunately only have 1 key. This can become annoying, as I often have to wait for him to get home before I can access my mail. To deal with this problem, I decided to cast another key. The project exposed me to casting for the first time, as well as practicing my laser cutting and machining skills.

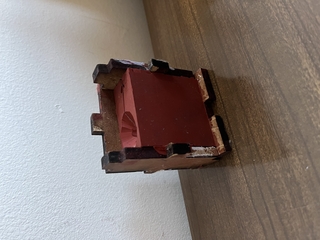
First, I laser cut a small box out of quarter inch MDF board. The sides of the box press fit exactly like the Dice Tower I made in a previous project. From there, I glued a hot glue stick to the large end of the key and a line of 3D printer filament to the tip. The hot glue stick was used to create the sprue and the 3D printer filament used to create the vent. I then glue the bottom of the hot glue stick and the filament to the bottom of the box, so the glue stick and filament supported the key and kept it floating within the box. Next, I poured the silicon mold into the box, letting it dry and take the form of the key. Once solid, I cut the mold in half, removing the key, glue stick, and filament. I now had my mold (as seen in the picture to the right)!

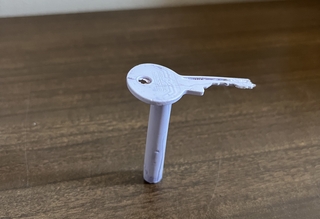
Now it was time to cast. To confirm that my mold worked correctly, I first used polyurethane to make my key. After pouring the material and letting it cool, I demolded and uncovered the key seen to the left. The key turned out well, and I now knew I was ready for pewter.

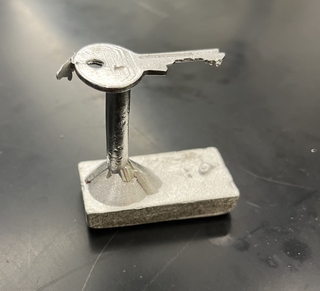
Similar to with the polyurethane, I simply poured the hot, liquid metal into the mold and let it cool and solidify. After a few minutes, I demolded the key. The picture to the right was taken right after demolding. Again, the key turned out well, but I now needed to separate the key from sprue and file off a few impurities. I went to the machine shop and completed these tasks with relative ease. The key was now ready for use!