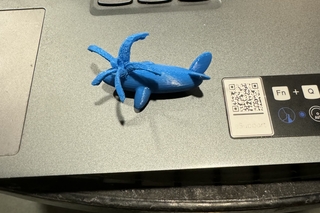
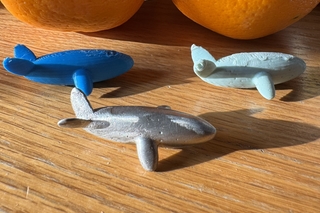
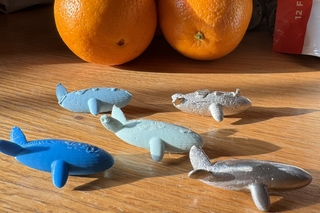
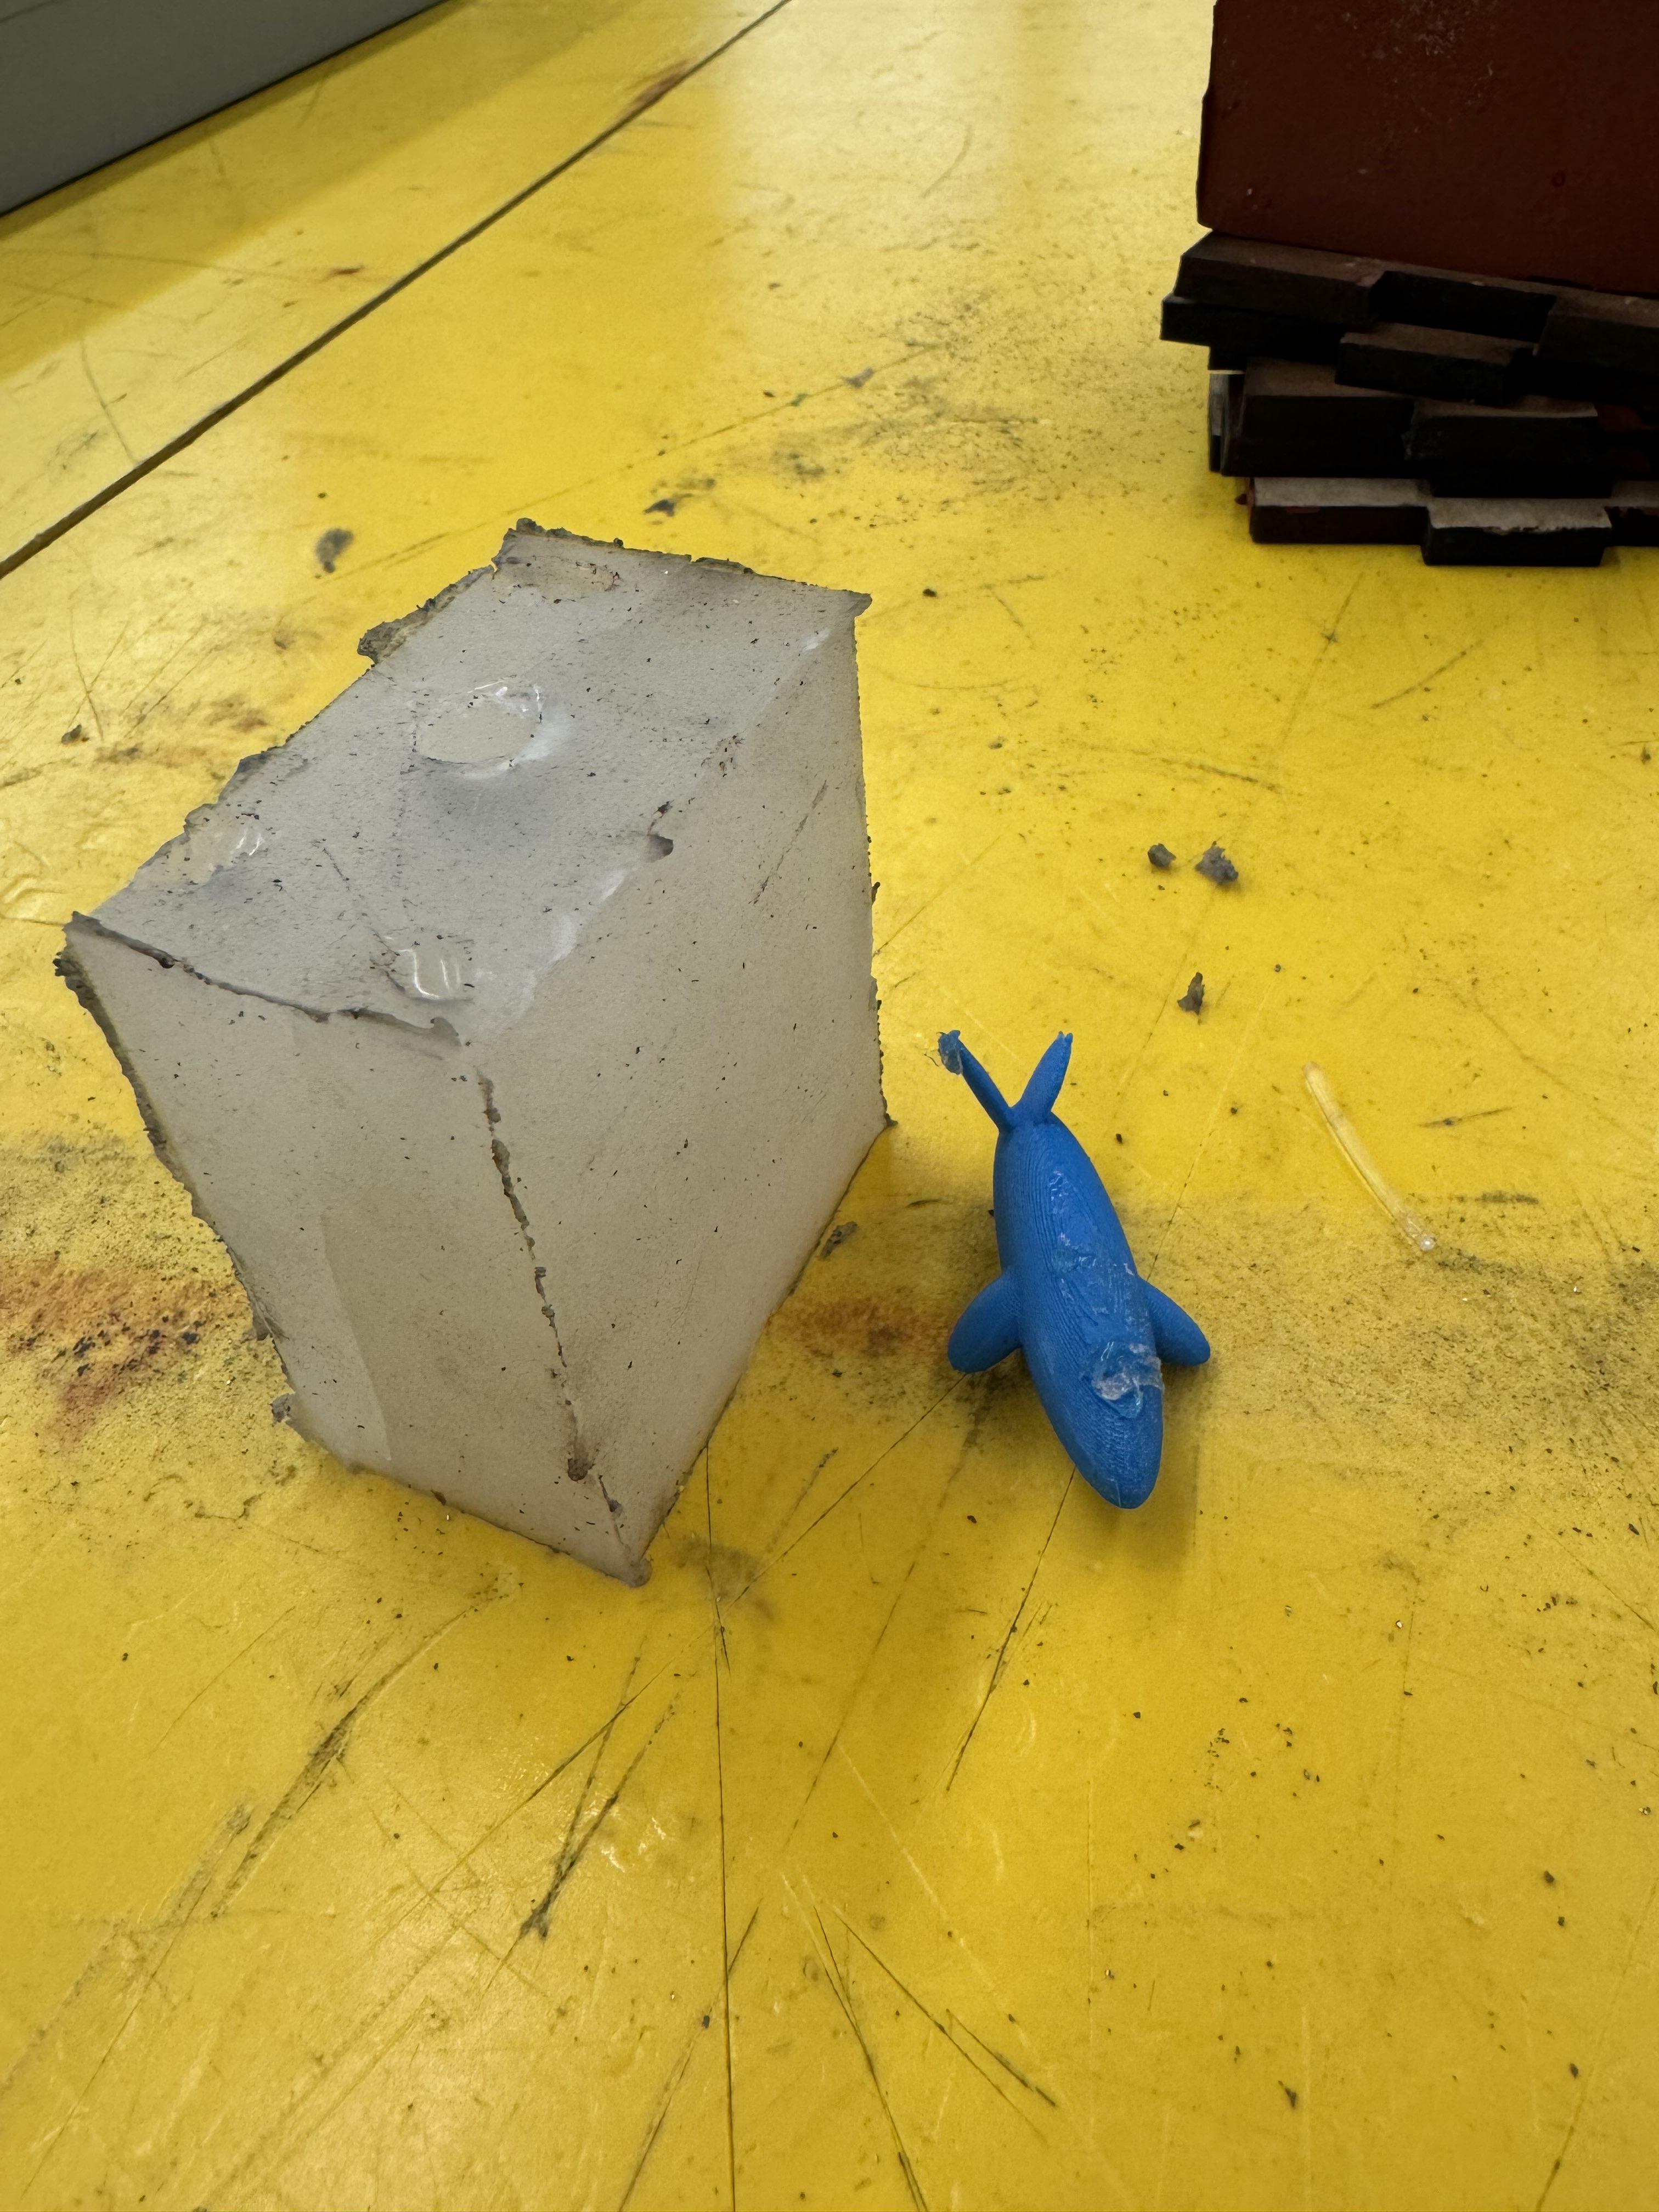
The first design was a success… almost. The problem was the spouts at the top of the whale: I didn’t cut my mold directly down the middle of the spouts because it was really hard to gauge where the whale was positionally when I cut the Mold Max 60 mold (it was opaque red). Rather than give up and pick a different object to mold, I chose to cut off the top spouts, sand it down, and mold the basic whale shape.
Plastic to Metal - WHALE Edition
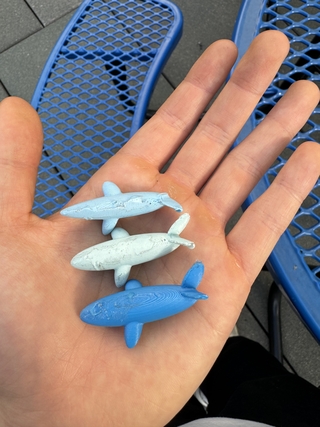
All the whales!
The whale has friends! In this project, I learned how to 3D-Print, create a silicone/rubber mold, and cast in both polyurethane and pewter. I chose a whale because our Prusa Slicer prints in dark blue PLA, so I figured a whale would be fitting! I found a model on Thingaverse (https://www.thingiverse.com/thing:5870068)
The First Design…
The Second Design…
The Second Whale
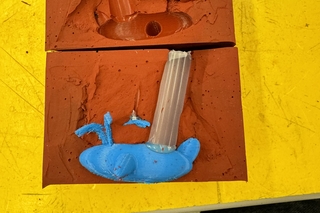
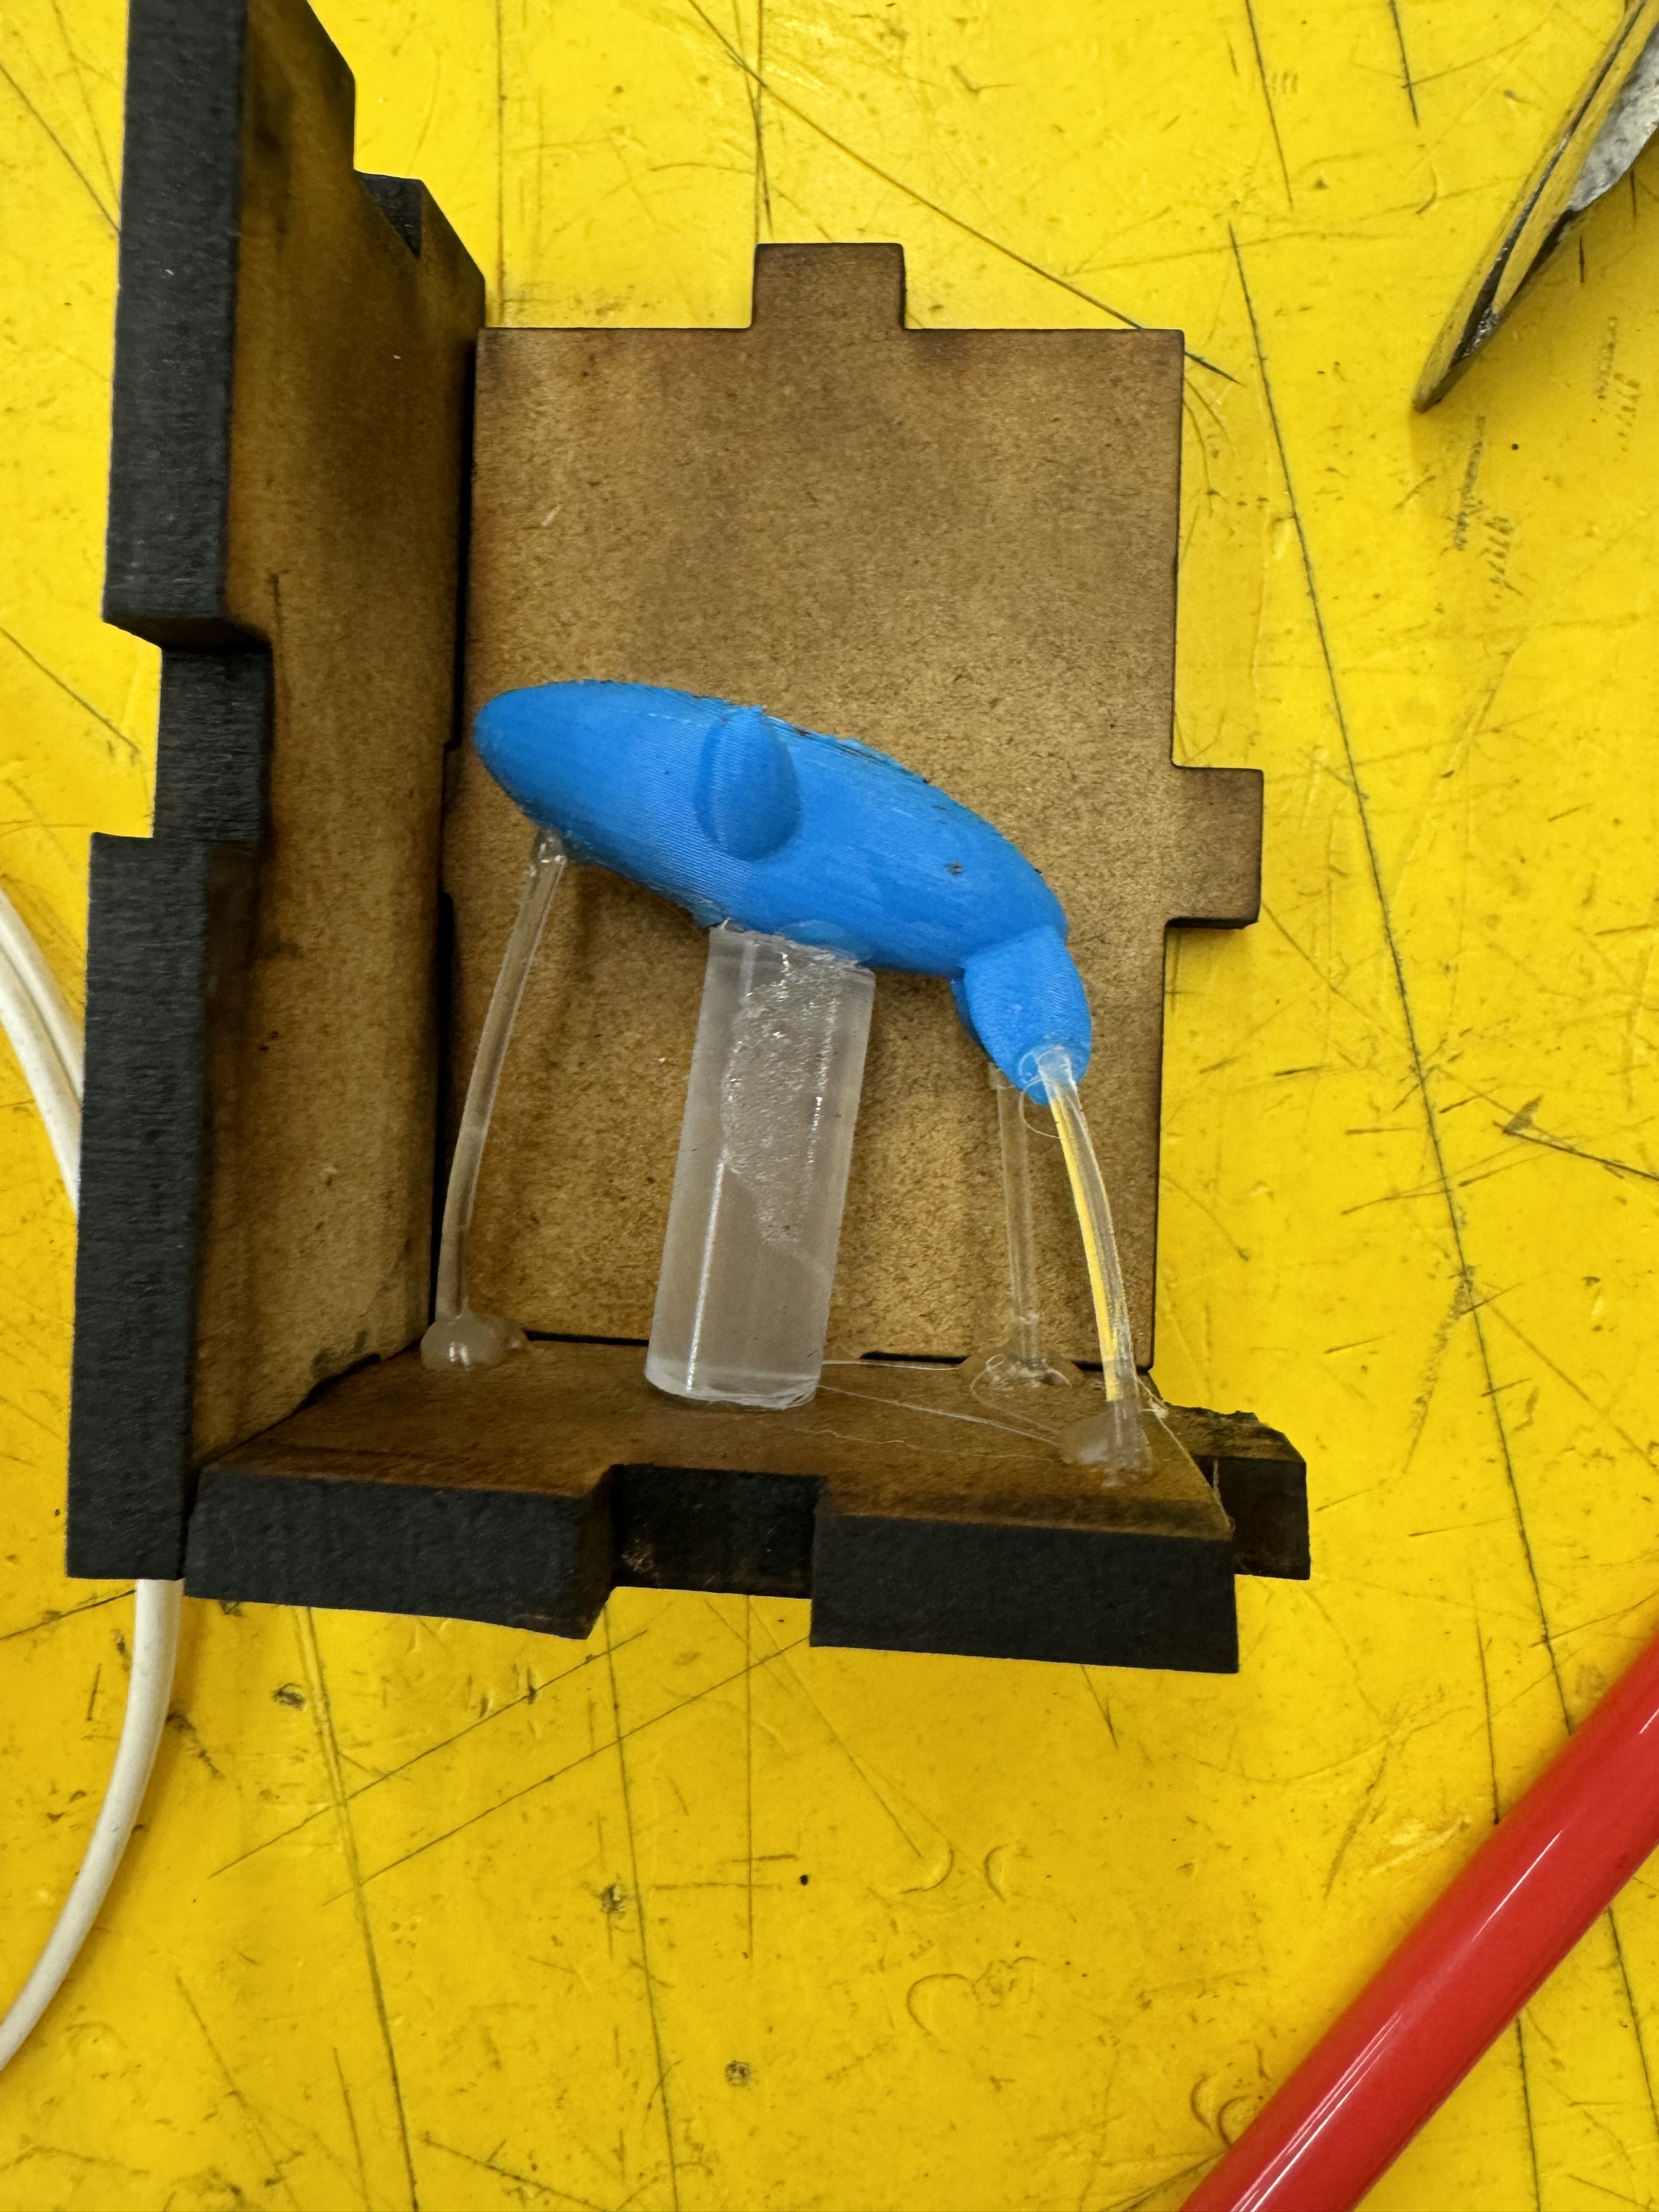
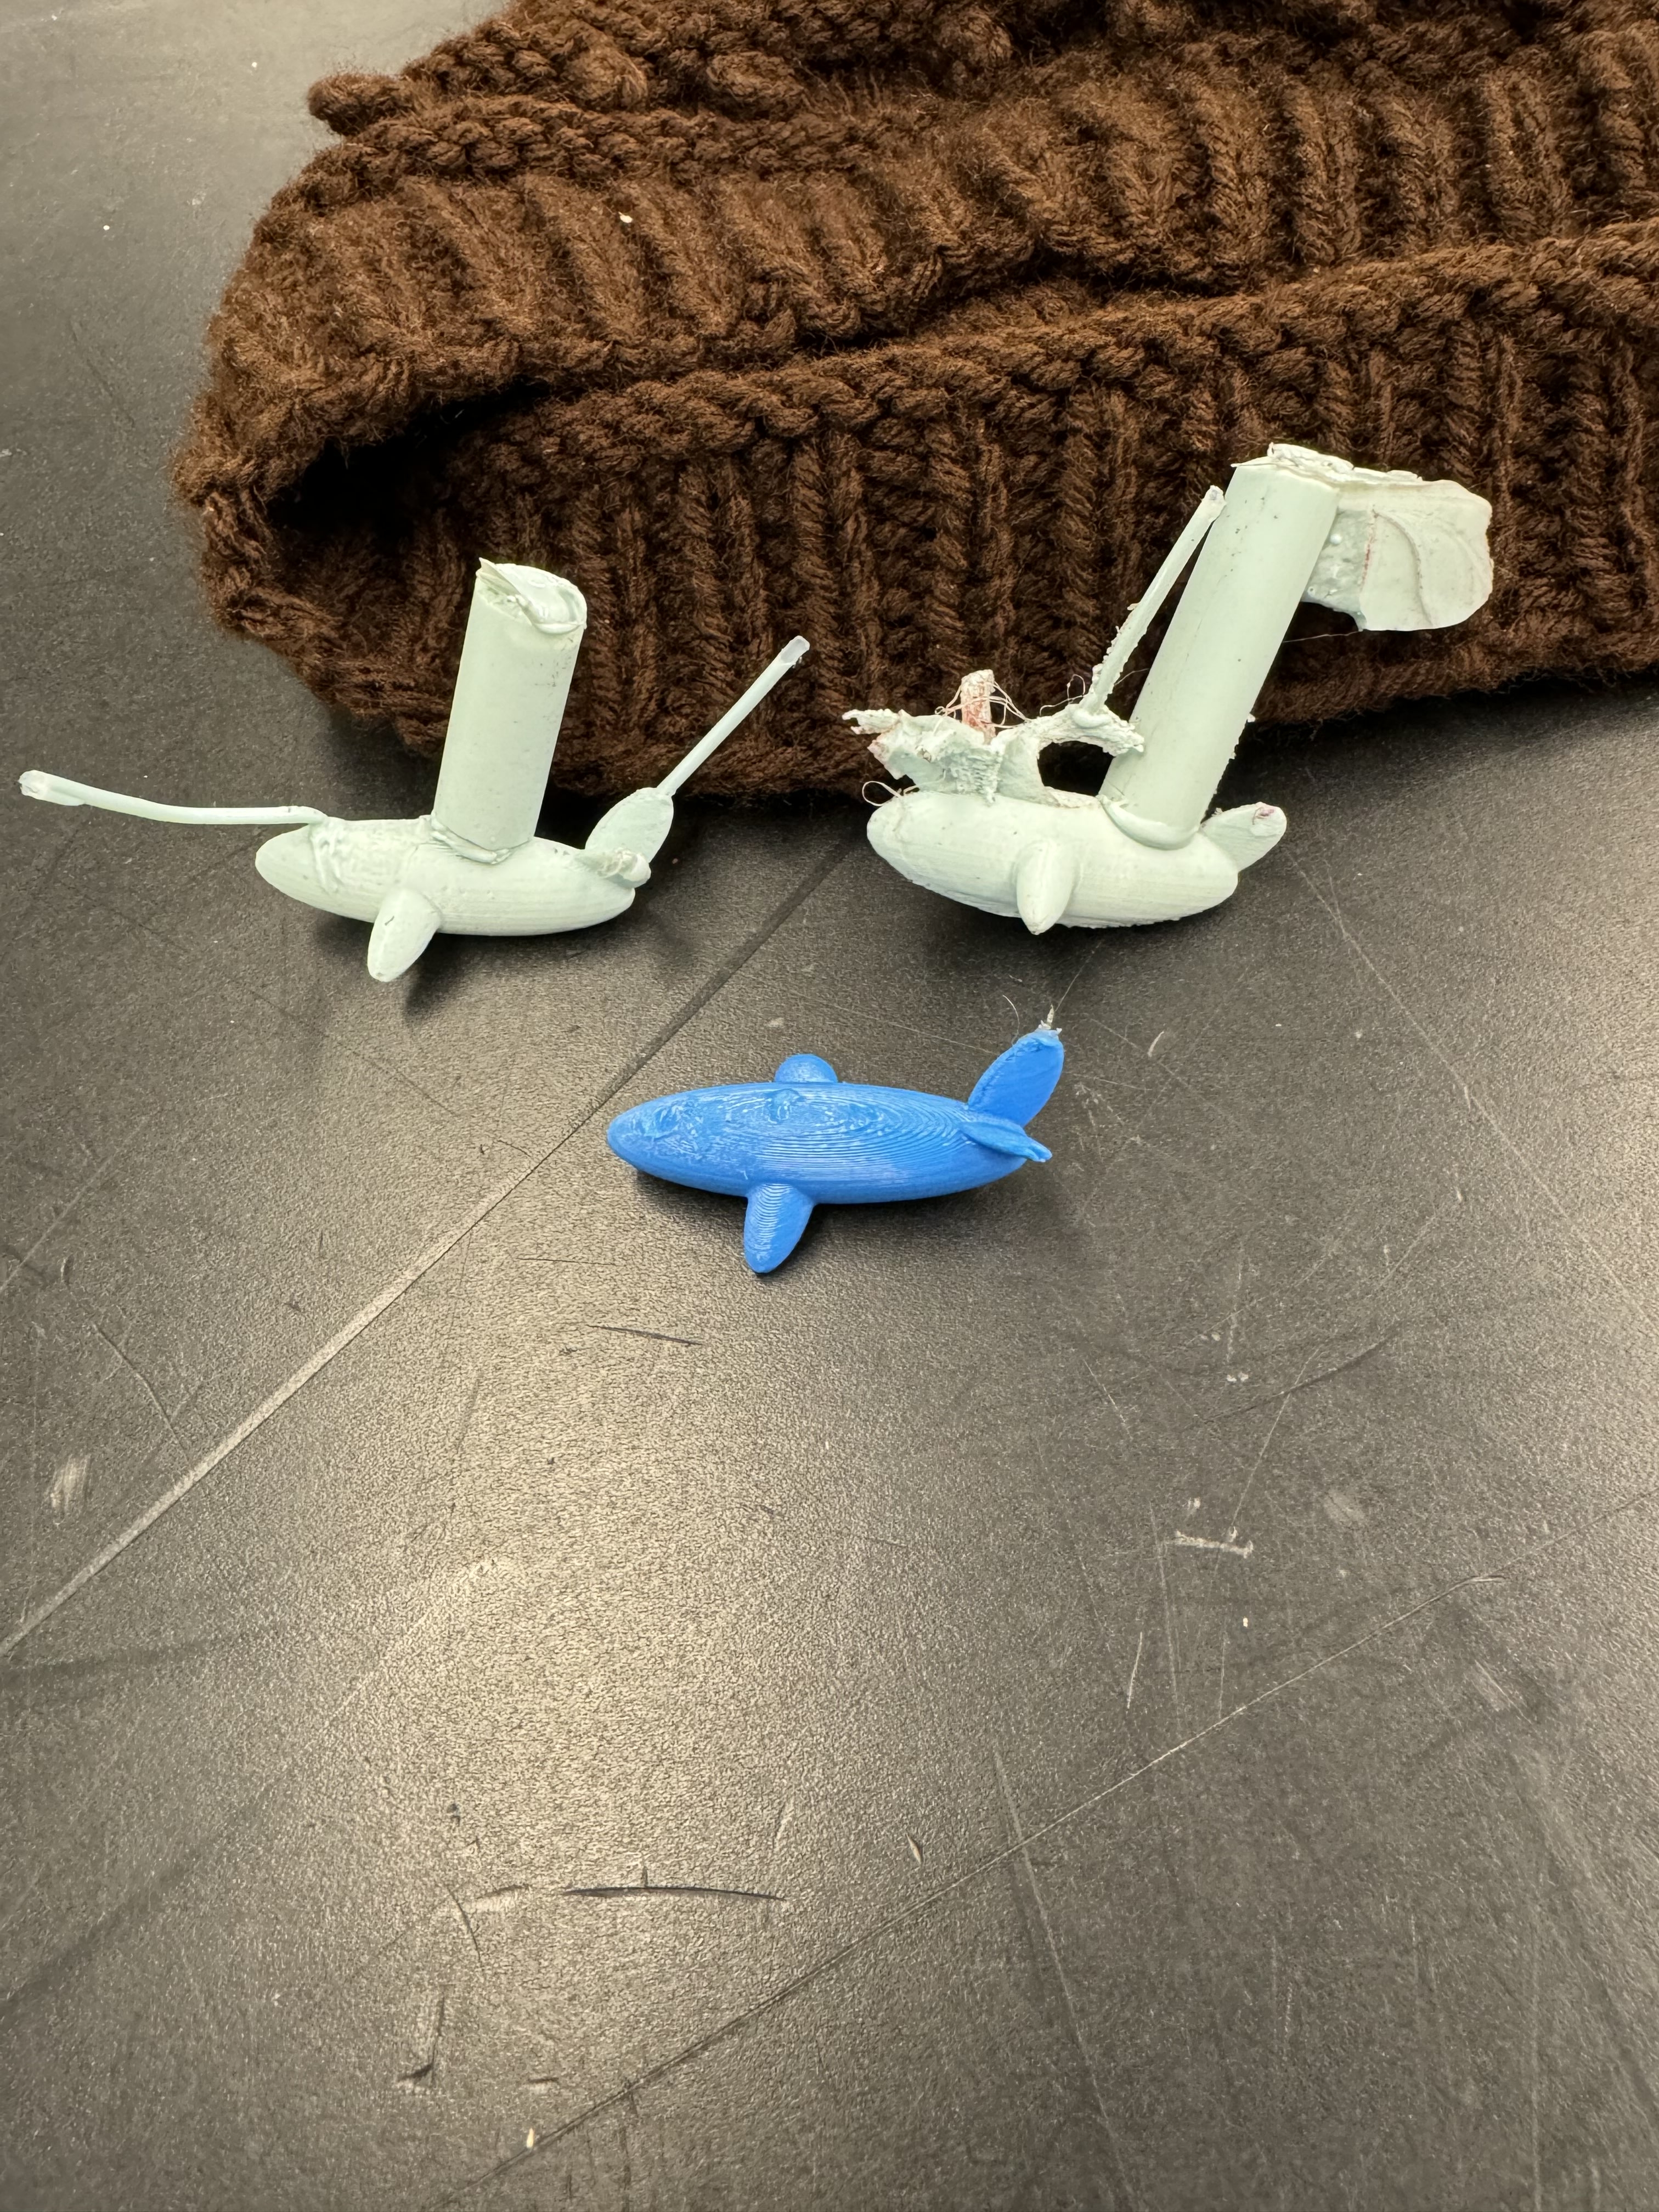
I broke off the spouts and recasted. Because the whale is right-side up when casting, I placed vents for the back flippers, and a vent at the front to balance. The sprue is on a flat surface
It came out!
The material I used this time was Dragon Skin Silicone. It was transparent, which allowed me to locate the central axis of the body, and it was flexible, allowing for easy demolding.
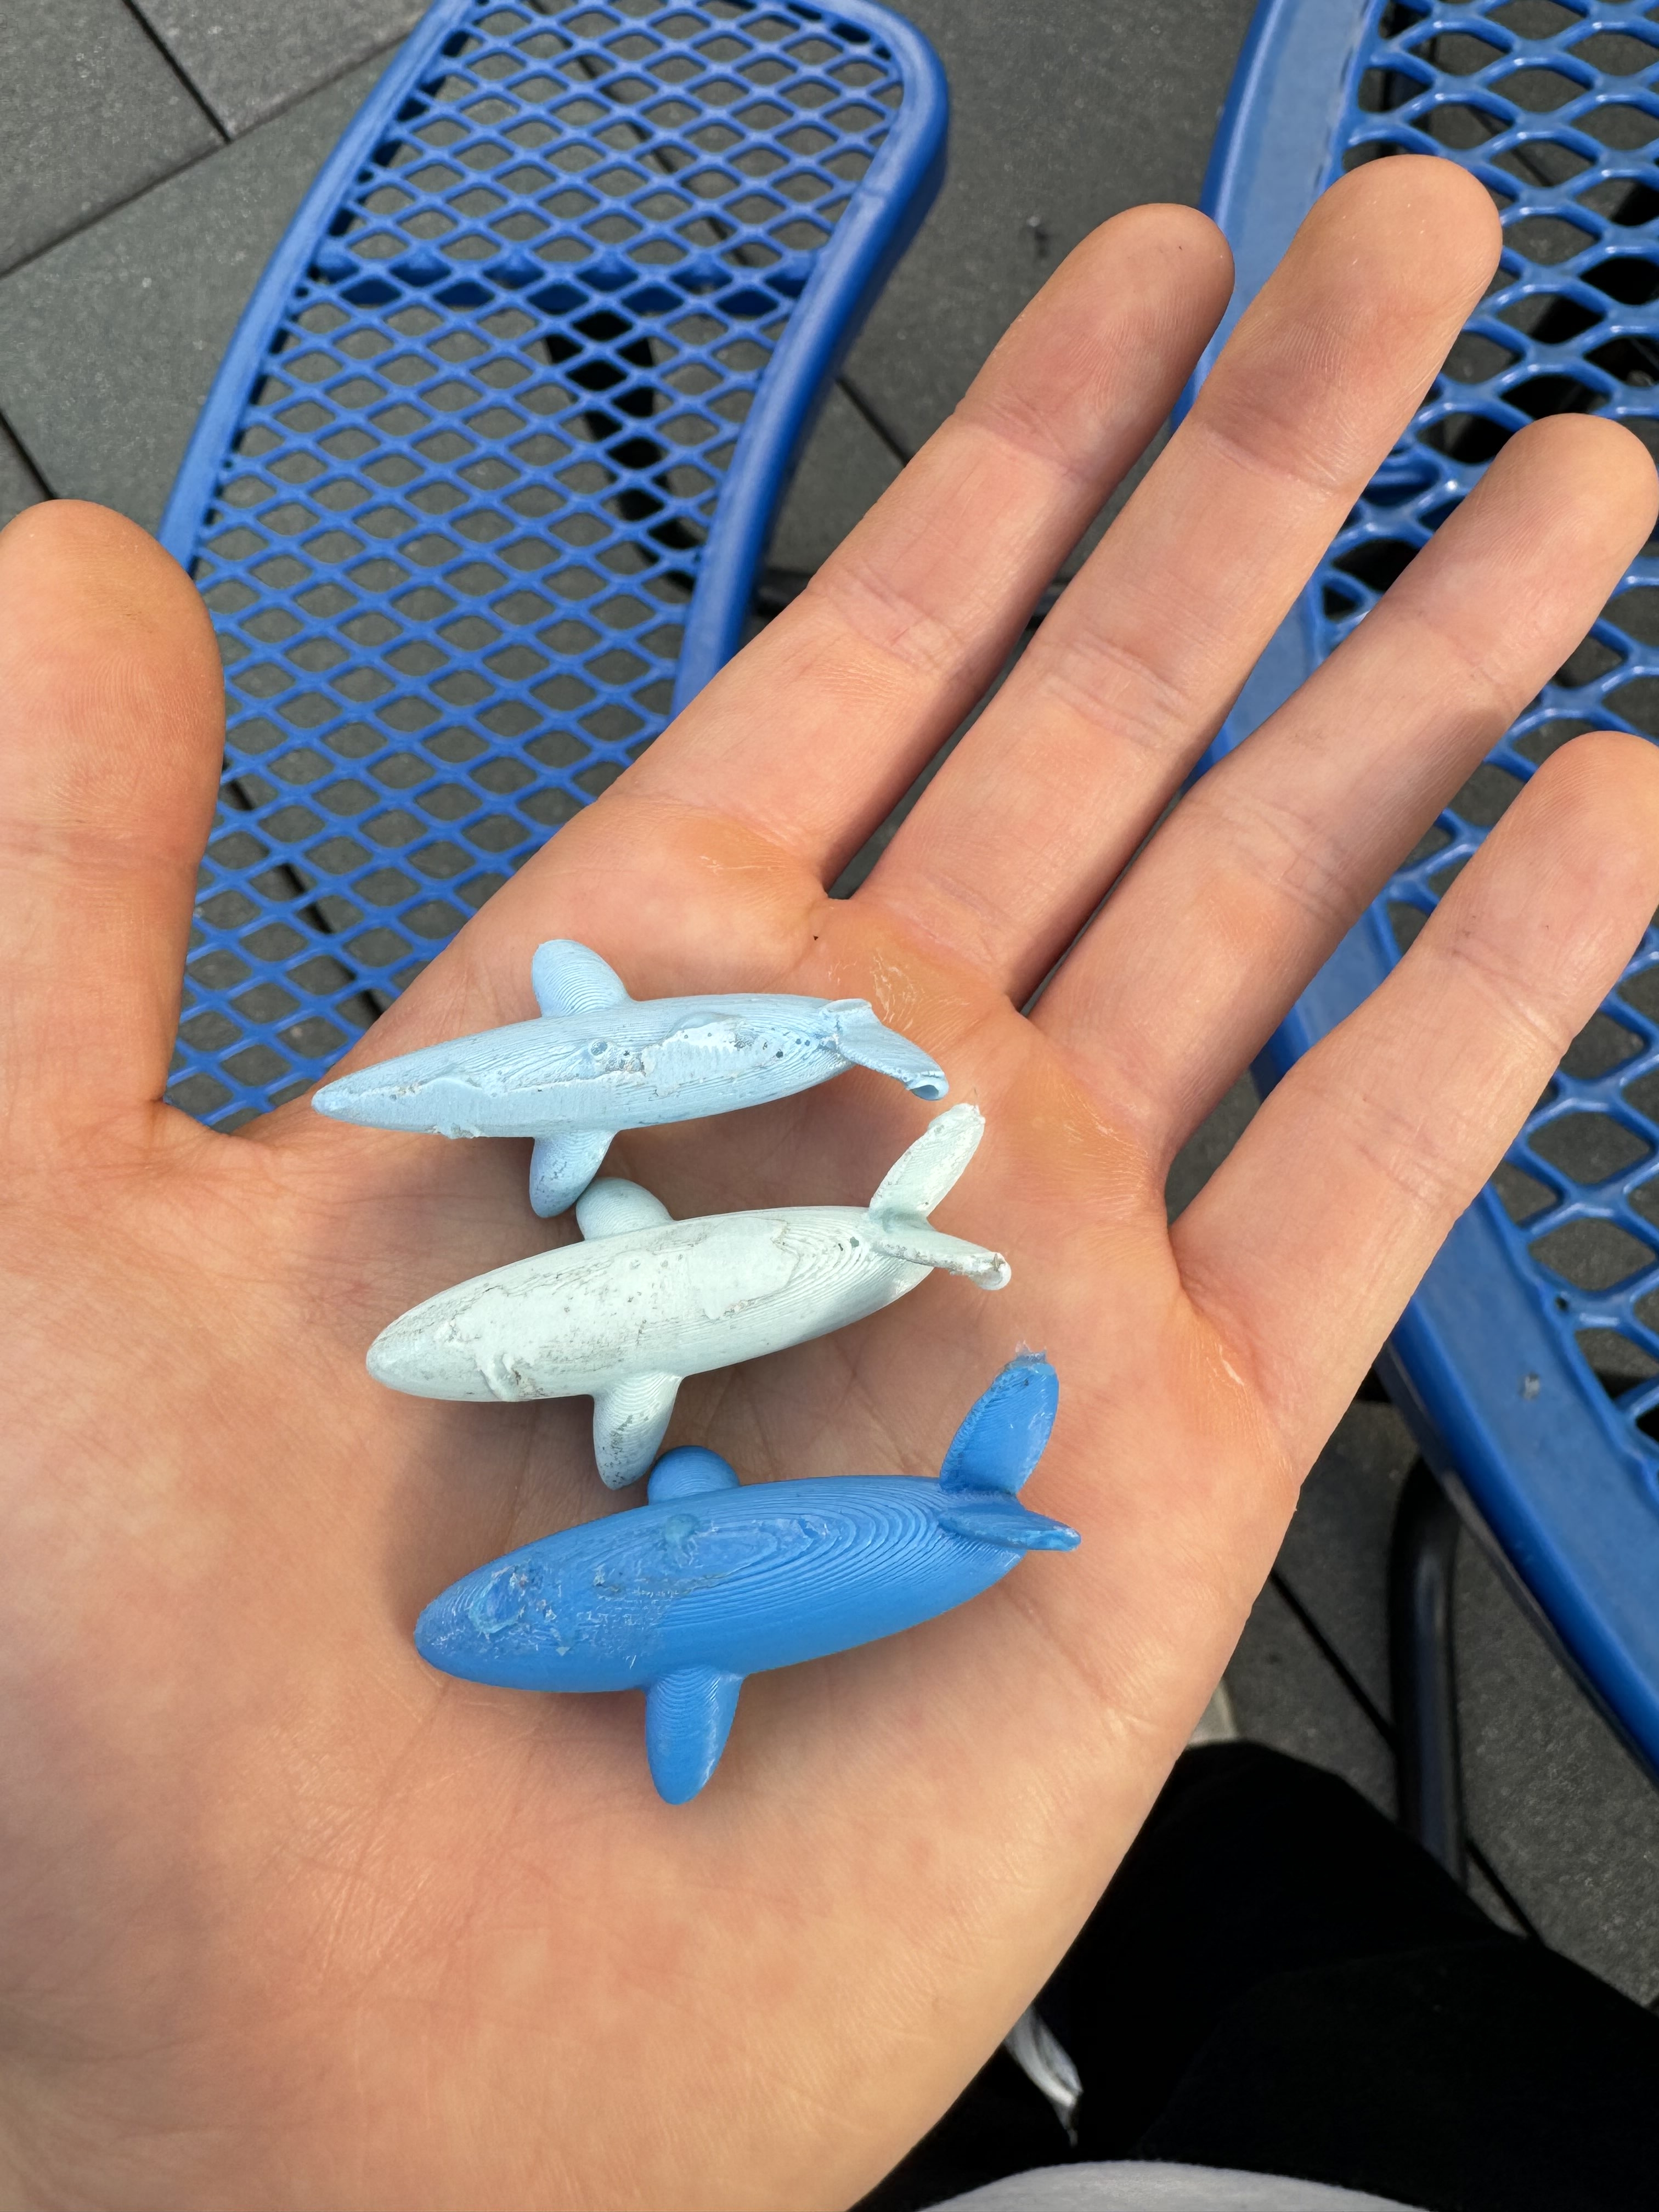
The Whales!
I casted the spout-whale out of curiosity (I still had it). I think if I could have demolded properly, I could have done a whale+spout cast, however time and resource restraints confined me.
One more light blue…
The no-spout whale casted so well, I casted one more! However, the tail broke off and it came out thin. Casting often with this cheaper and flexible material is unviable and leads to deformations.
The Process:
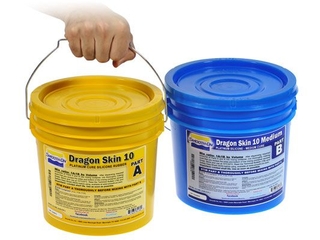
Dragon Skin Silicone (the material for the clear mold)
The process for molding was relatively simple. I cut out a box using 1/4” MDF using a laser cutter that would appropriately fit my whale. I hot-glued the sprues and vents, which themselves are just solid sticks of hot glue and filament. I sprayed a mold releaser on the mold and the accompanying box, and I demolded using an exacto knife.
In molding, I placed the silicone mold back into the box, clamped the box using vise grips, and poured a polyurethane that I mixed and colored. What had likely happened with the lighter blue, thinner whale was that the repeated clamping of the mold most likely deformed the mold, causing it concave in and create a thinner geometry. I did clamp the box relatively tight, and the mold bends incredibly easily compared to the Mold Max 60 (the red opaque material).
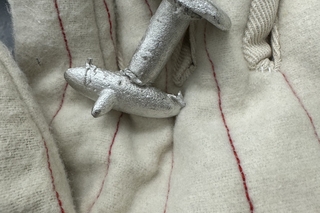
Pewter Fail…
As I should have suspected, the mold did not handle the pewter well after the polyurethane. This time, both the tail ends broke off, and it still retained a thinner shape. I decided to take the original whale, and make my third mold (no processes shown here, all the steps are the same).
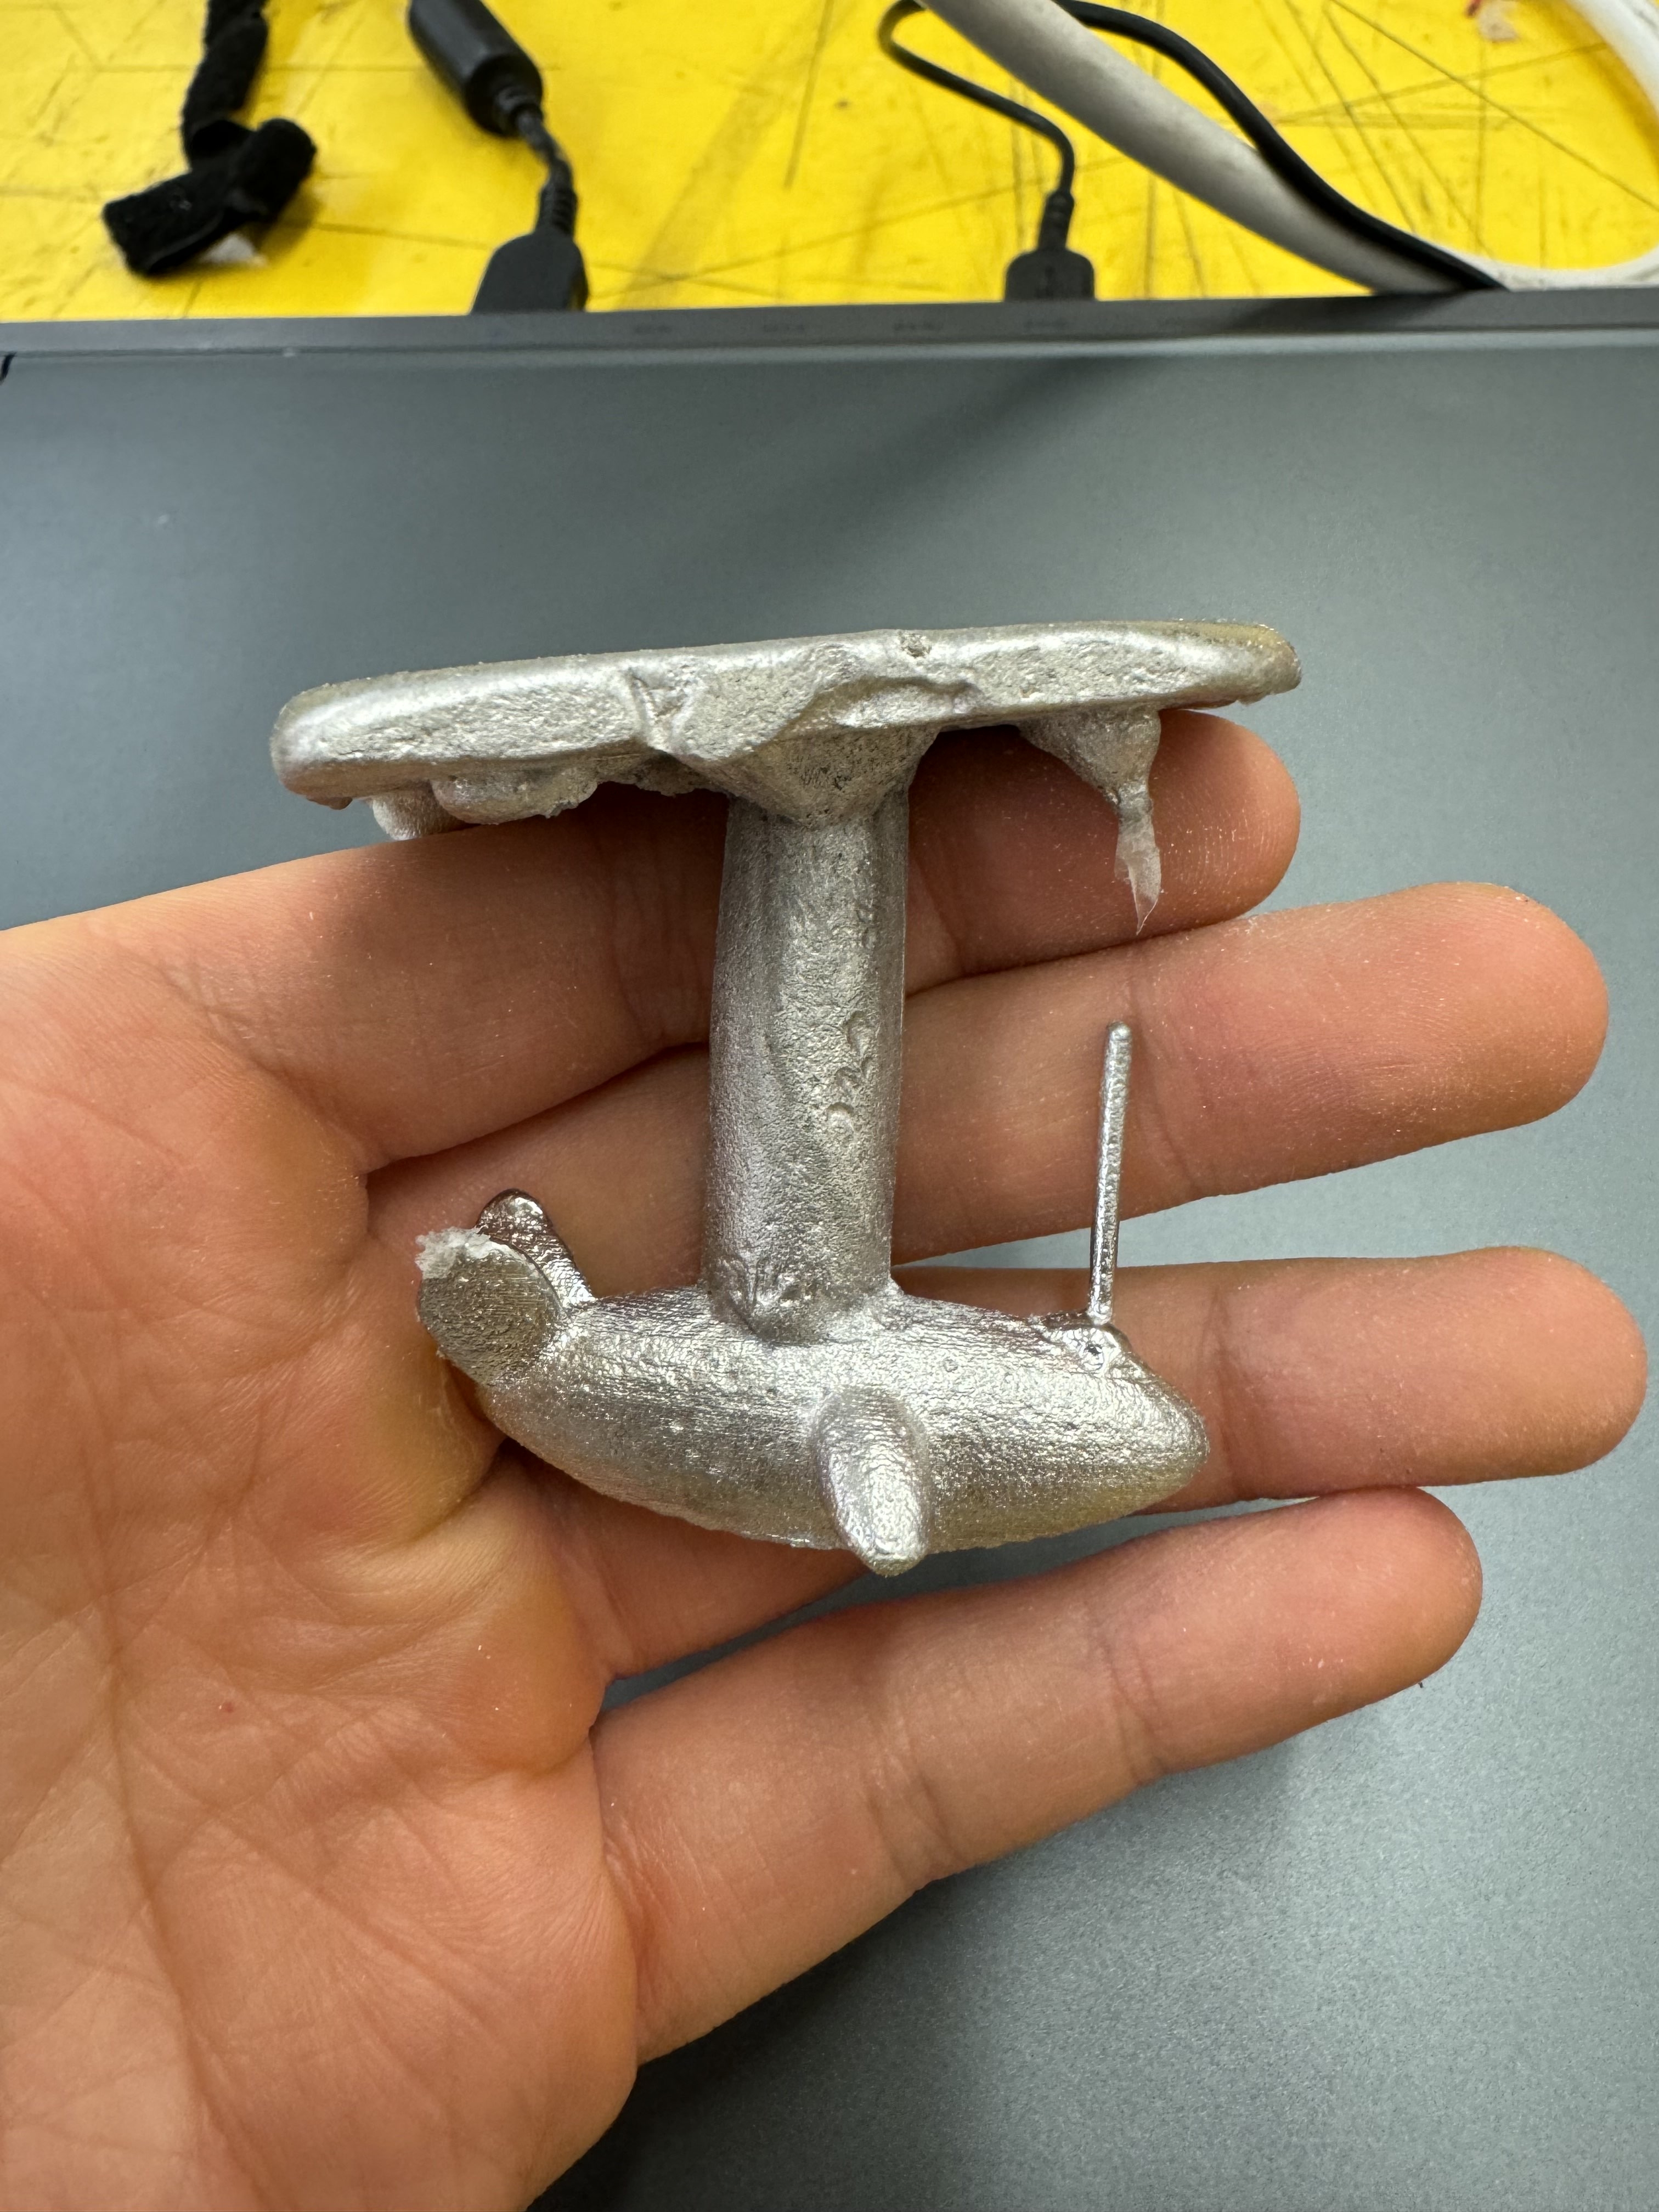
The Final Pour…
The Final Pour…
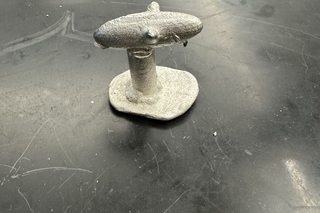
And the second pewter pour worked great! The entire mold filled as intended. There are a few minor deformities on the back flipper, but it was a nice cast.
Trimmings
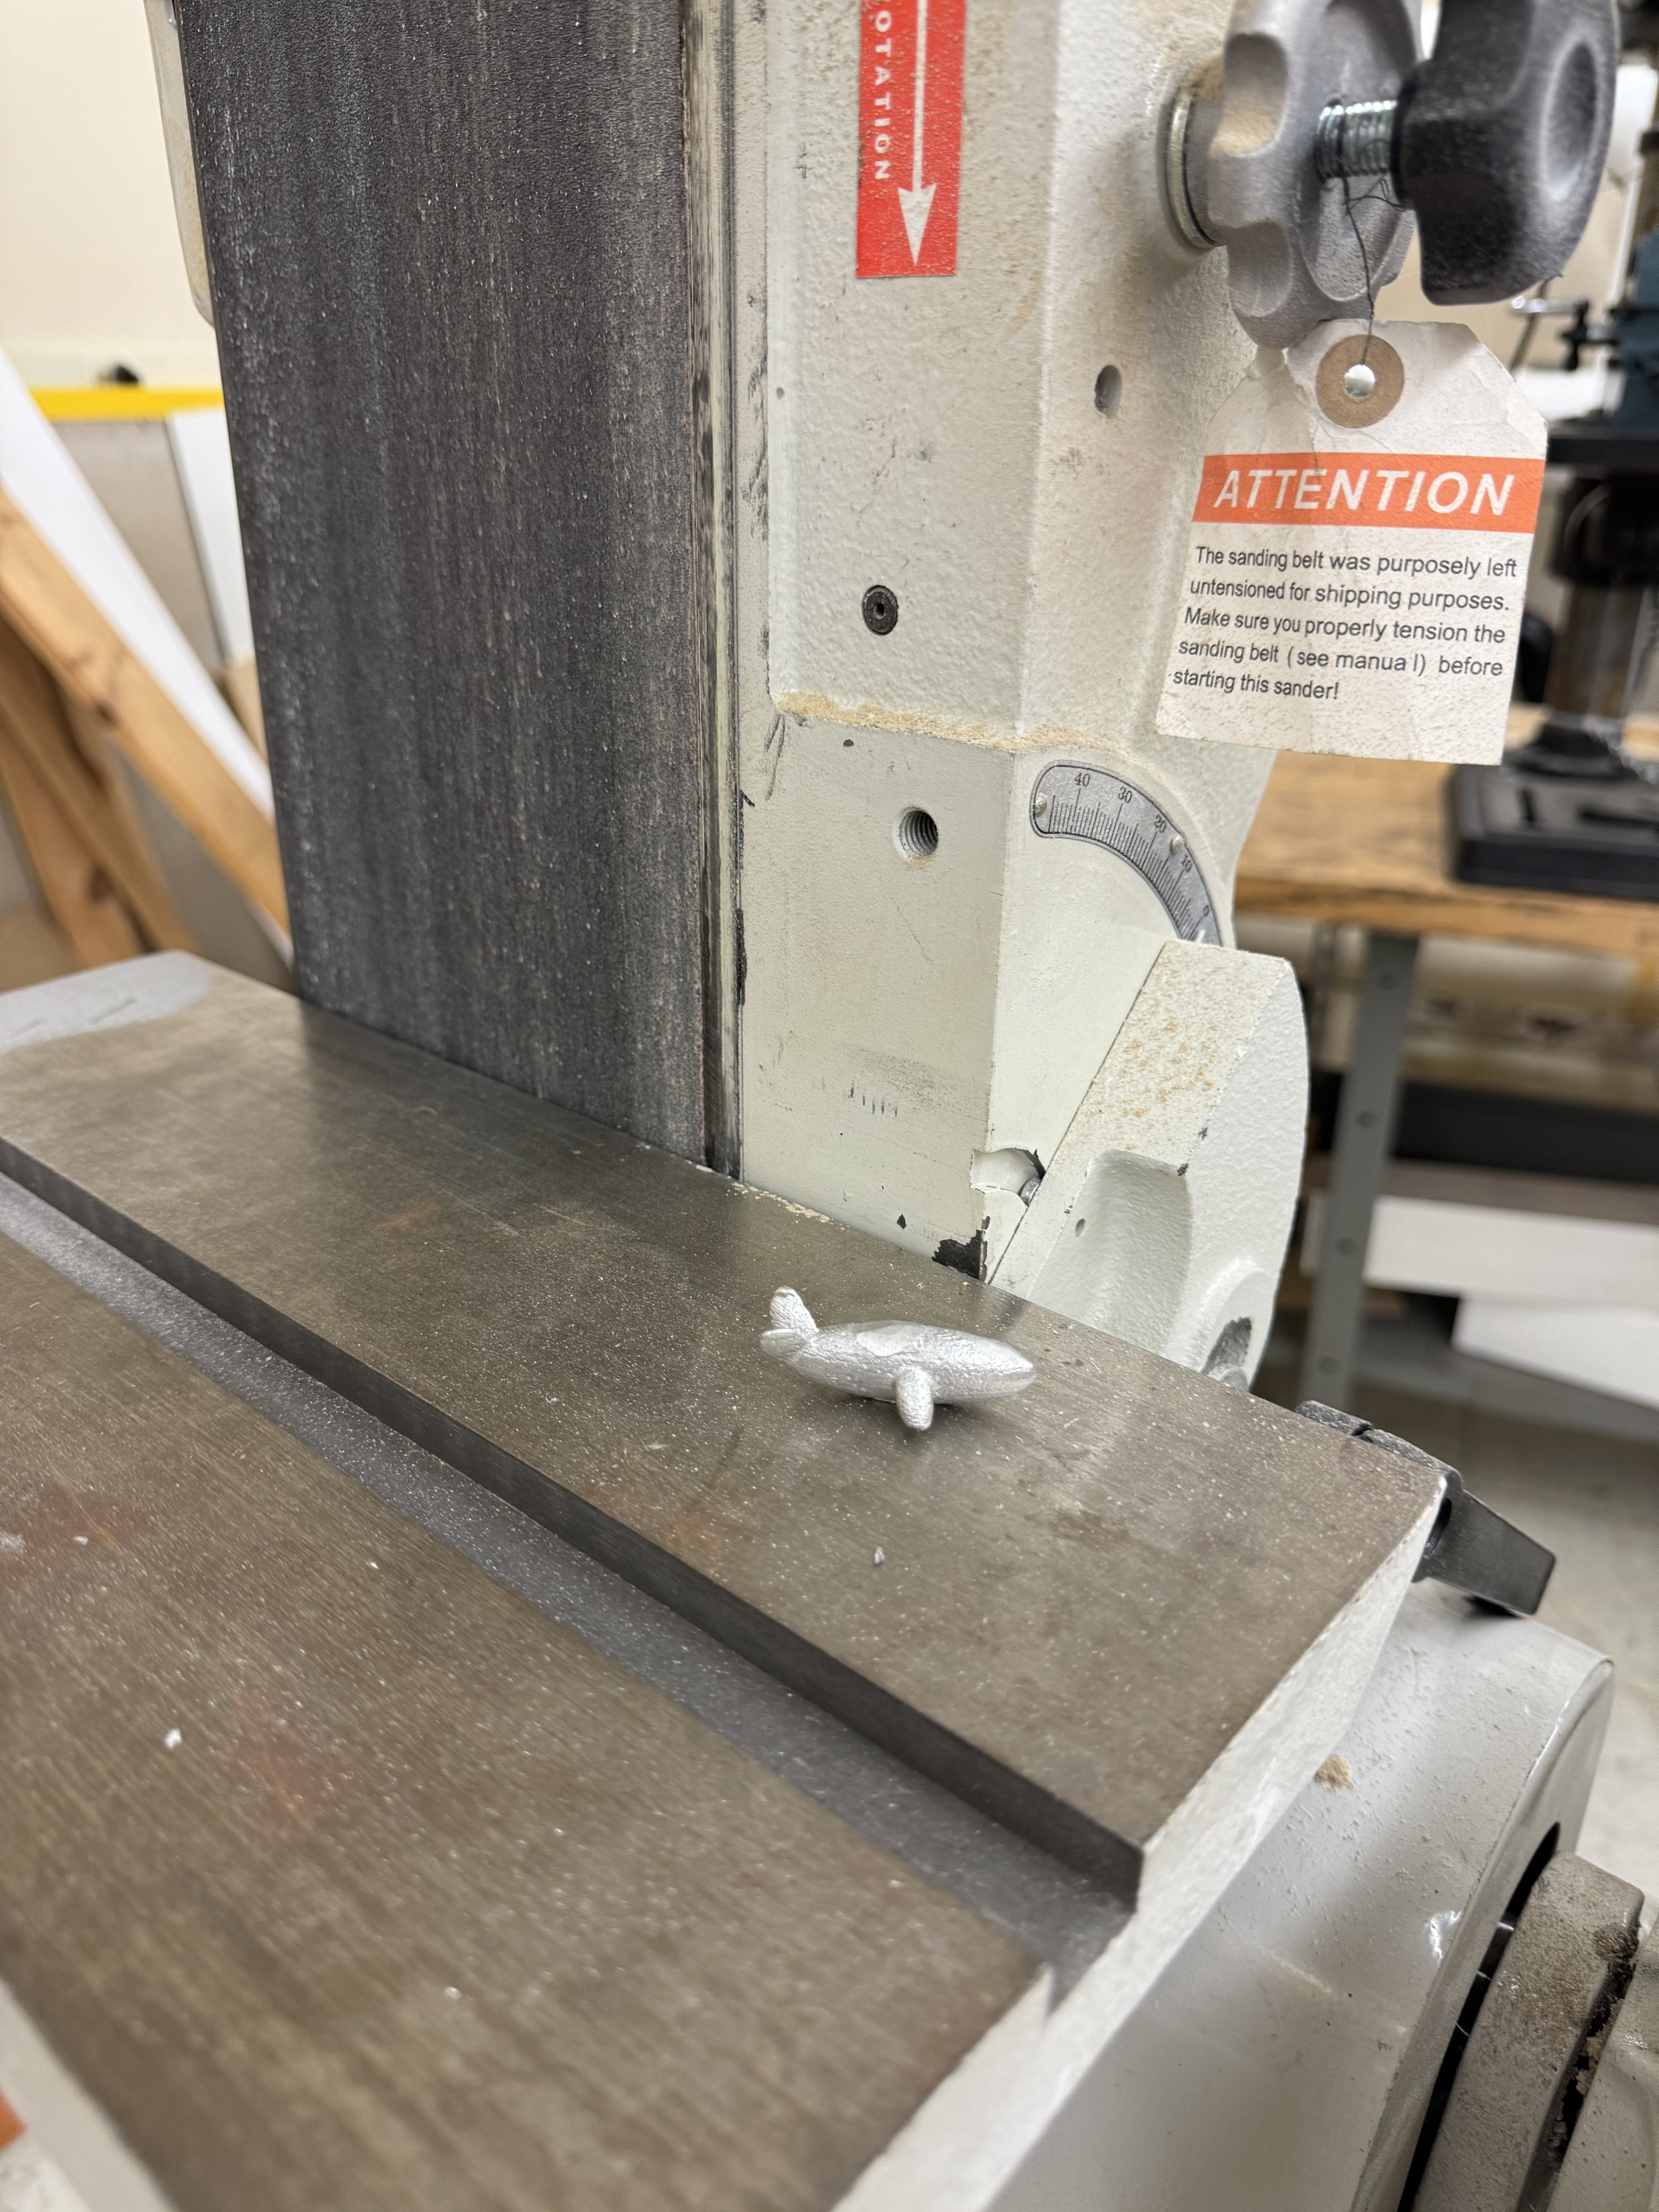
Using a bandsaw, a belt sander, and a disc sander, the leftover extra pewter was removed.
60 Grit
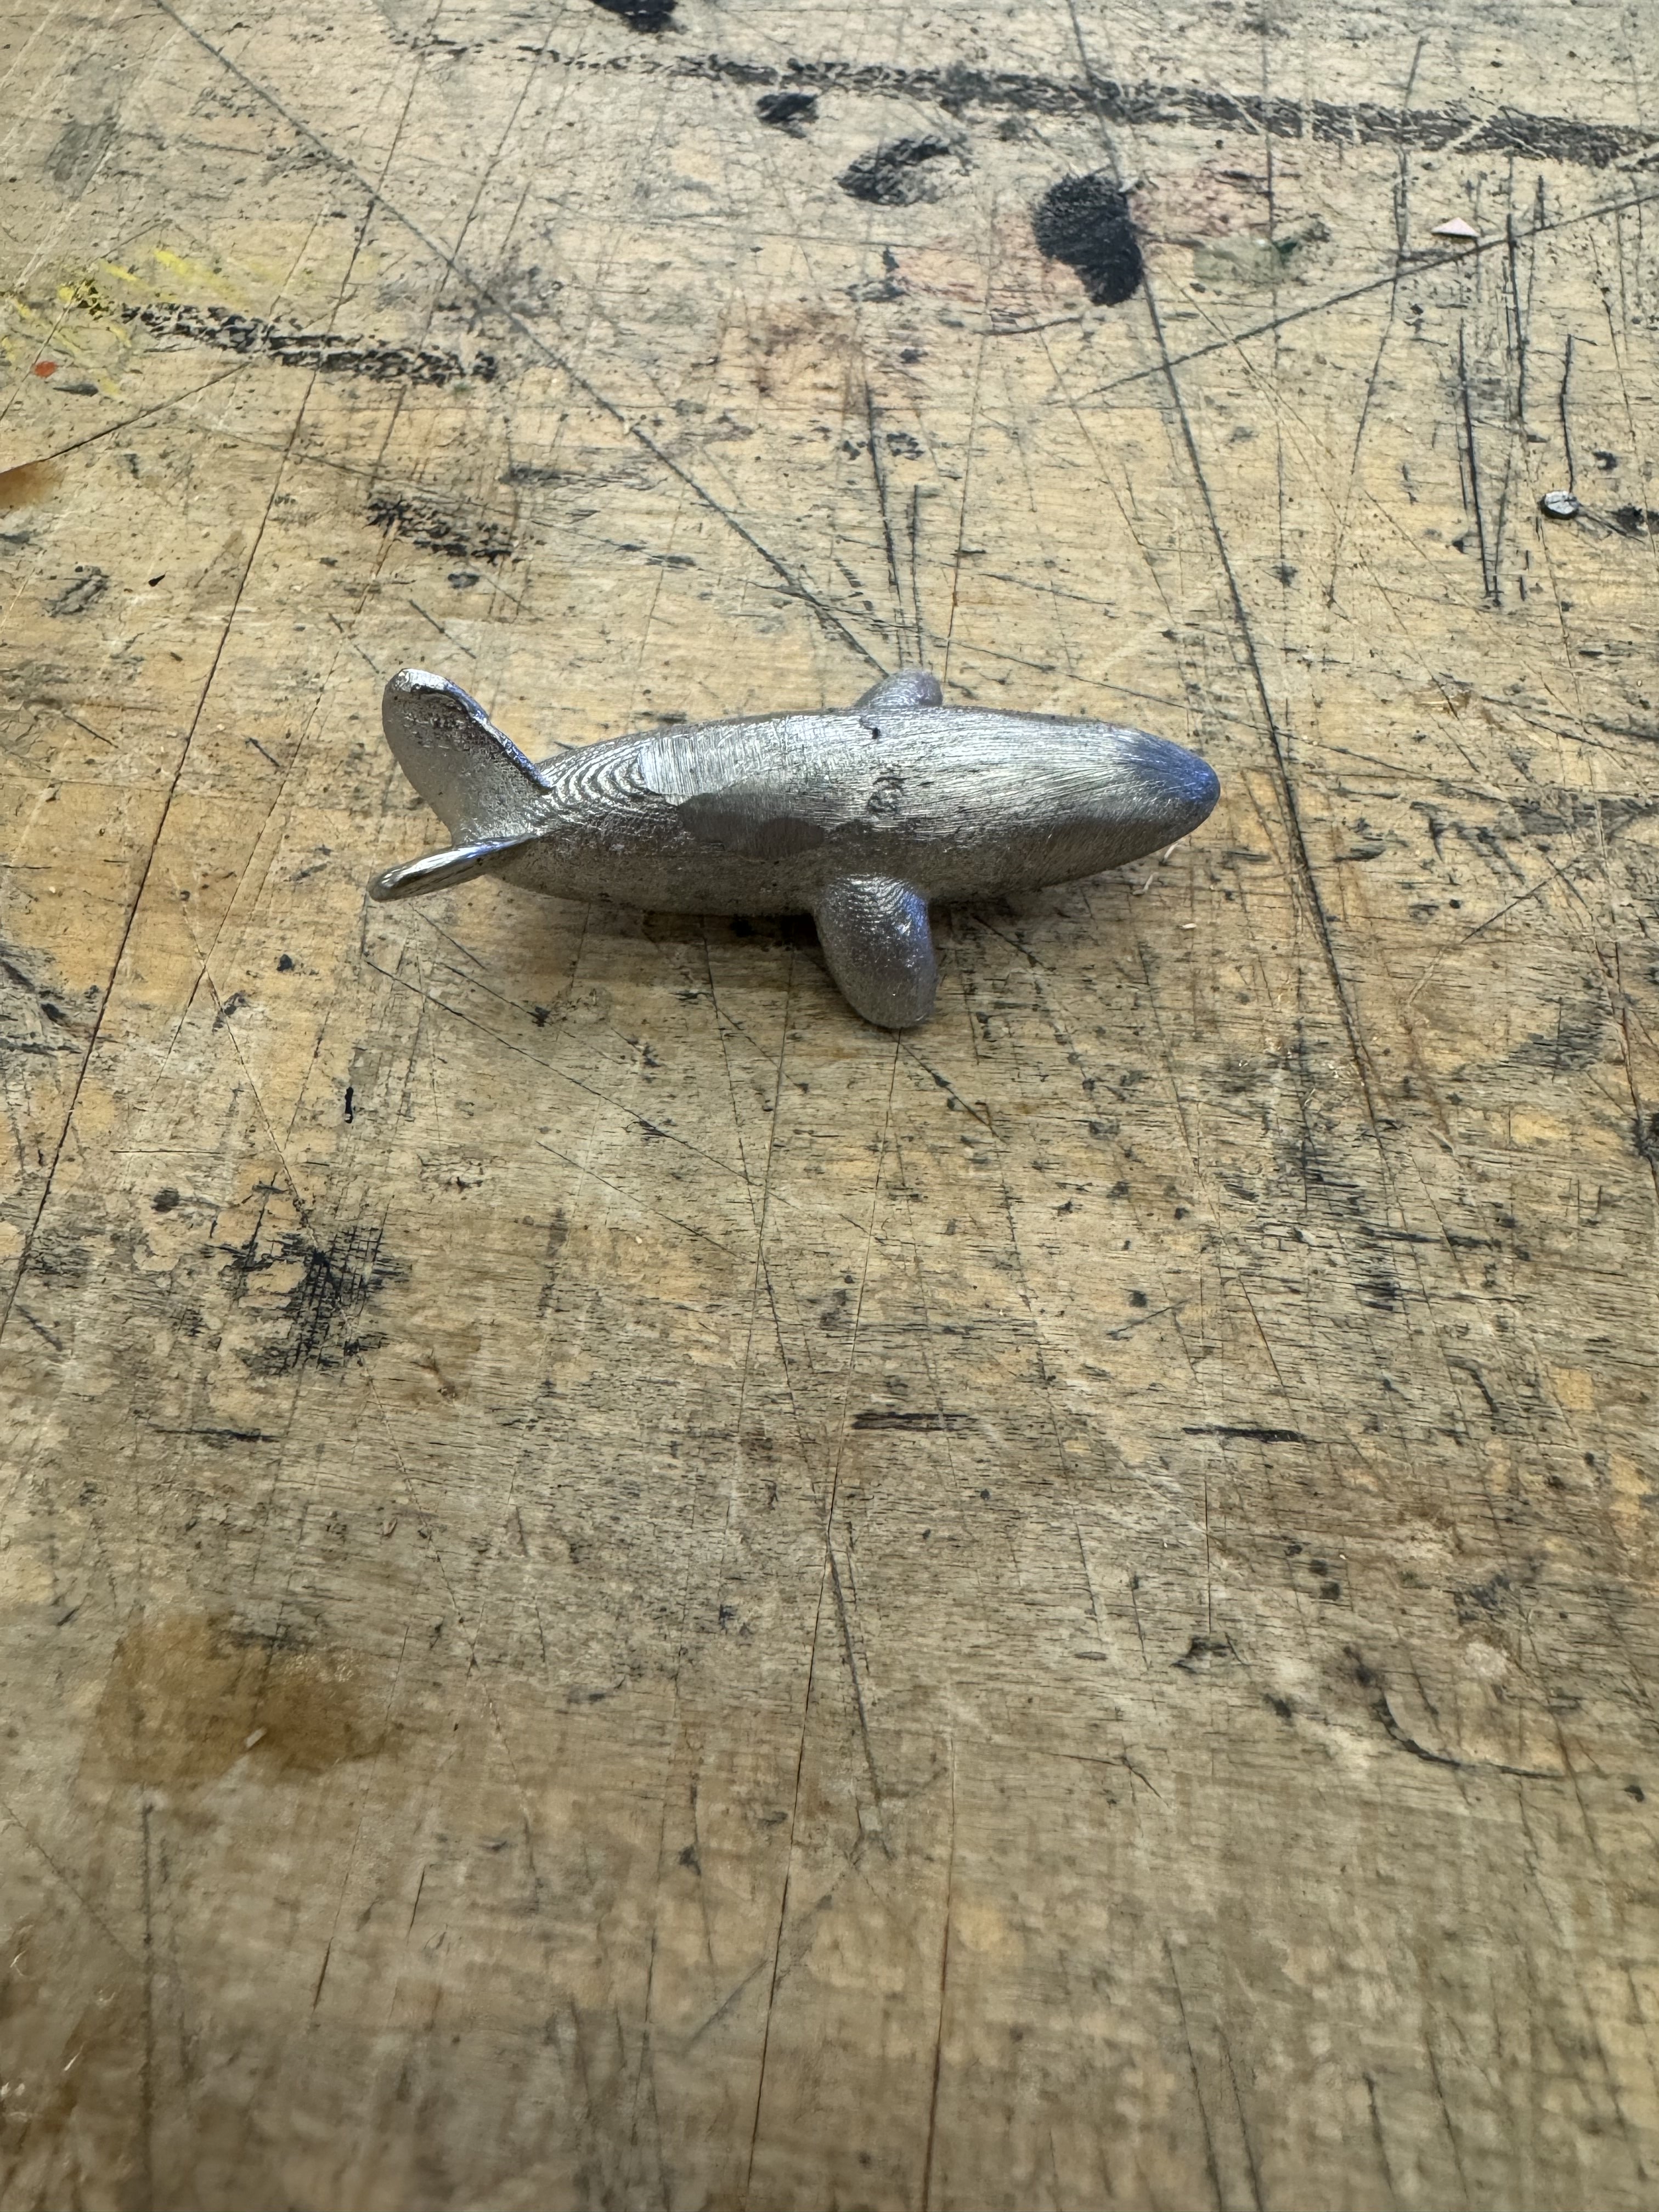
I took 60 Grit Sandpaper and sanded it further to refine the shape.
80 Grit
I further smoothed the surface with 80 Grit Sandpaper
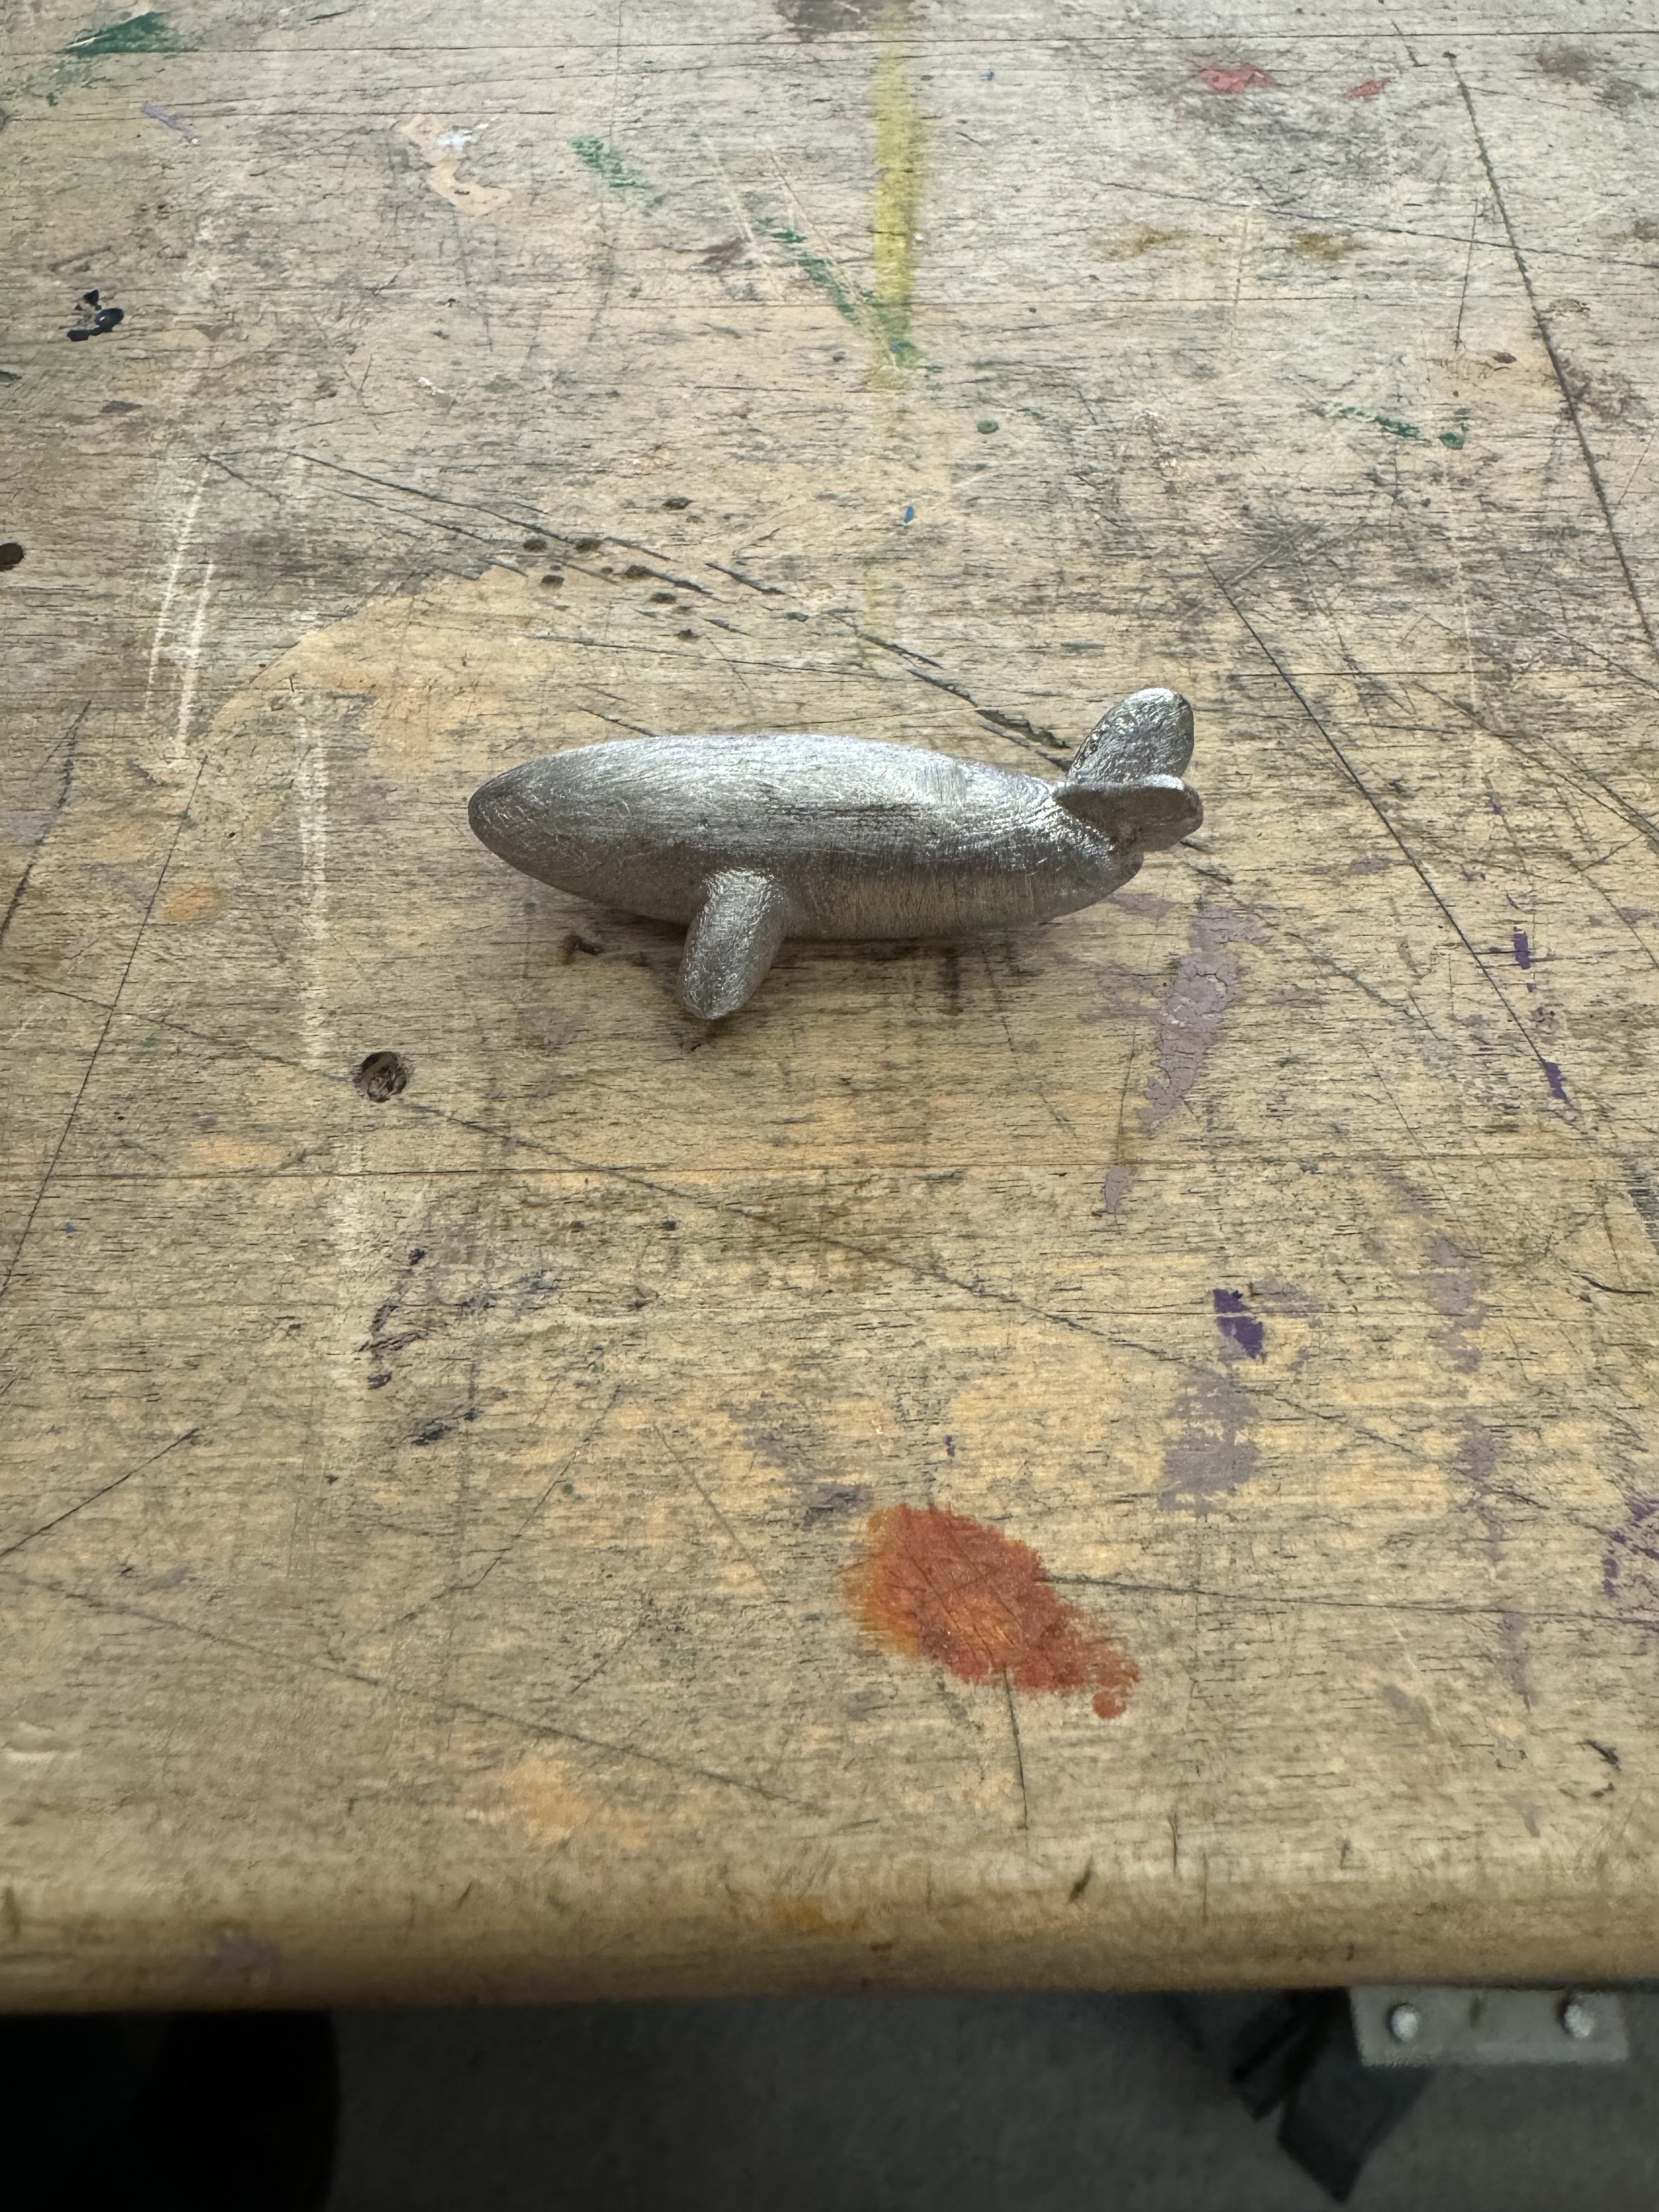
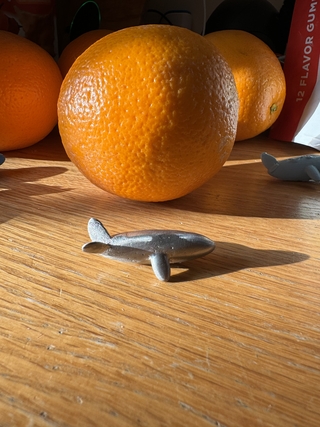
The Final PEWTER WHALE
After over an hour of a half of sanding the whale using 60 Grit, then 80 Grit, then 120 Grit sandpaper, this is the final product! I wish I could have continued sanding finer and finer grit to showcase for this project, however the time constraint got to me quickly. I think this is a great demonstration of what I’m able to do with molding!
An Army of Whales!
I put an image of the successful whales next to the mold, and all my fails along the way because I learned a lot in each one of them!
