I’ve always wanted an Olympic mascot, but never had the chance to witness the Olympics in person and acquire one myself. My favorite was ‘Bing Dwen Dwen’, the panda mascot from the 2022 Beijing Winter Olympics. With the games taking place in Beijing, not far from my home, I witnessed the widespread obsession with Bing Dwen Dwen. It seemed like everyone loved this adorable mascot, and many of my friends longed to have one as well, including me. Therefore, I decided to use this project as a unique opportunity to make one myself by casting a model of Bing Dwen Dwen.
Cast of Bing Dwen Dwen: The 2022 Beijing Winter Olympics Mascot
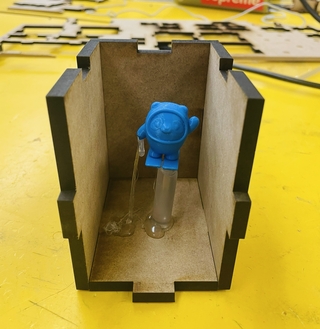
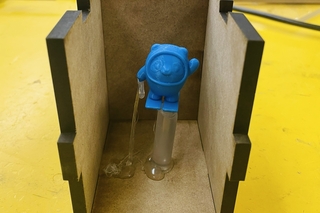
The setup for the first mold.
Making the Mold
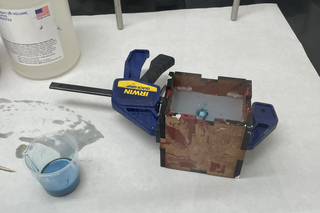
The initial phase involved creating a silicone mold from a model of Bing Dwen Dwen. This required attaching a 3D printed model of the mascot inside a laser-cut box, incorporating a sprue and vent attached with hot glue for the casting process. The sprue, made from a hot glue stick, was positioned at the bottom of the skis, while the vent, made from 3D printer filament, was attached to an arm pointing downwards. To facilitate easier separation of the mold from the model and box, the assembly was sprayed with mold release before the silicone was poured.

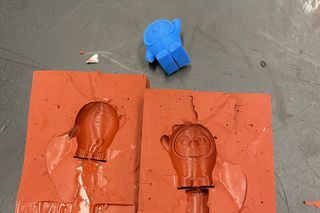
The two-part mold process: the first pour (left) and the second pour (right).
A significant challenge arose in ensuring the mold would adequately fill the skis without breaking them during demolding. To address this, I used MoldMax 60 for the silicone and opted for a two-part mold strategy, allowing for easier separation and minimal risk of damage to the skis. After the mold was cured and separated from the 3D model, it was time for the casting process. The general process for making the mold is outlined below.
General Process for Making the Mold
-
Set up and preparation
Attaching the 3D model to the laser-cut box with the sprue and vent, followed by the application of mold release.
-
Measuring and mixing the material
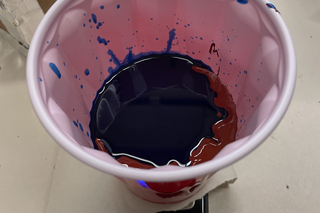
Carefully measuring parts A and B on a scale before pouring and thoroughly mixing them together in a cup.
-
Mold pouring
Pouring the mixture to fill the entire box and cover the assembly.
-
Curing and post processing
Carefully cutting open the mold after it has cured to remove the model, sprue, and vents, preparing it for casting
Casting
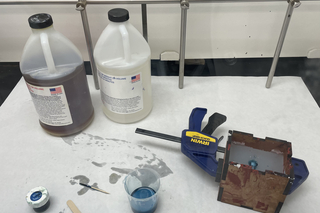
To ensure the mold was ready for pewter casting, initial casts were made with urethane. This required measuring and mixing the two parts of the polyurethane casting resin with dye before pouring it into the tightly clamped mold. The general process for casting the figure is outlined below.
General Process for Casting
-
Set up and preparation
Reassembling the mold and securely clamping it together for casting, then placing it under the fume hood along with the urethane for added safety.
-
Pouring
Pouring the urethane mixture or pewter into the mold.
-
Curing and extracting the cast
Carefully removing the cast model from the mold after the urethane or pewter has settled and cured.
-
Post processing
Cutting off the sprue with a hacksaw and removing excess parts by filing and sanding.
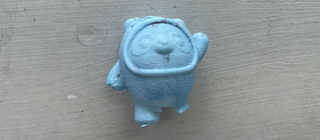
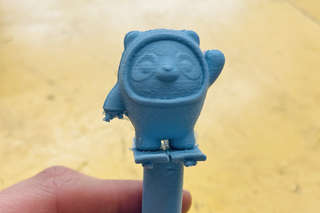
The unsuccessful cast from the first mold.
Despite thorough preparation, the first attempts at casting were not entirely successful, with the body and skis not fully forming as intended.
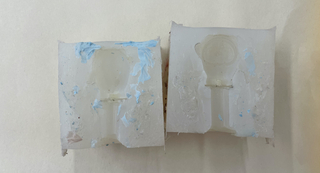
The new mold for the figure, made from Dragon Skin, maintaining the initial sprue and vent setup.
This led to a decision to create a new mold using Dragon Skin, chosen for its flexibility and potential for easier demolding without breaking the skis. The mold followed the same procedures but was done in one part instead of two. Subsequent casting attempts with the new mold showed improvement, yet issues with ski formation persisted, prompting further adjustments.
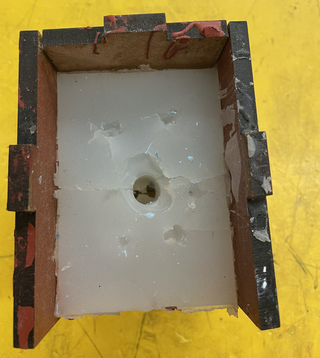
The third mold, featuring four additional vents attached to the tip of the skis.
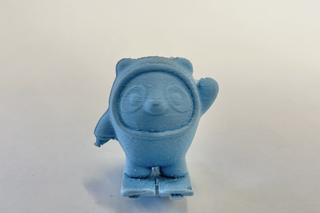
Therefore, another mold was created using Dragon Skin, which finally achieved a more satisfactory result with additional vents added to the mold design. Although there were some imperfections with the skis in the initial cast, the second cast using this mold turned out to be perfect, resulting in a complete cast that included well-formed skis.
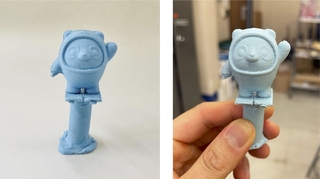
The first (right) and second (left) urethane casts with the third mold.
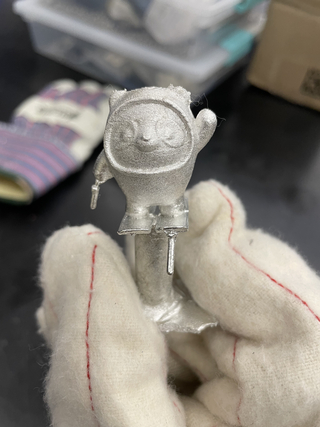
The pewter cast figure.
After successful casts with urethane, the mold is now ready for pewter casting. This process mirrors the urethane casting but requires more careful timing in the demolding process, allowing the pewter to cool sufficiently and harden before mold separation to prevent damage to the skis.
The final step was to post-process the figures by trimming off the excess material. The sprue and vents were carefully removed, using a hacksaw for urethane casts and a bandsaw for pewter casts, to prevent damage to delicate parts like the skis. The figures were then sanded and filled where necessary. This step was crucial for achieving a smooth, uniform surface, especially in areas too fragile for close cutting.
The Final Product
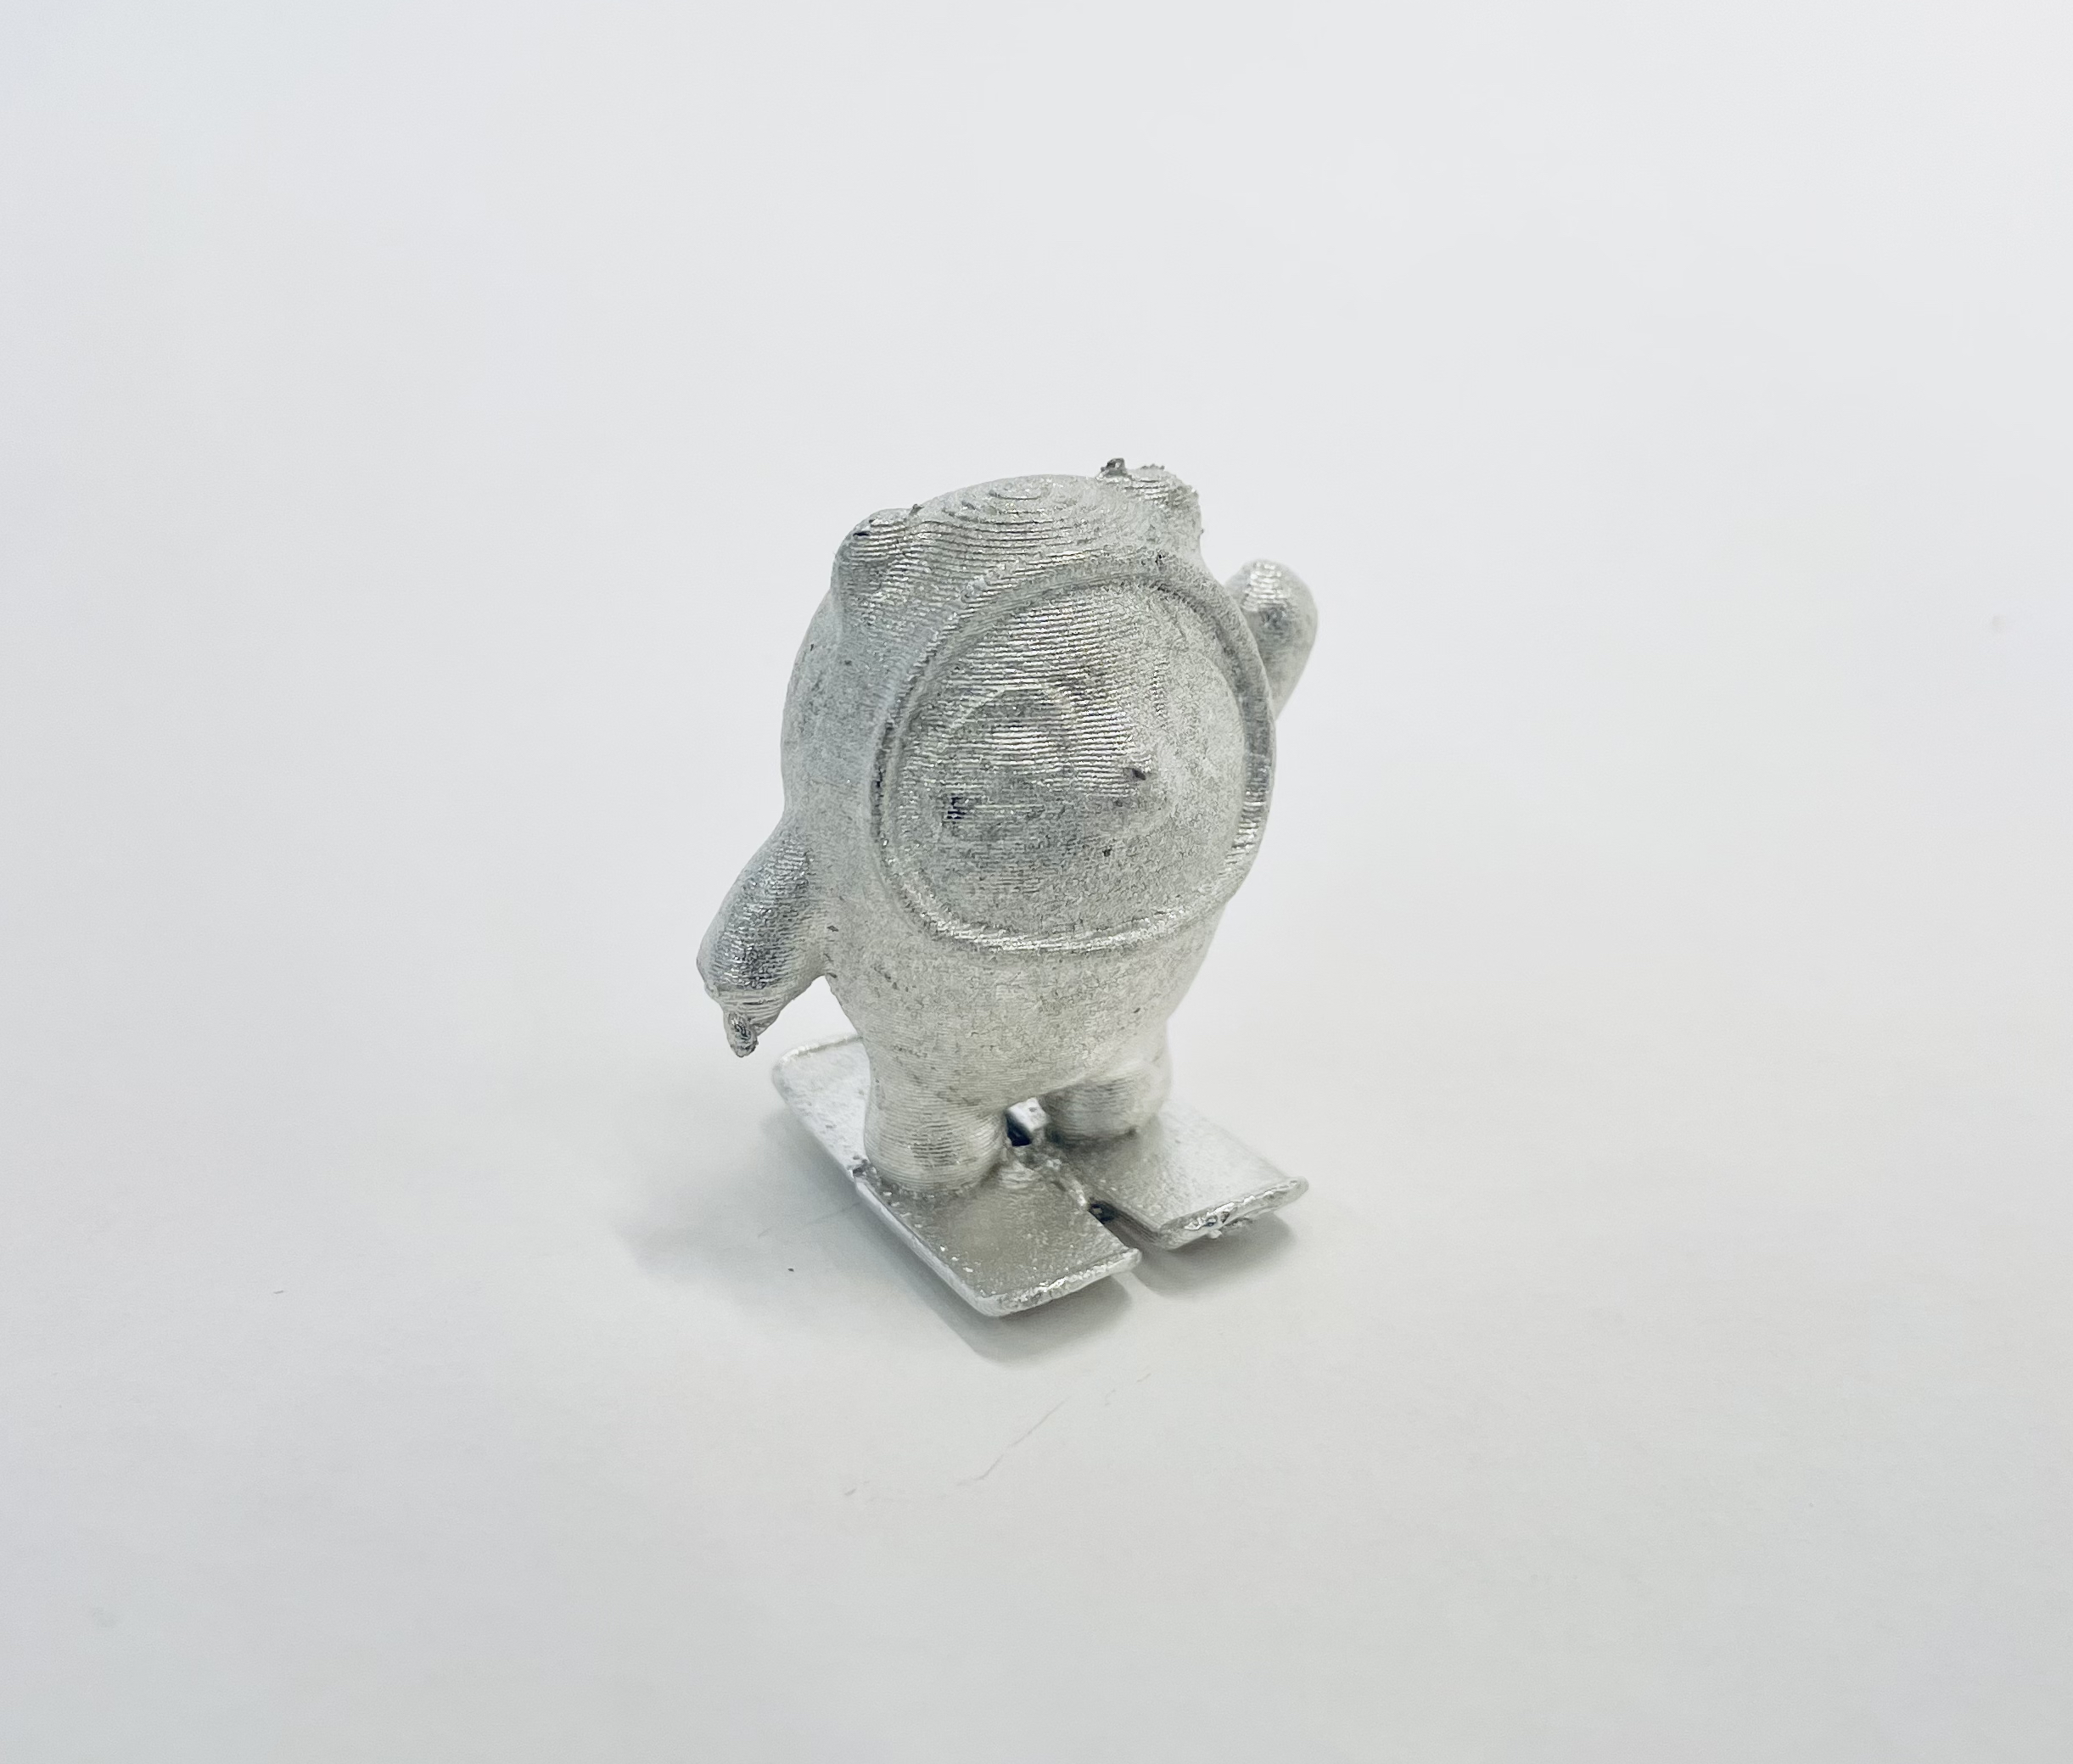
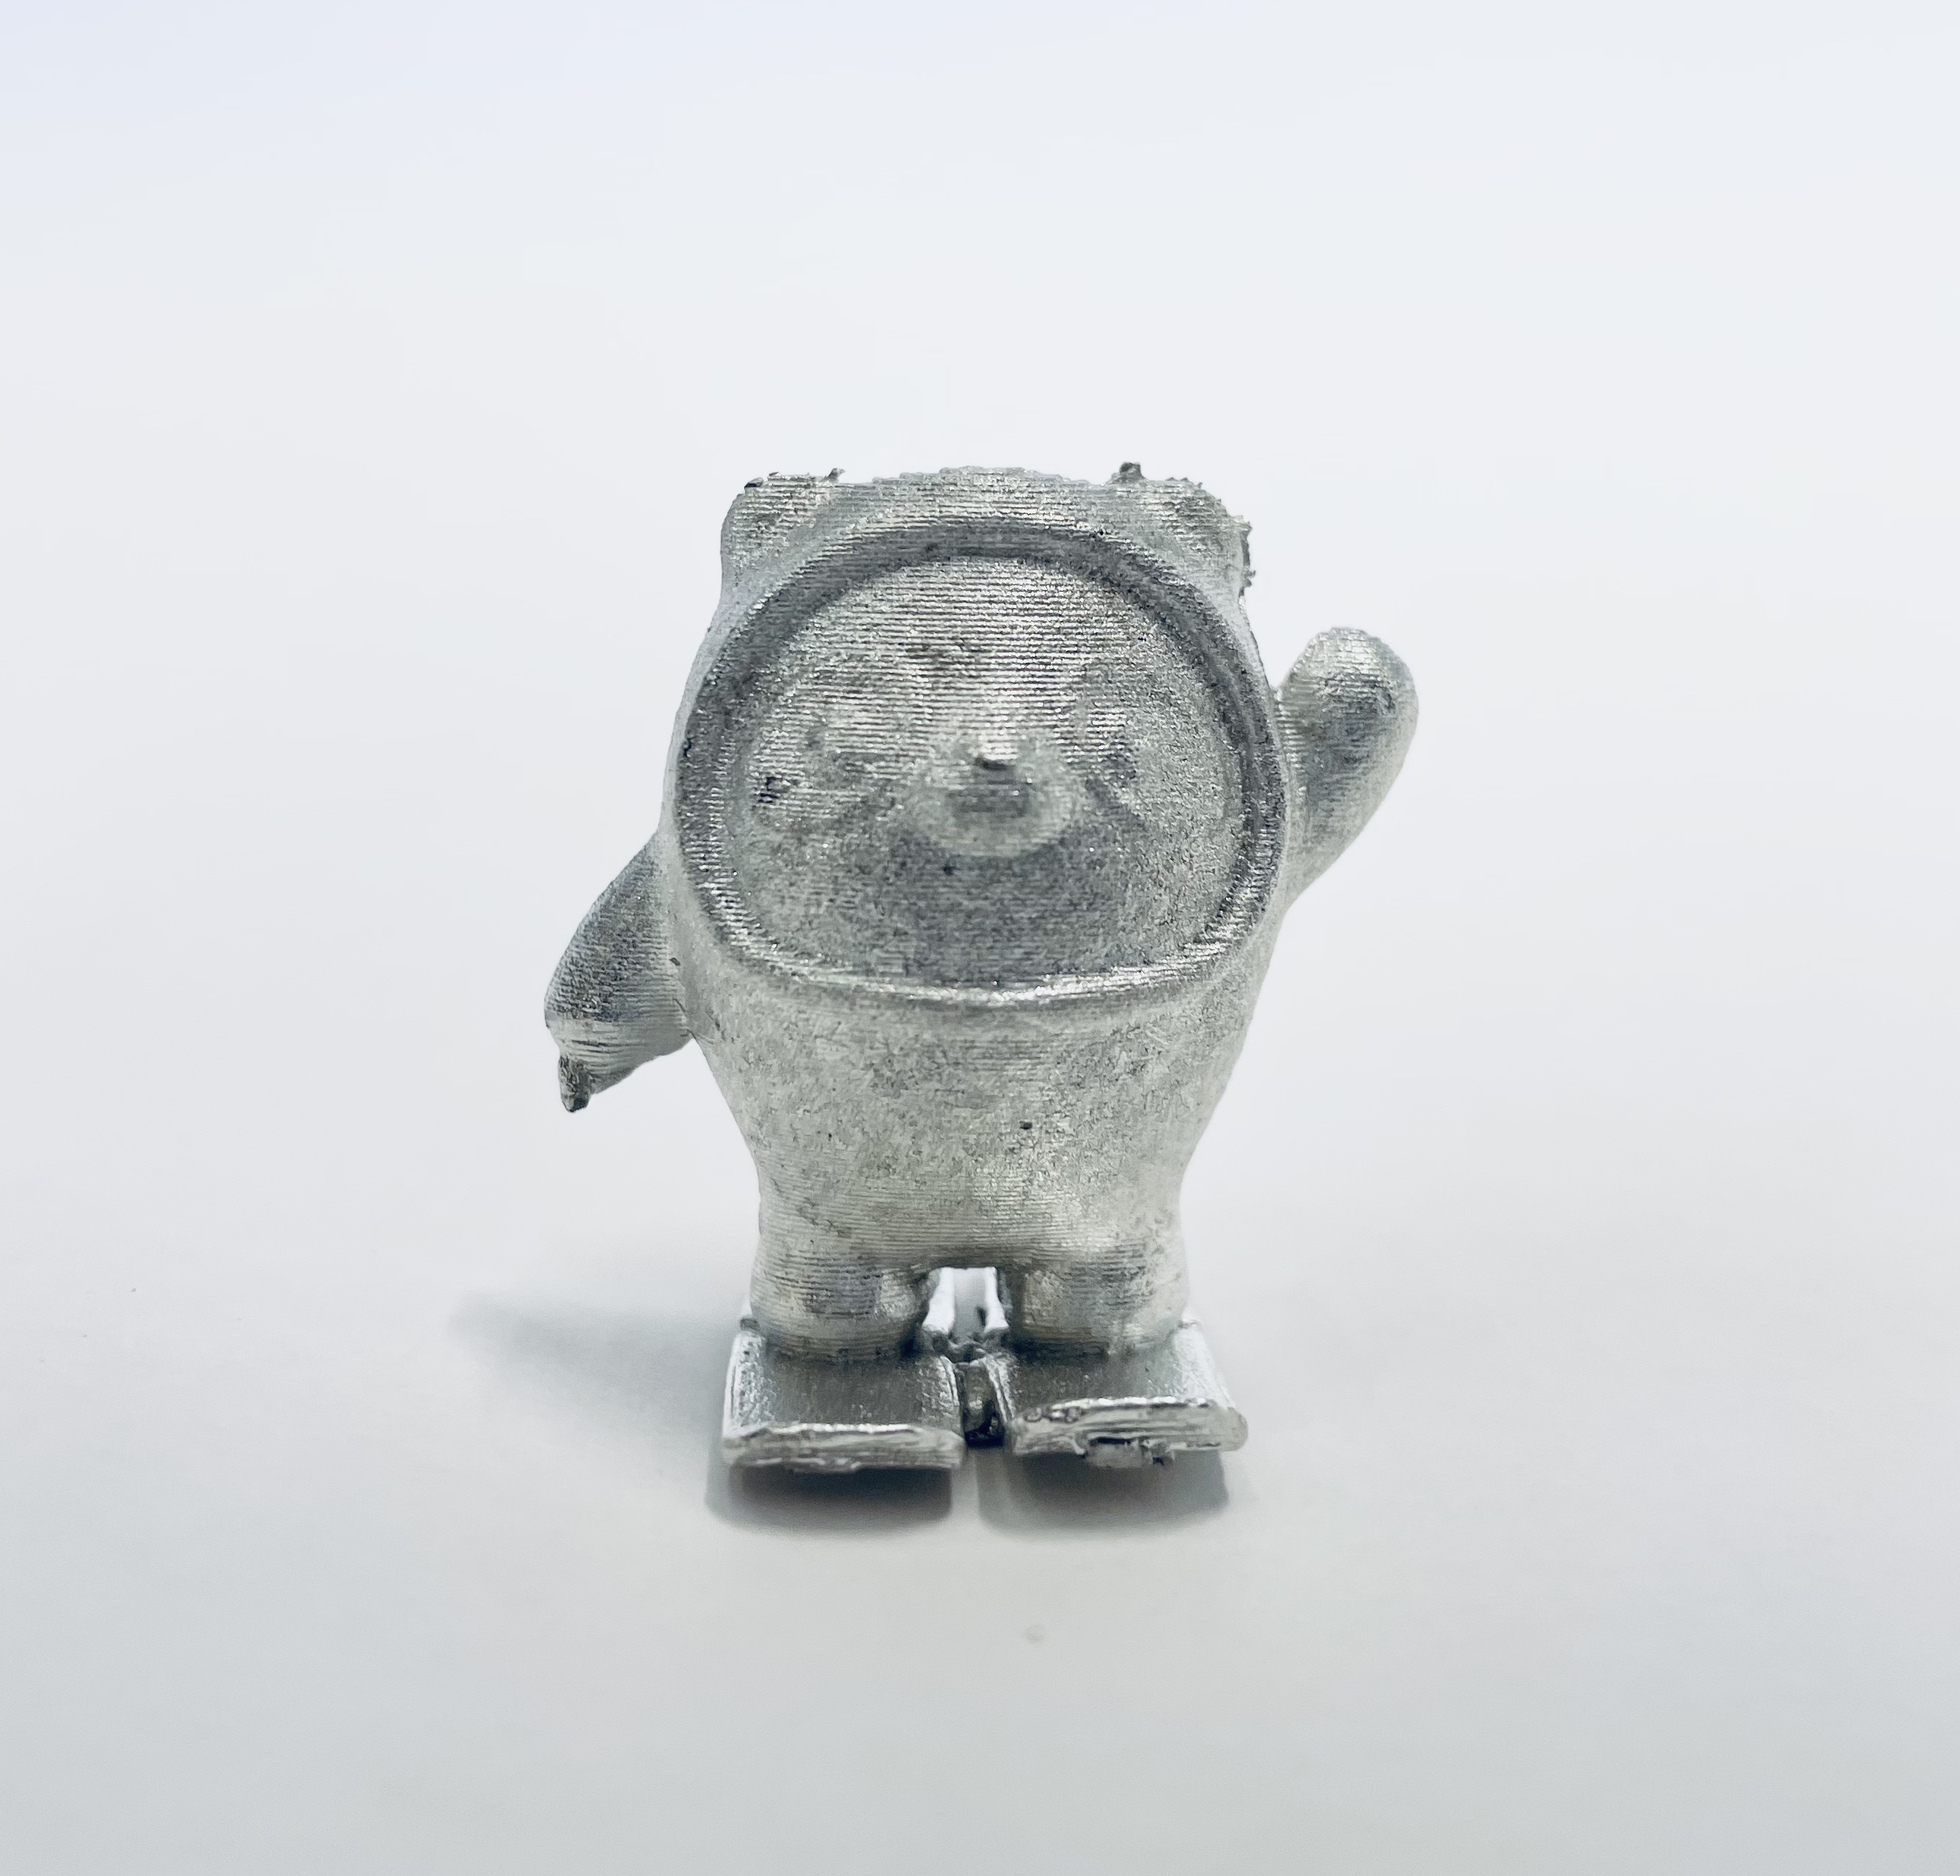
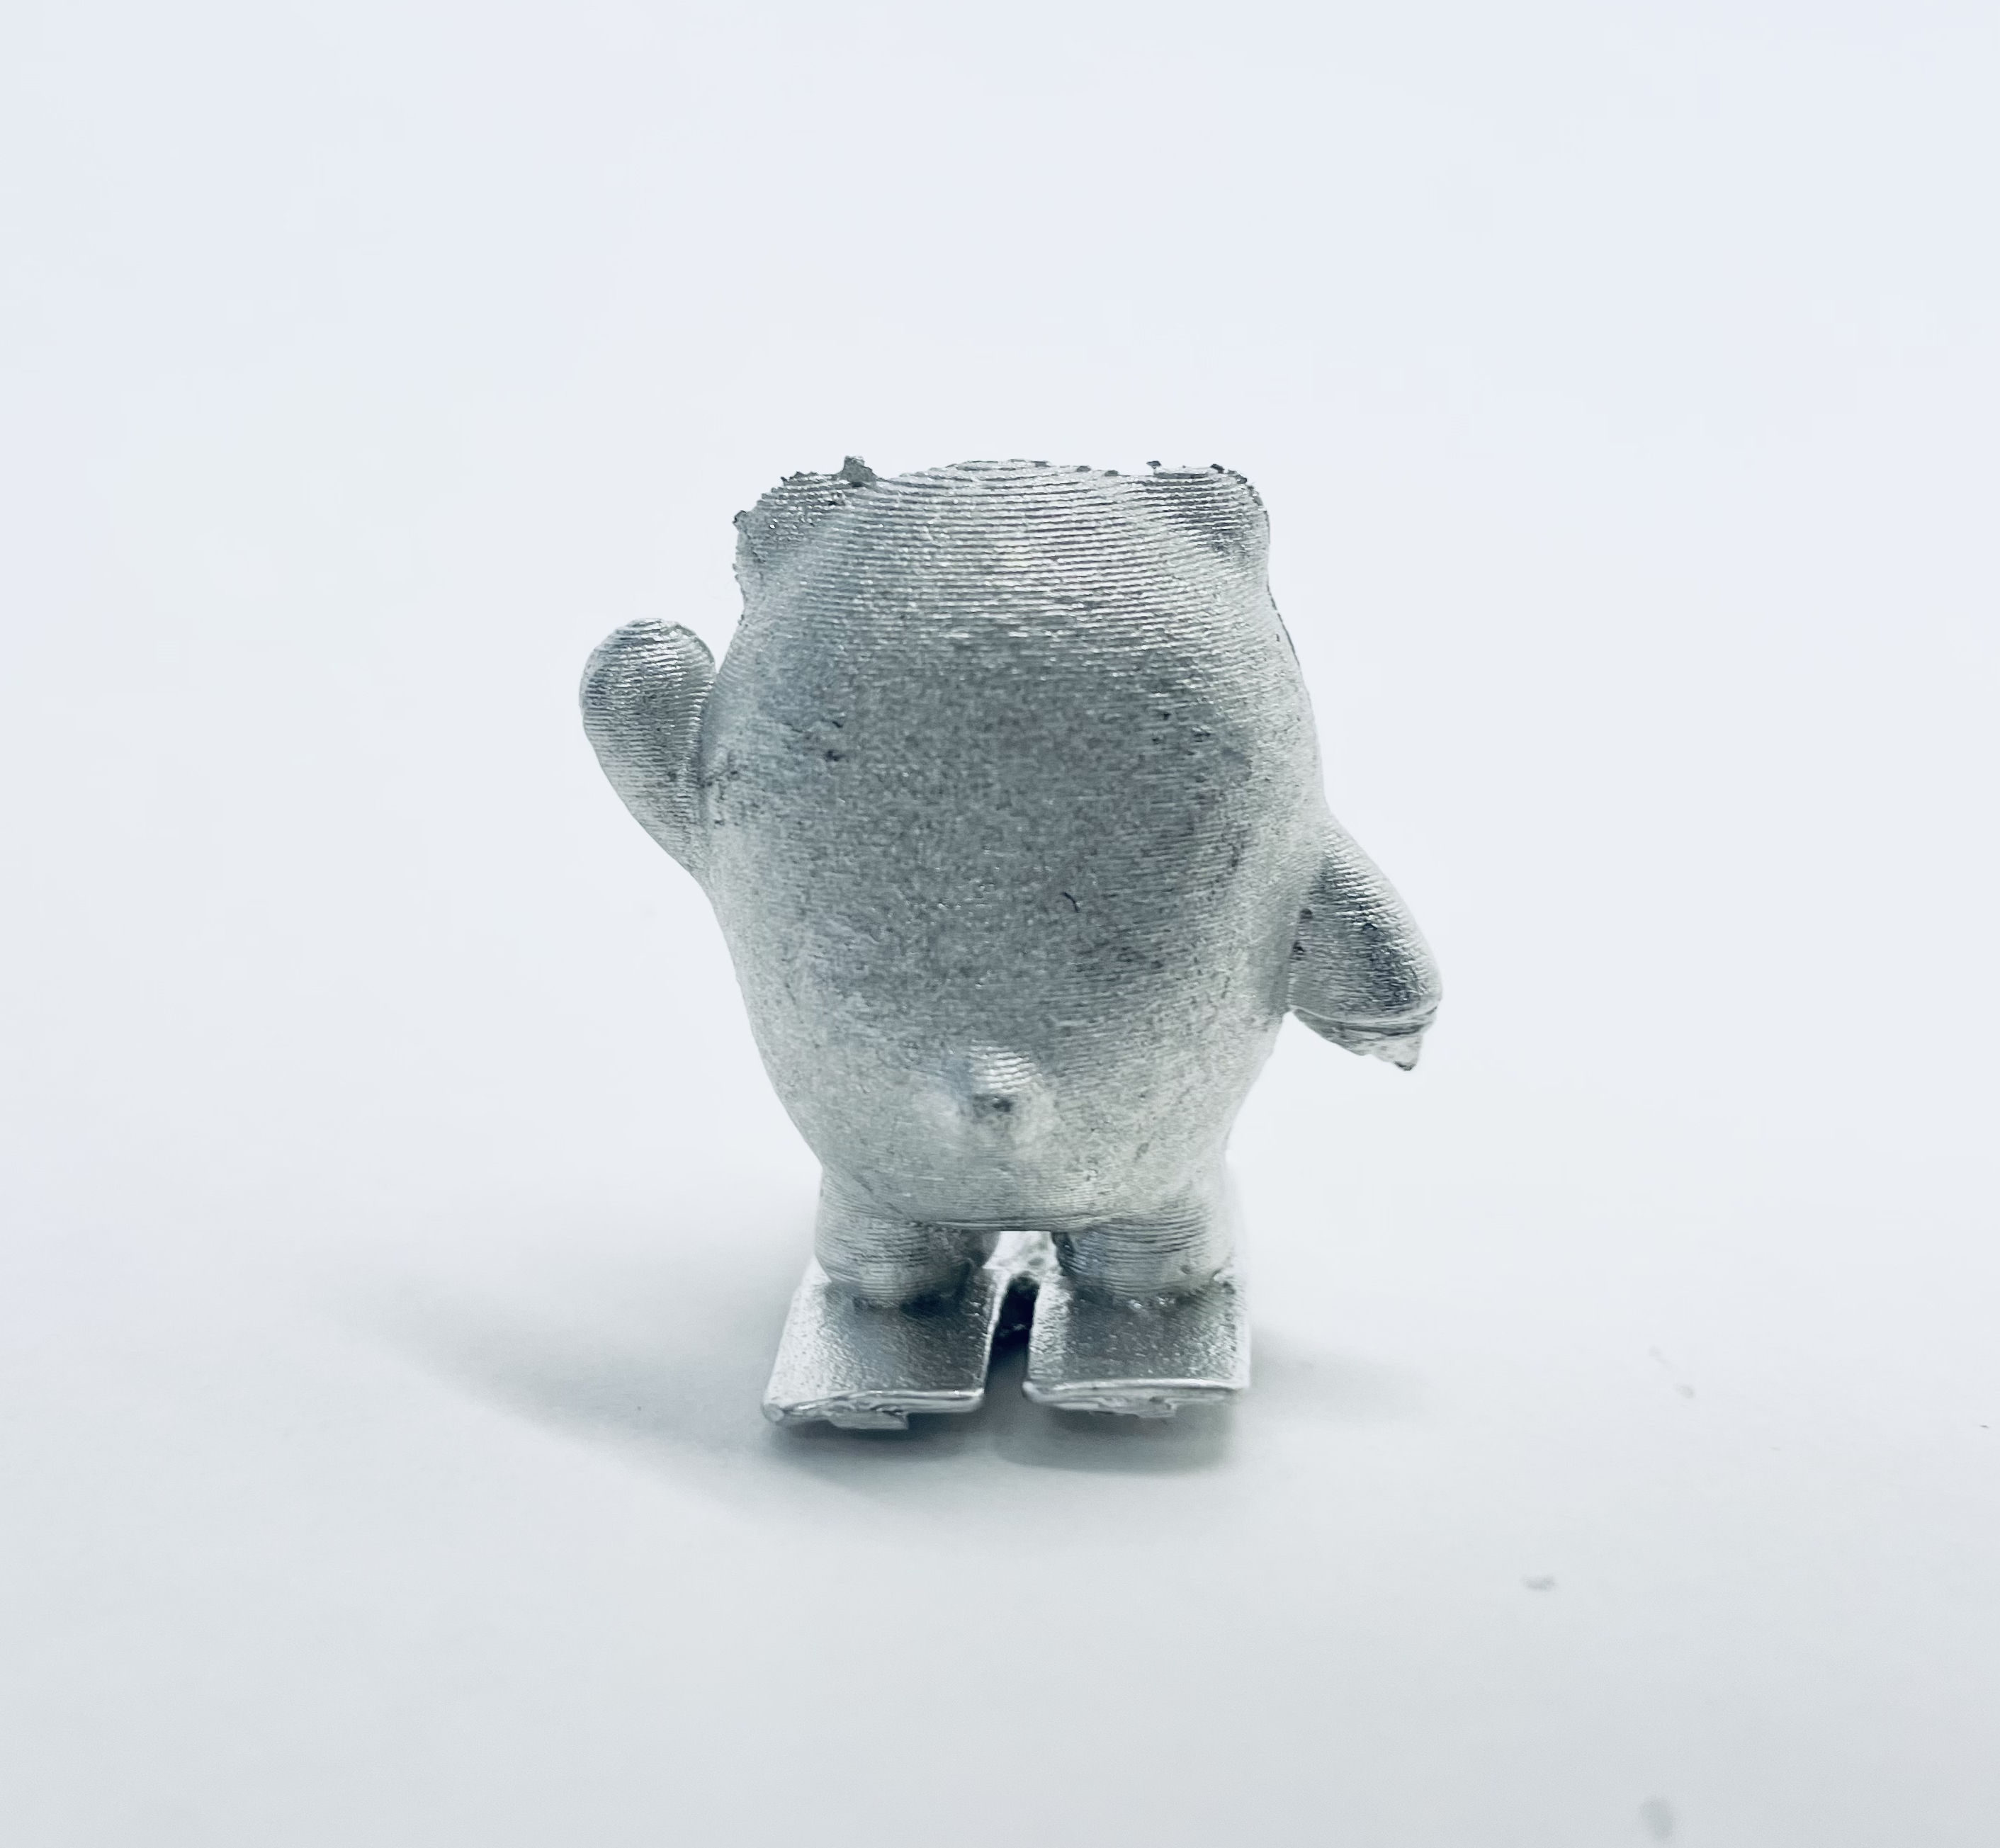

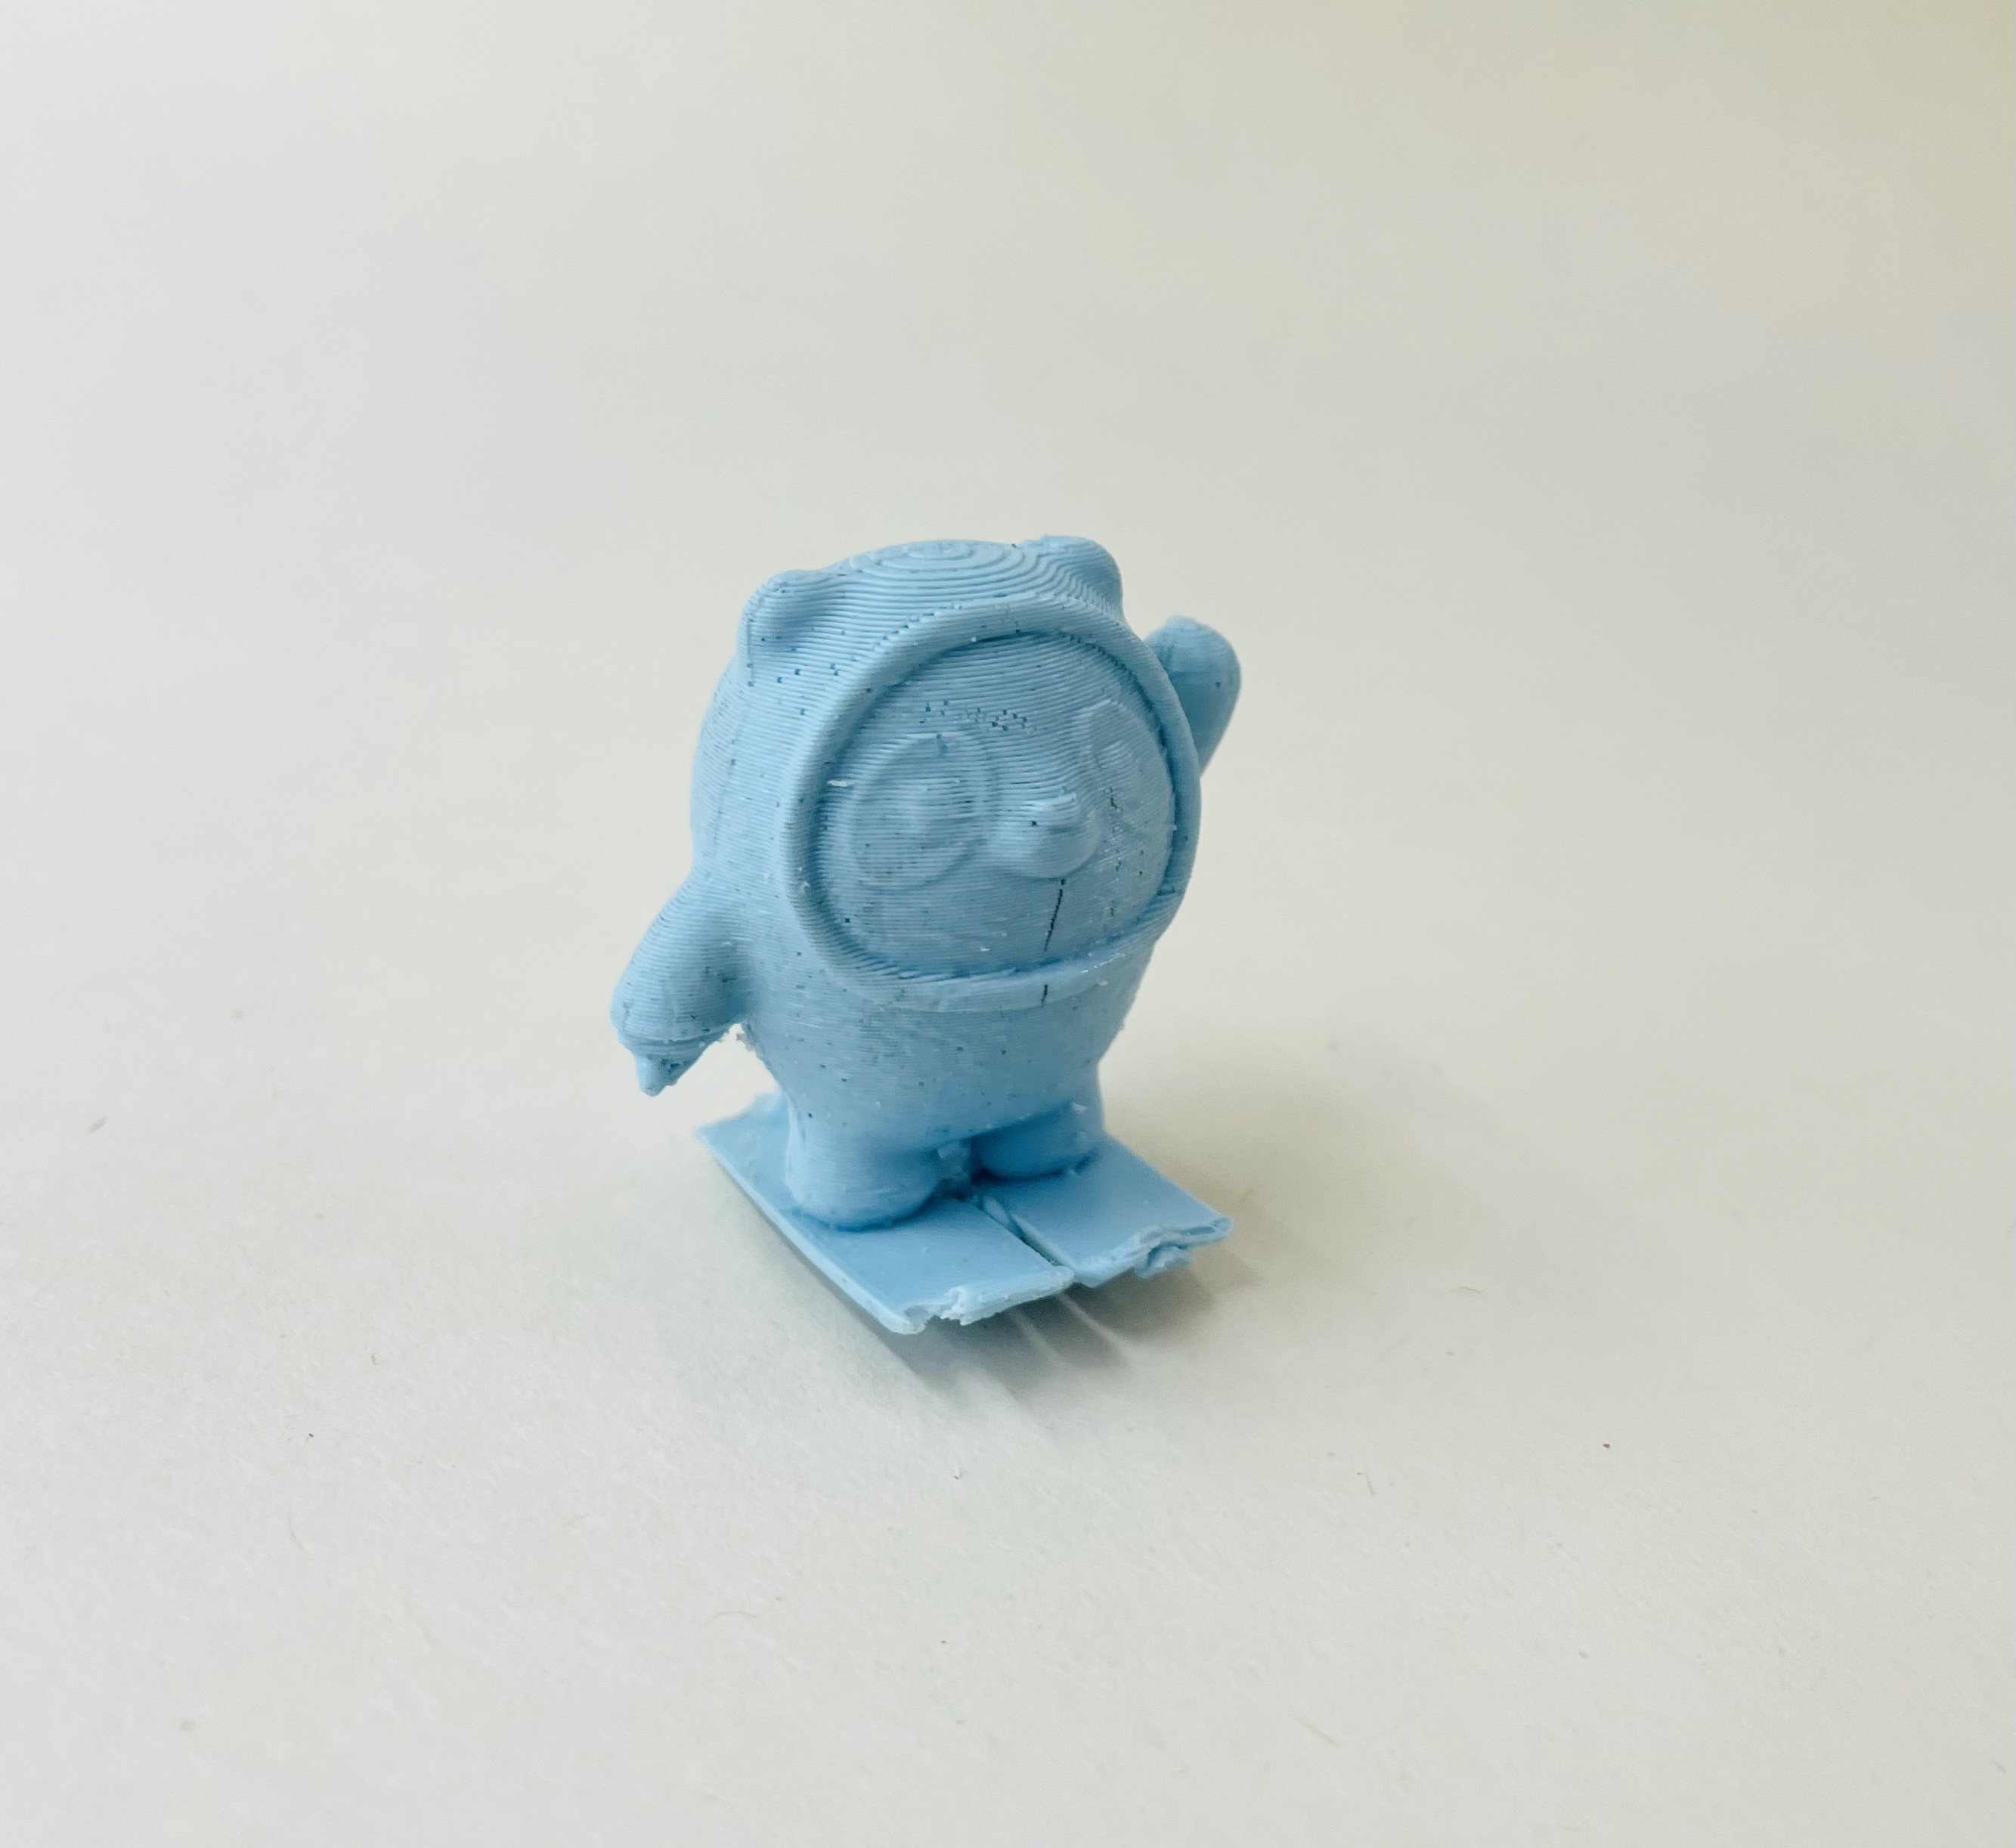
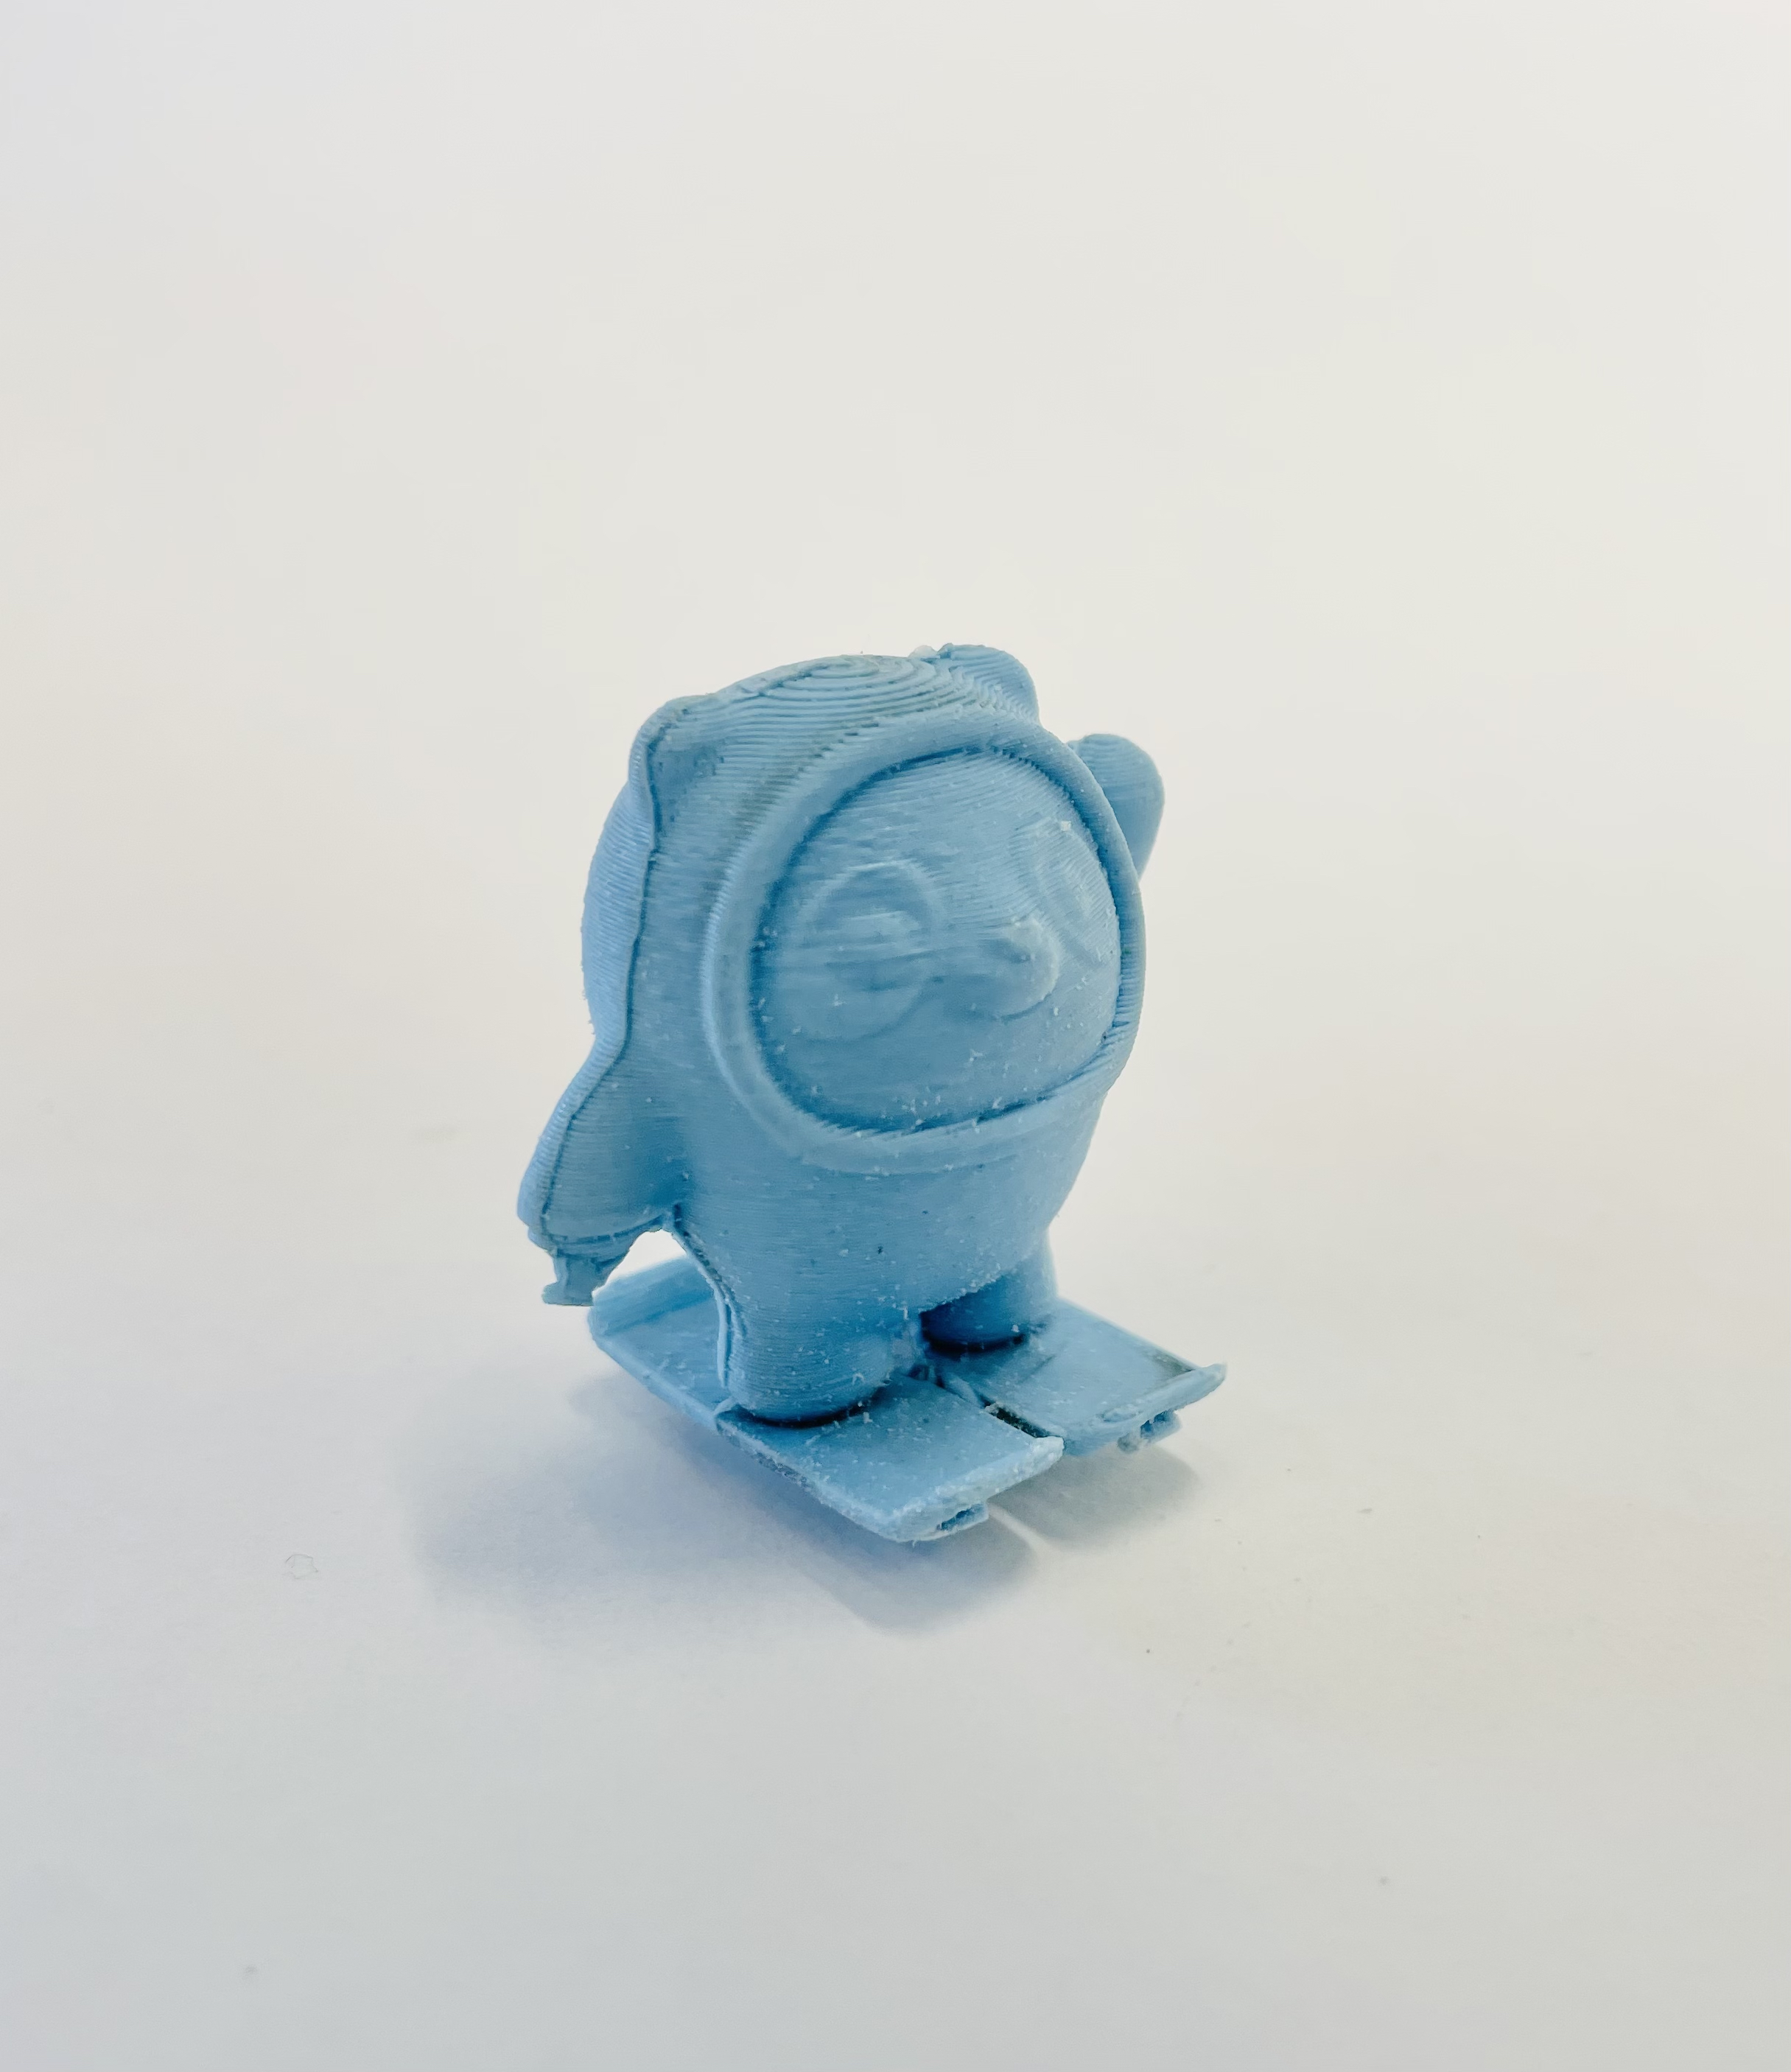
The isometric view of figure.
The front of figure.
The back of figure.
The side of figure.
The first urethane cast with the third mold.
The second urethane cast with the third mold.
The final results were amazing after all the failed attempts at making the mold and casting. I learned a lot from these challenges, enjoyed the process, and am really happy with the final product. Now, I finally have my own Bing Dwen Dwen figure!
