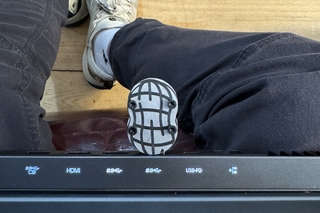
It’s aluminum, it’s ergonomic, got a great shape - it’s a PEANUT FLASH DRIVE.
First, as always, comes the idea and then a drawing or SolidWorks model. The geometry of the flash drive is incredibly simple - it’s just two, 1 inch diameter circles, overlapped such that the centers of the circles are half an inch apart. The crevice where the flash drive would fit in was already pre-made by the instructor of this course, as well as the type of screw we were going to be using, so I chose the appropriate size, threading, and location for where I saw this might best fit. The holes are directly above and below the centers of the circles, and they’re centered by the remaining gap I had leftover in the material.
Peanut Flash Drive
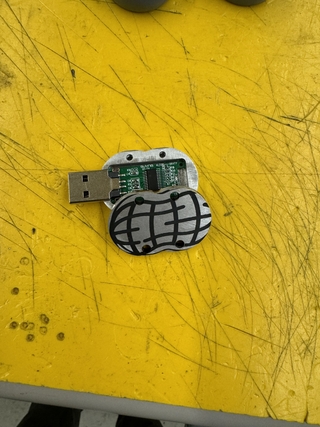
Flash Drive Partially Opened
The Design! (Click in for more info!)
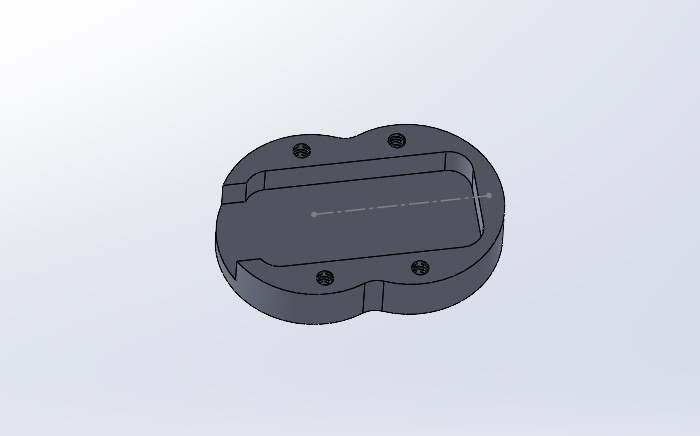
Base CAD
The SolidWorks Model of the base! Considerations to the manufacturing processes were made: all edges were filleted by 1/8 inch to represent the size of the bit I was using in the CNC
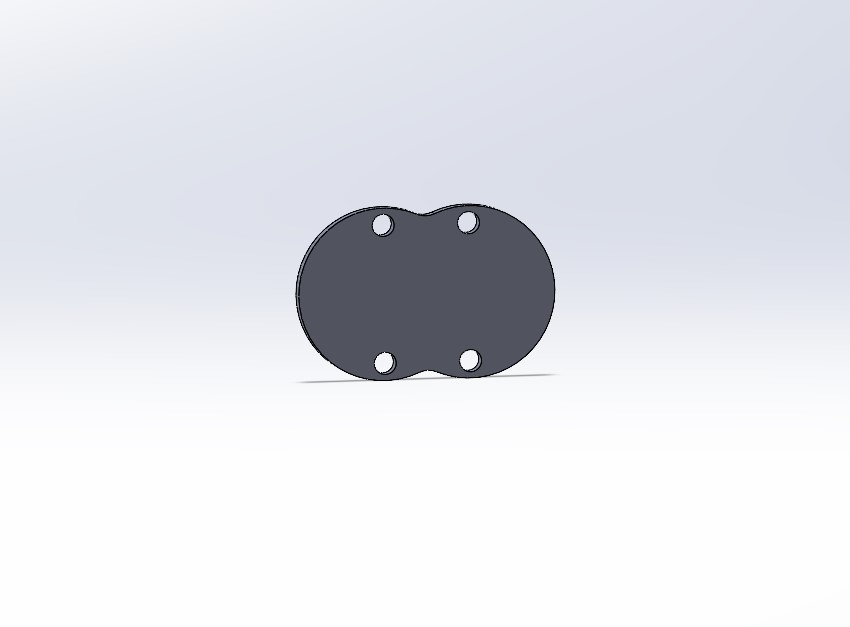
Cap CAD!
The SolidWorks Model of the CAP! The holes are slightly bigger than the threaded base holes to allow for easy fit for the screws.
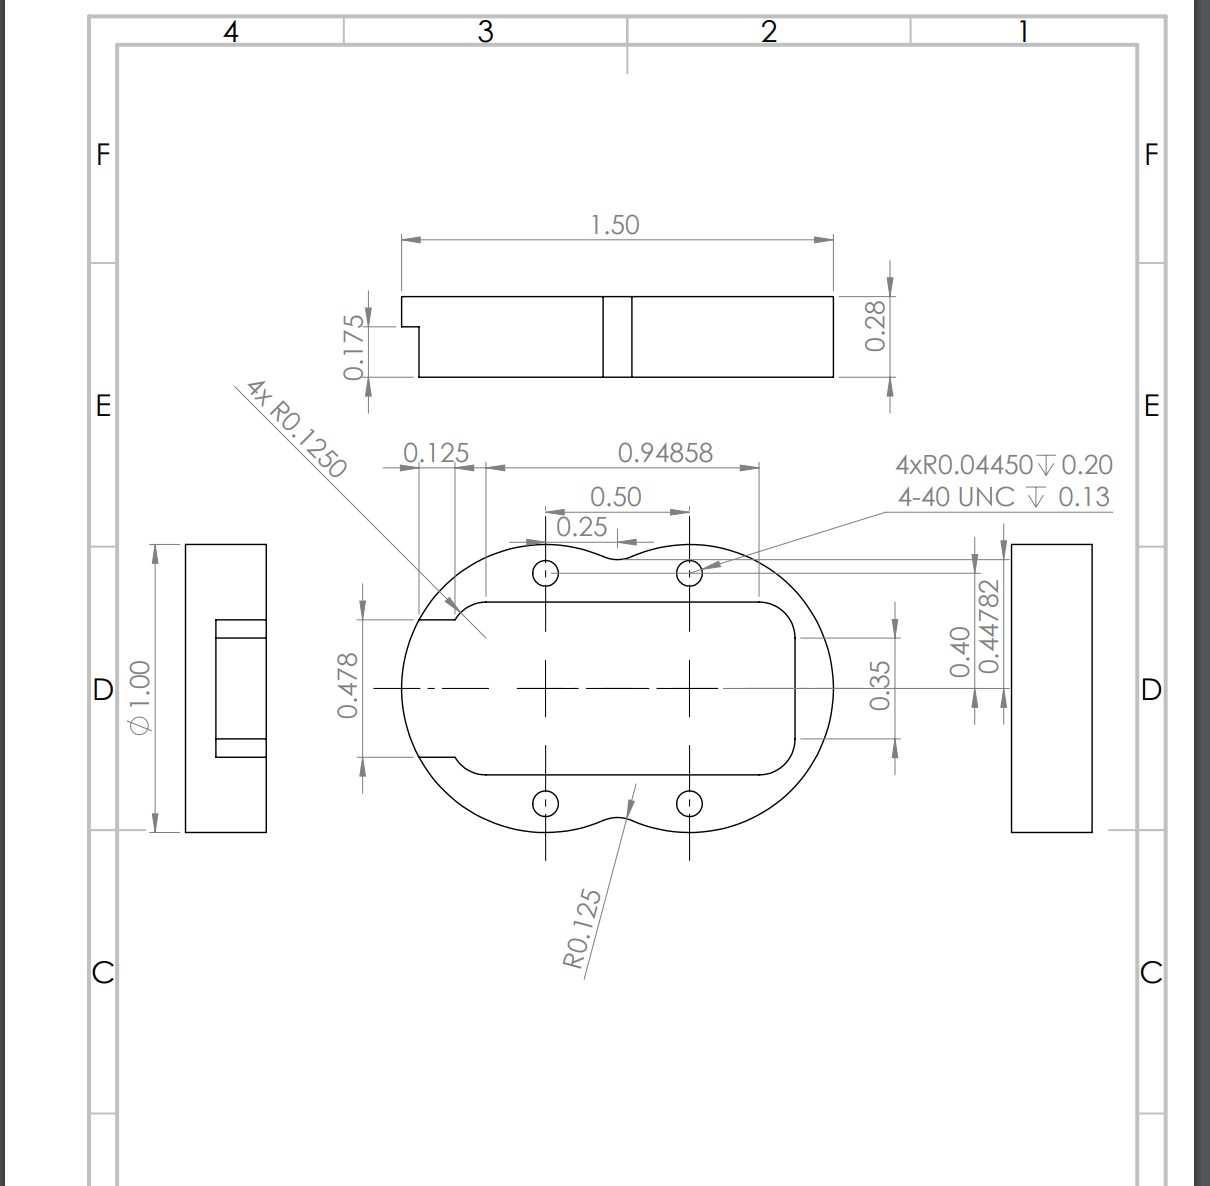
Base Drawings
I also learned how to create SolidWorks Drawings! Here’s the one for the base.
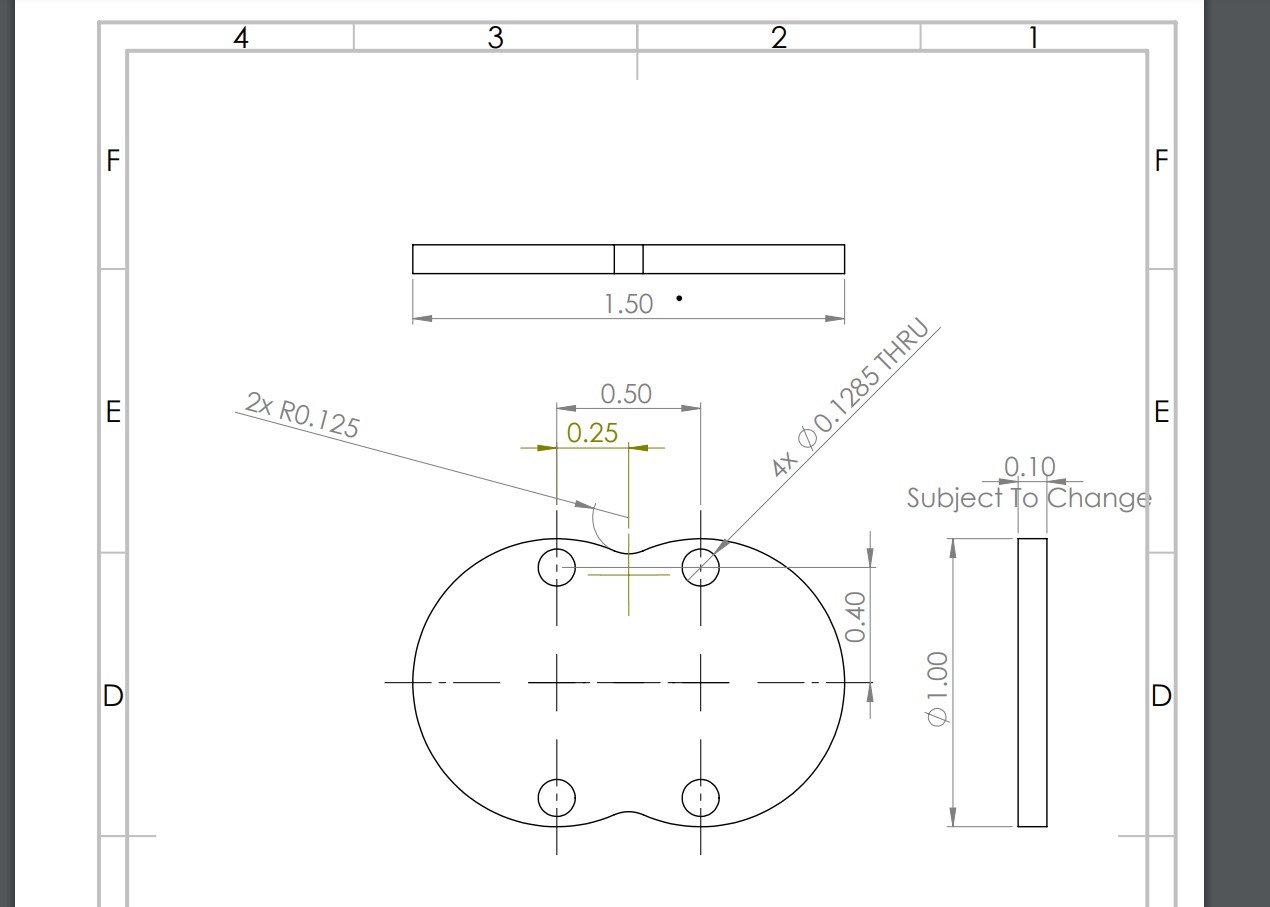
Cap CAD
And similarly, the drawing for the cap!

Taps and Dies
While I do not have images of the CNC Machines or the tapping of the holes, I can at least describe the manufacturing process, my role and what I learned. The entire operation was performed by a CNC Machine and a tap - the entire peanut was cut from a block of aluminum with dimensions 1.5in x 0.5in x 0.125in.
I programmed the CNC machine with Nick, our machinist, but the actual using of the machine and the tapping of the holes were done by the Nick because of his time constraints. The actually programming of the CNC was difficult because the part had a difficult geometry! The CNC uses X-Y Coordinate axes to describe its motion while my design was produced with polar coordinates in mind (a radius and angles of sweepage for the arcs) so I had to work with Nick to get the right numbers. All in all, after a quick deburr, the final product ended up great!
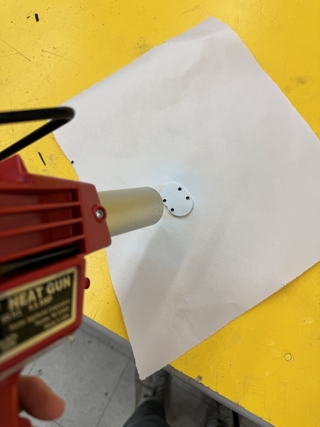
Drying the Omtech Laser Spray with a heatgun
Up last is the peanut etching! The etching was done using the Omtech Black Laser Marking Spray. A thin coat was applied to the Peanut Shell Cap (I’m drying it with a heatgun here) and a design was programmed into our Laser Cutter that made the Spray etch black. I then washed off all the leftover white coat with a little water, and it immediately came off, leaving behind the pattern!
Final Notes: The Flash Drive that fit into the Peanut was 16GB. It fits incredibly snugly into the channel dug for it - the flash drive is held in place due to the precise sizing of the head which just barely press-fits into the aluminum shell, precision we can achieve with a CNC machine.

