For this project, we were tasked with creating an item out of cast pewter. I chose to make a replica Porsche 992 GT3. The first step was to 3D print the original model (from google), create a press fit laser cut box using the skills we learned from the dice tower, and then set up the mold.
Nayan's Pewter Car
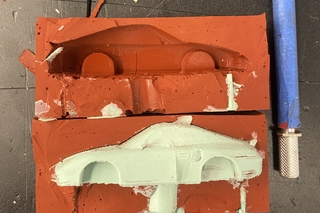
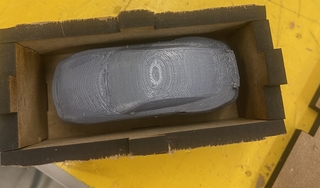
We practiced first making a mold in groups using a coin. We used a hot glue stick as the sprue, and 3D printer filament to create the vents. Shown here is my 3D printed car inside the laser cut box, ready to be filled with silicone! I attached a hot glue stick to the bottom of the car and attached that to the bottom of the box. I also had one vent each on the front and back of the car. The box is just big enough to fit the car so as to not waste material.
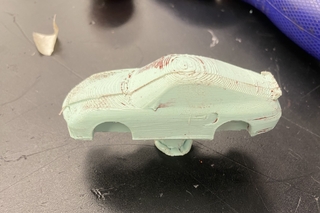
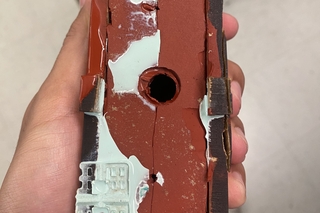
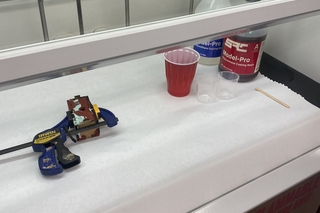
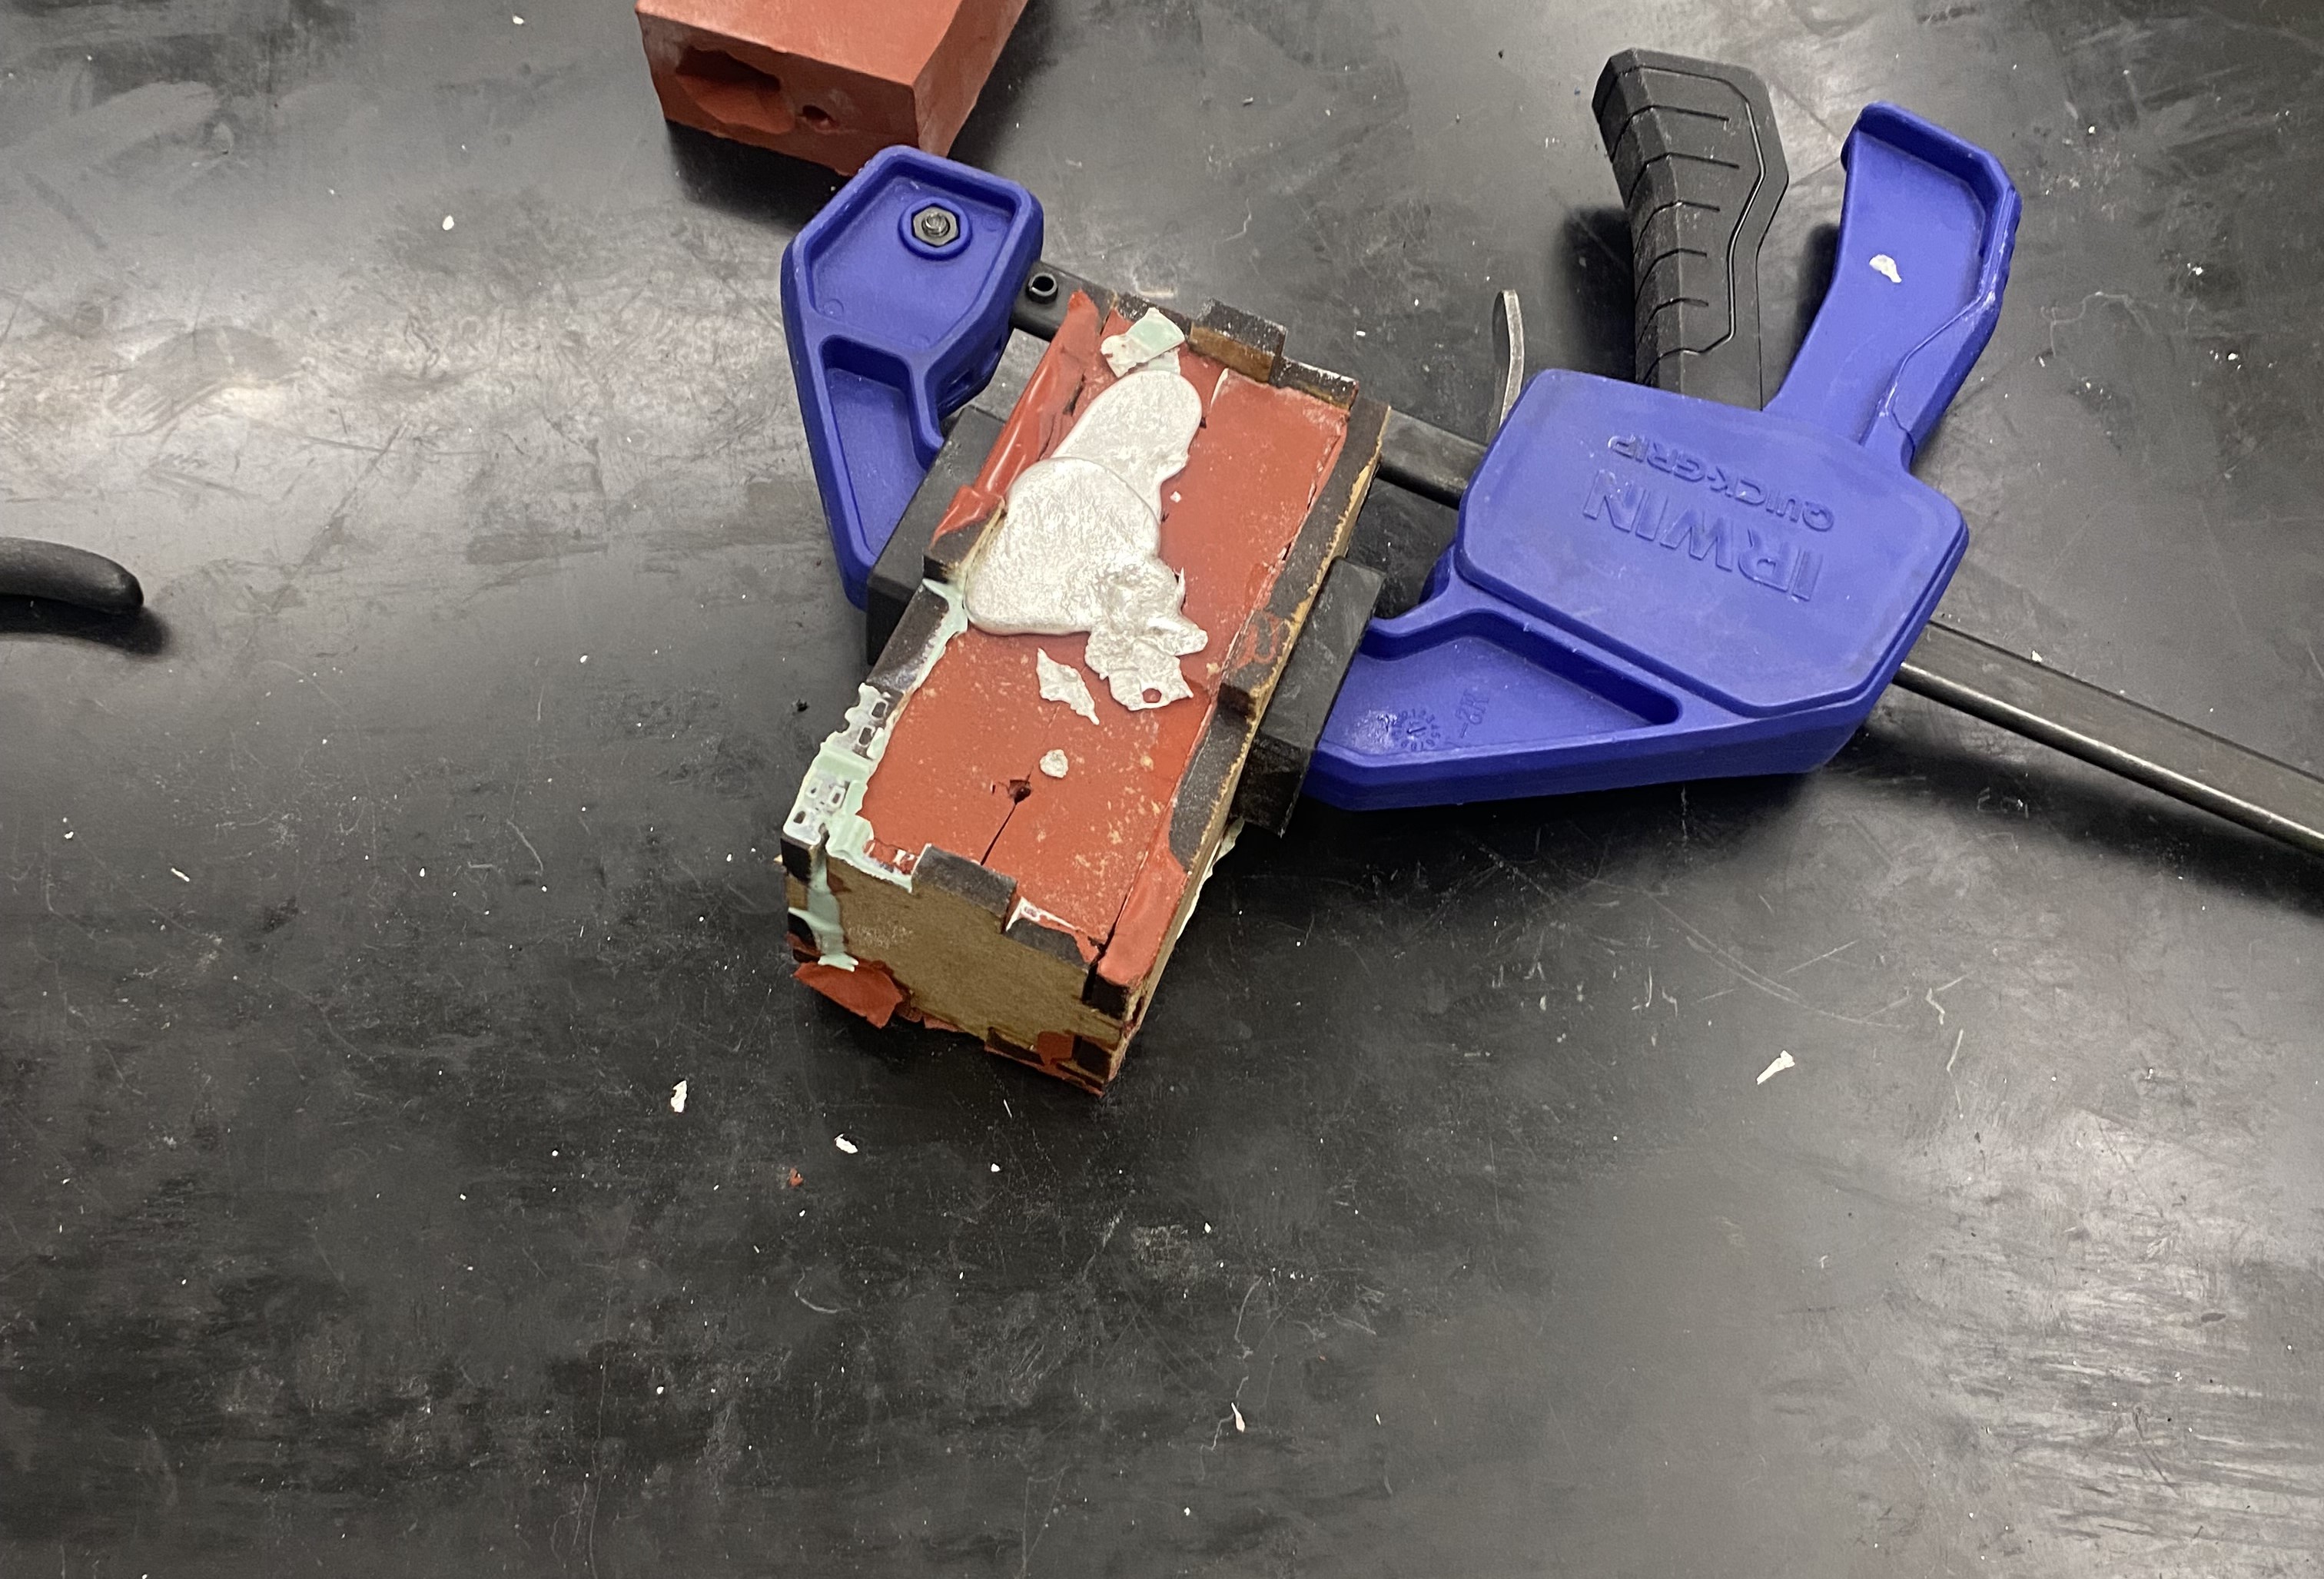
This is the process of the practice cast. The mold is made out of silicone that I poured around the original 3D printed model, let set, then cut in half to remove the original model. The box is used to hold the mold together with the help of clamps. We poured the urethane plastic under a fume hood for extra safety. It took about 15 minutes from time of pour to be fully hardened. Unfortunately, on this first attempt I had some uneven clamping, which created a rather large ridge on the top of the car and unevenness on the front. Overall, a very good first attempt as the mold did not break and the model came out with very good detail!
-
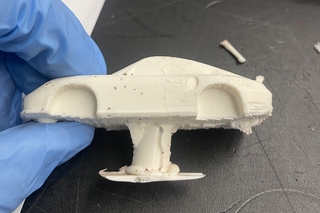
Sprue
The second attempt turned out much better! The protrusion in the middle is the sprue, and the small collections at front and back are the vents.
-
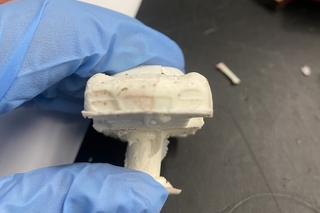
Detail
On this attempt, I focused on even clamping and the model turned out much better. The parting line is much less visible, and the detail up front is increased.
-
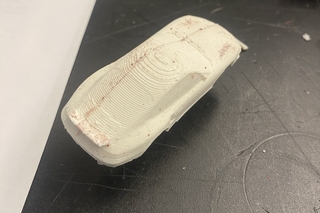
Parting Line
This angle shows the parting line where I cut the mold. At this point, I can’t do much about it except for sanding in post processing. My goal is to make it as small as possible in the final product.
-
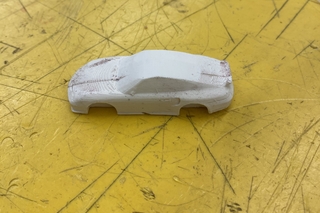
Post Processing
For practice before the final cast, I used a belt sander and band saw to remove the sprue, excess material on the base, and the parting line on the back. I think it turned out great!
Final Product!
Casting
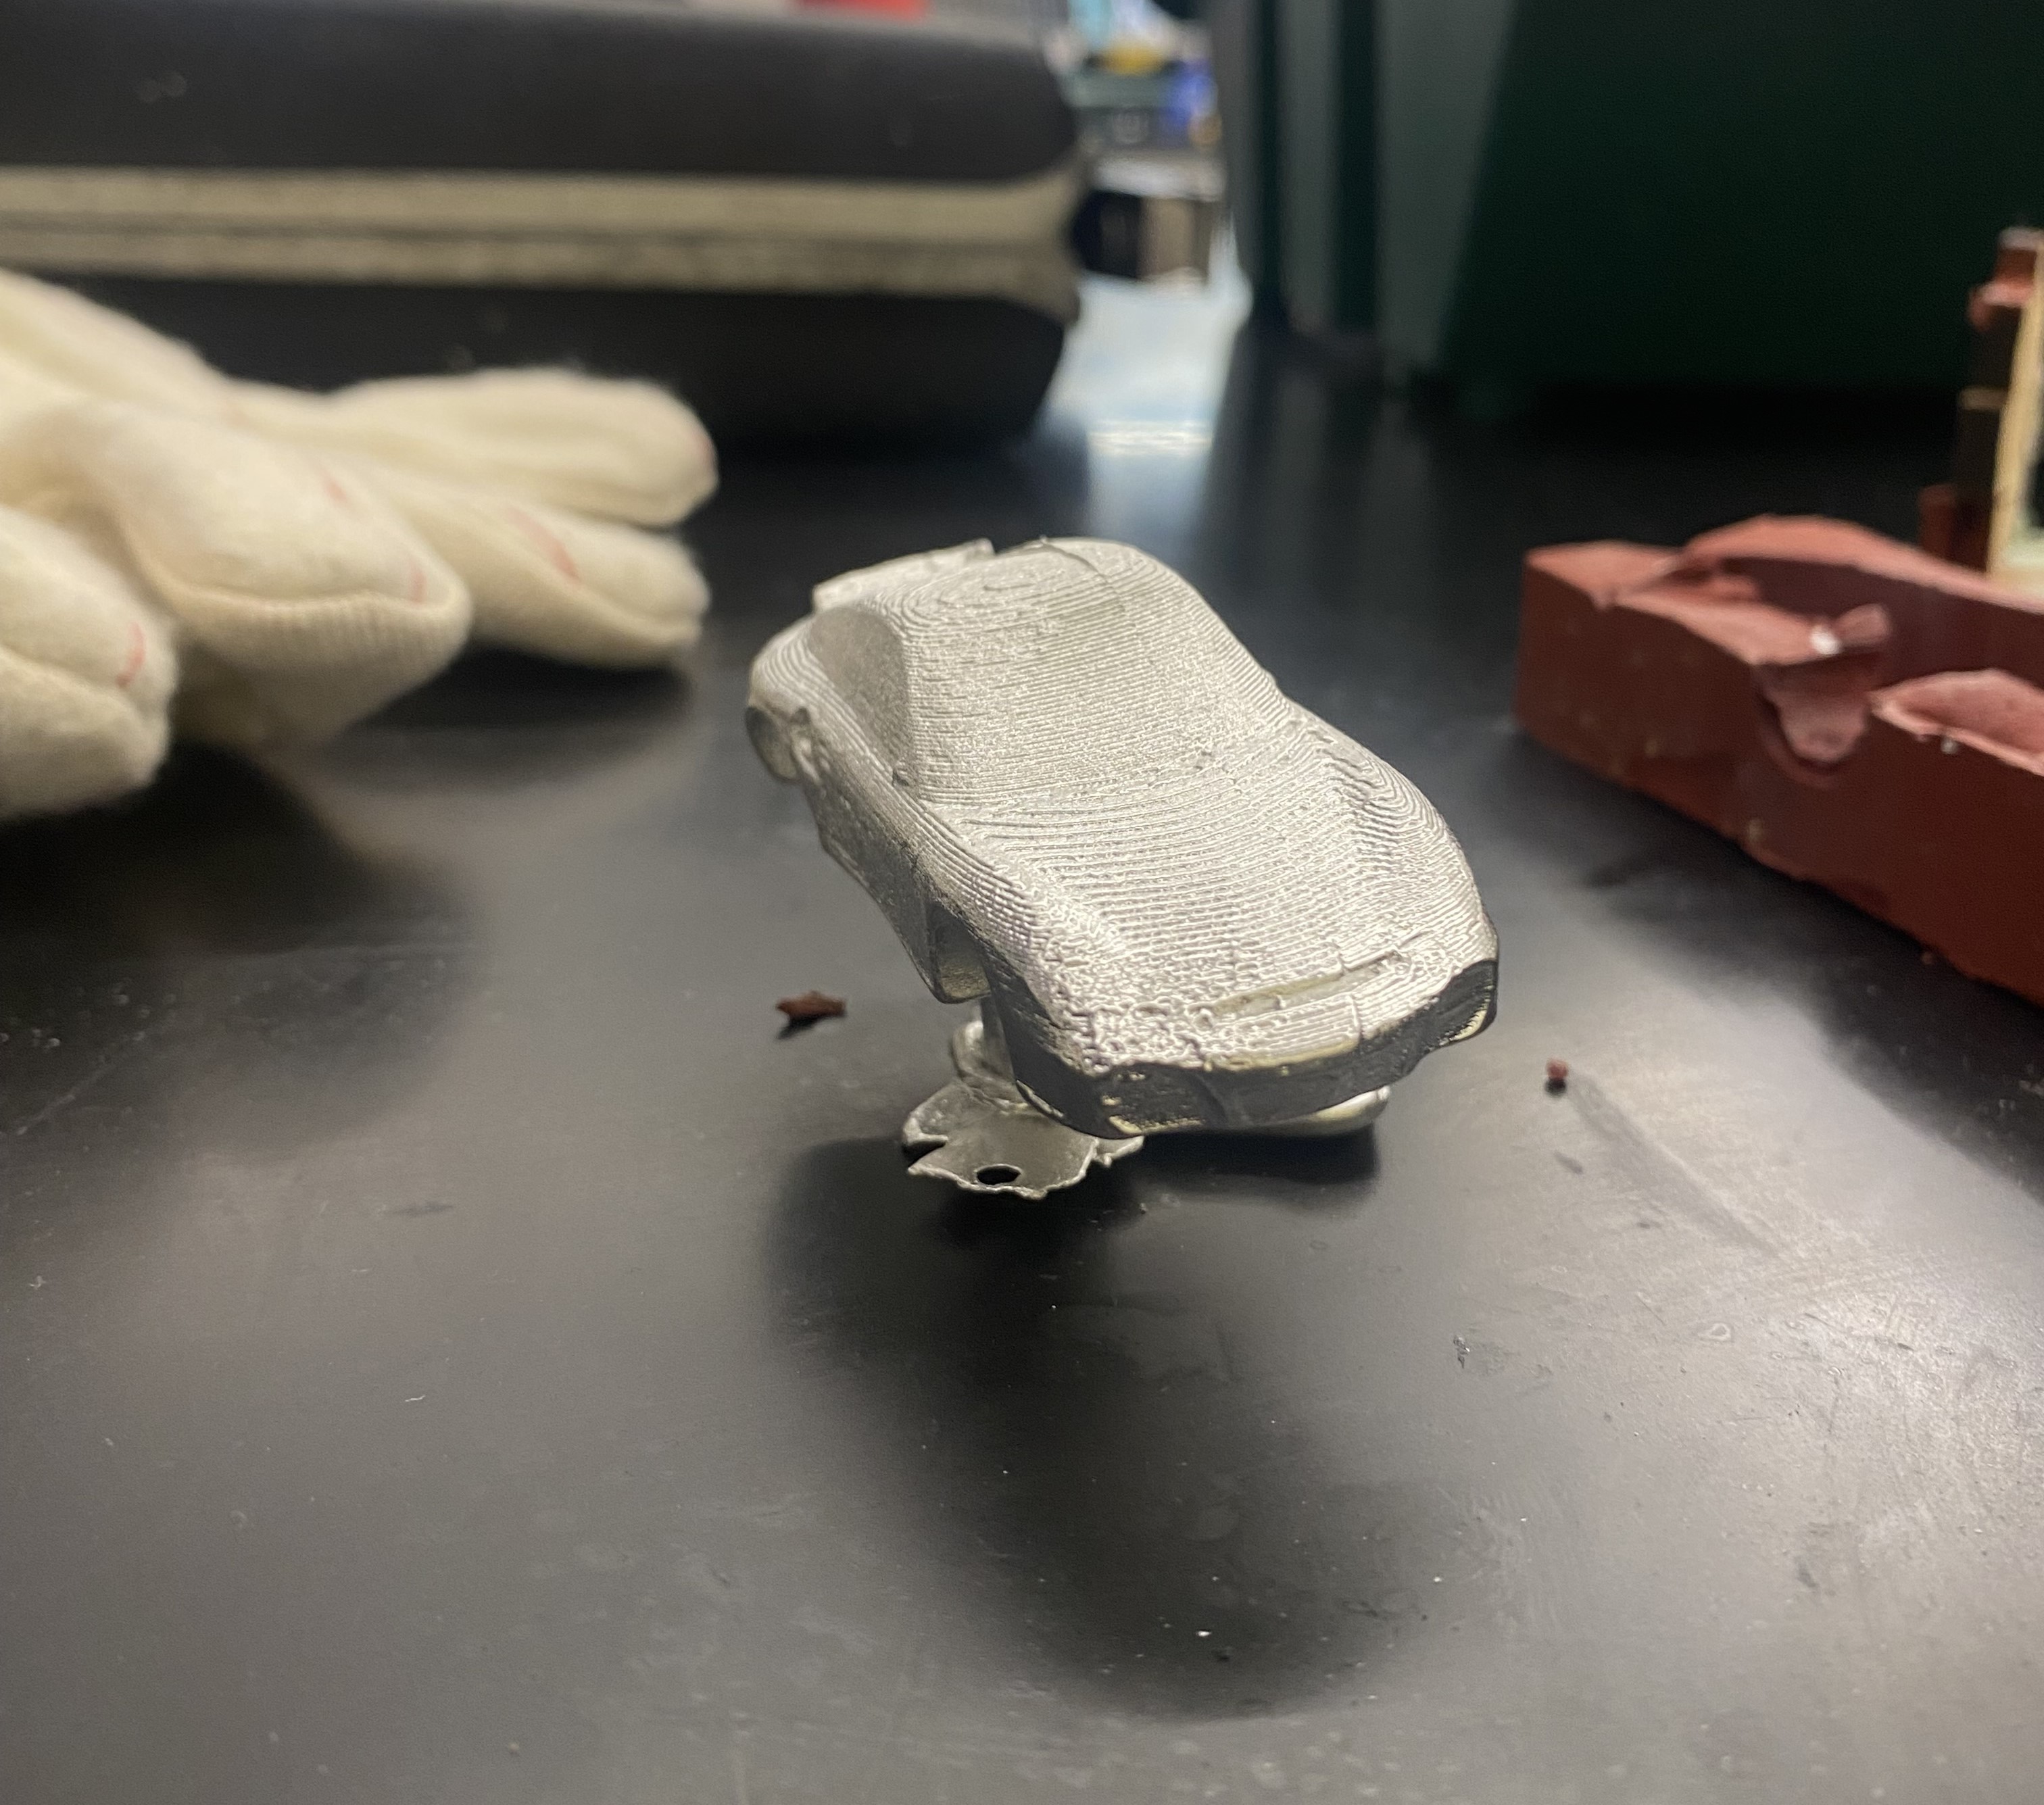
Coated the mold with a thin layer of baking soda, then quickly poured in the pewter. It cooled in about 5 minutes enough to remove the mold.
Removed
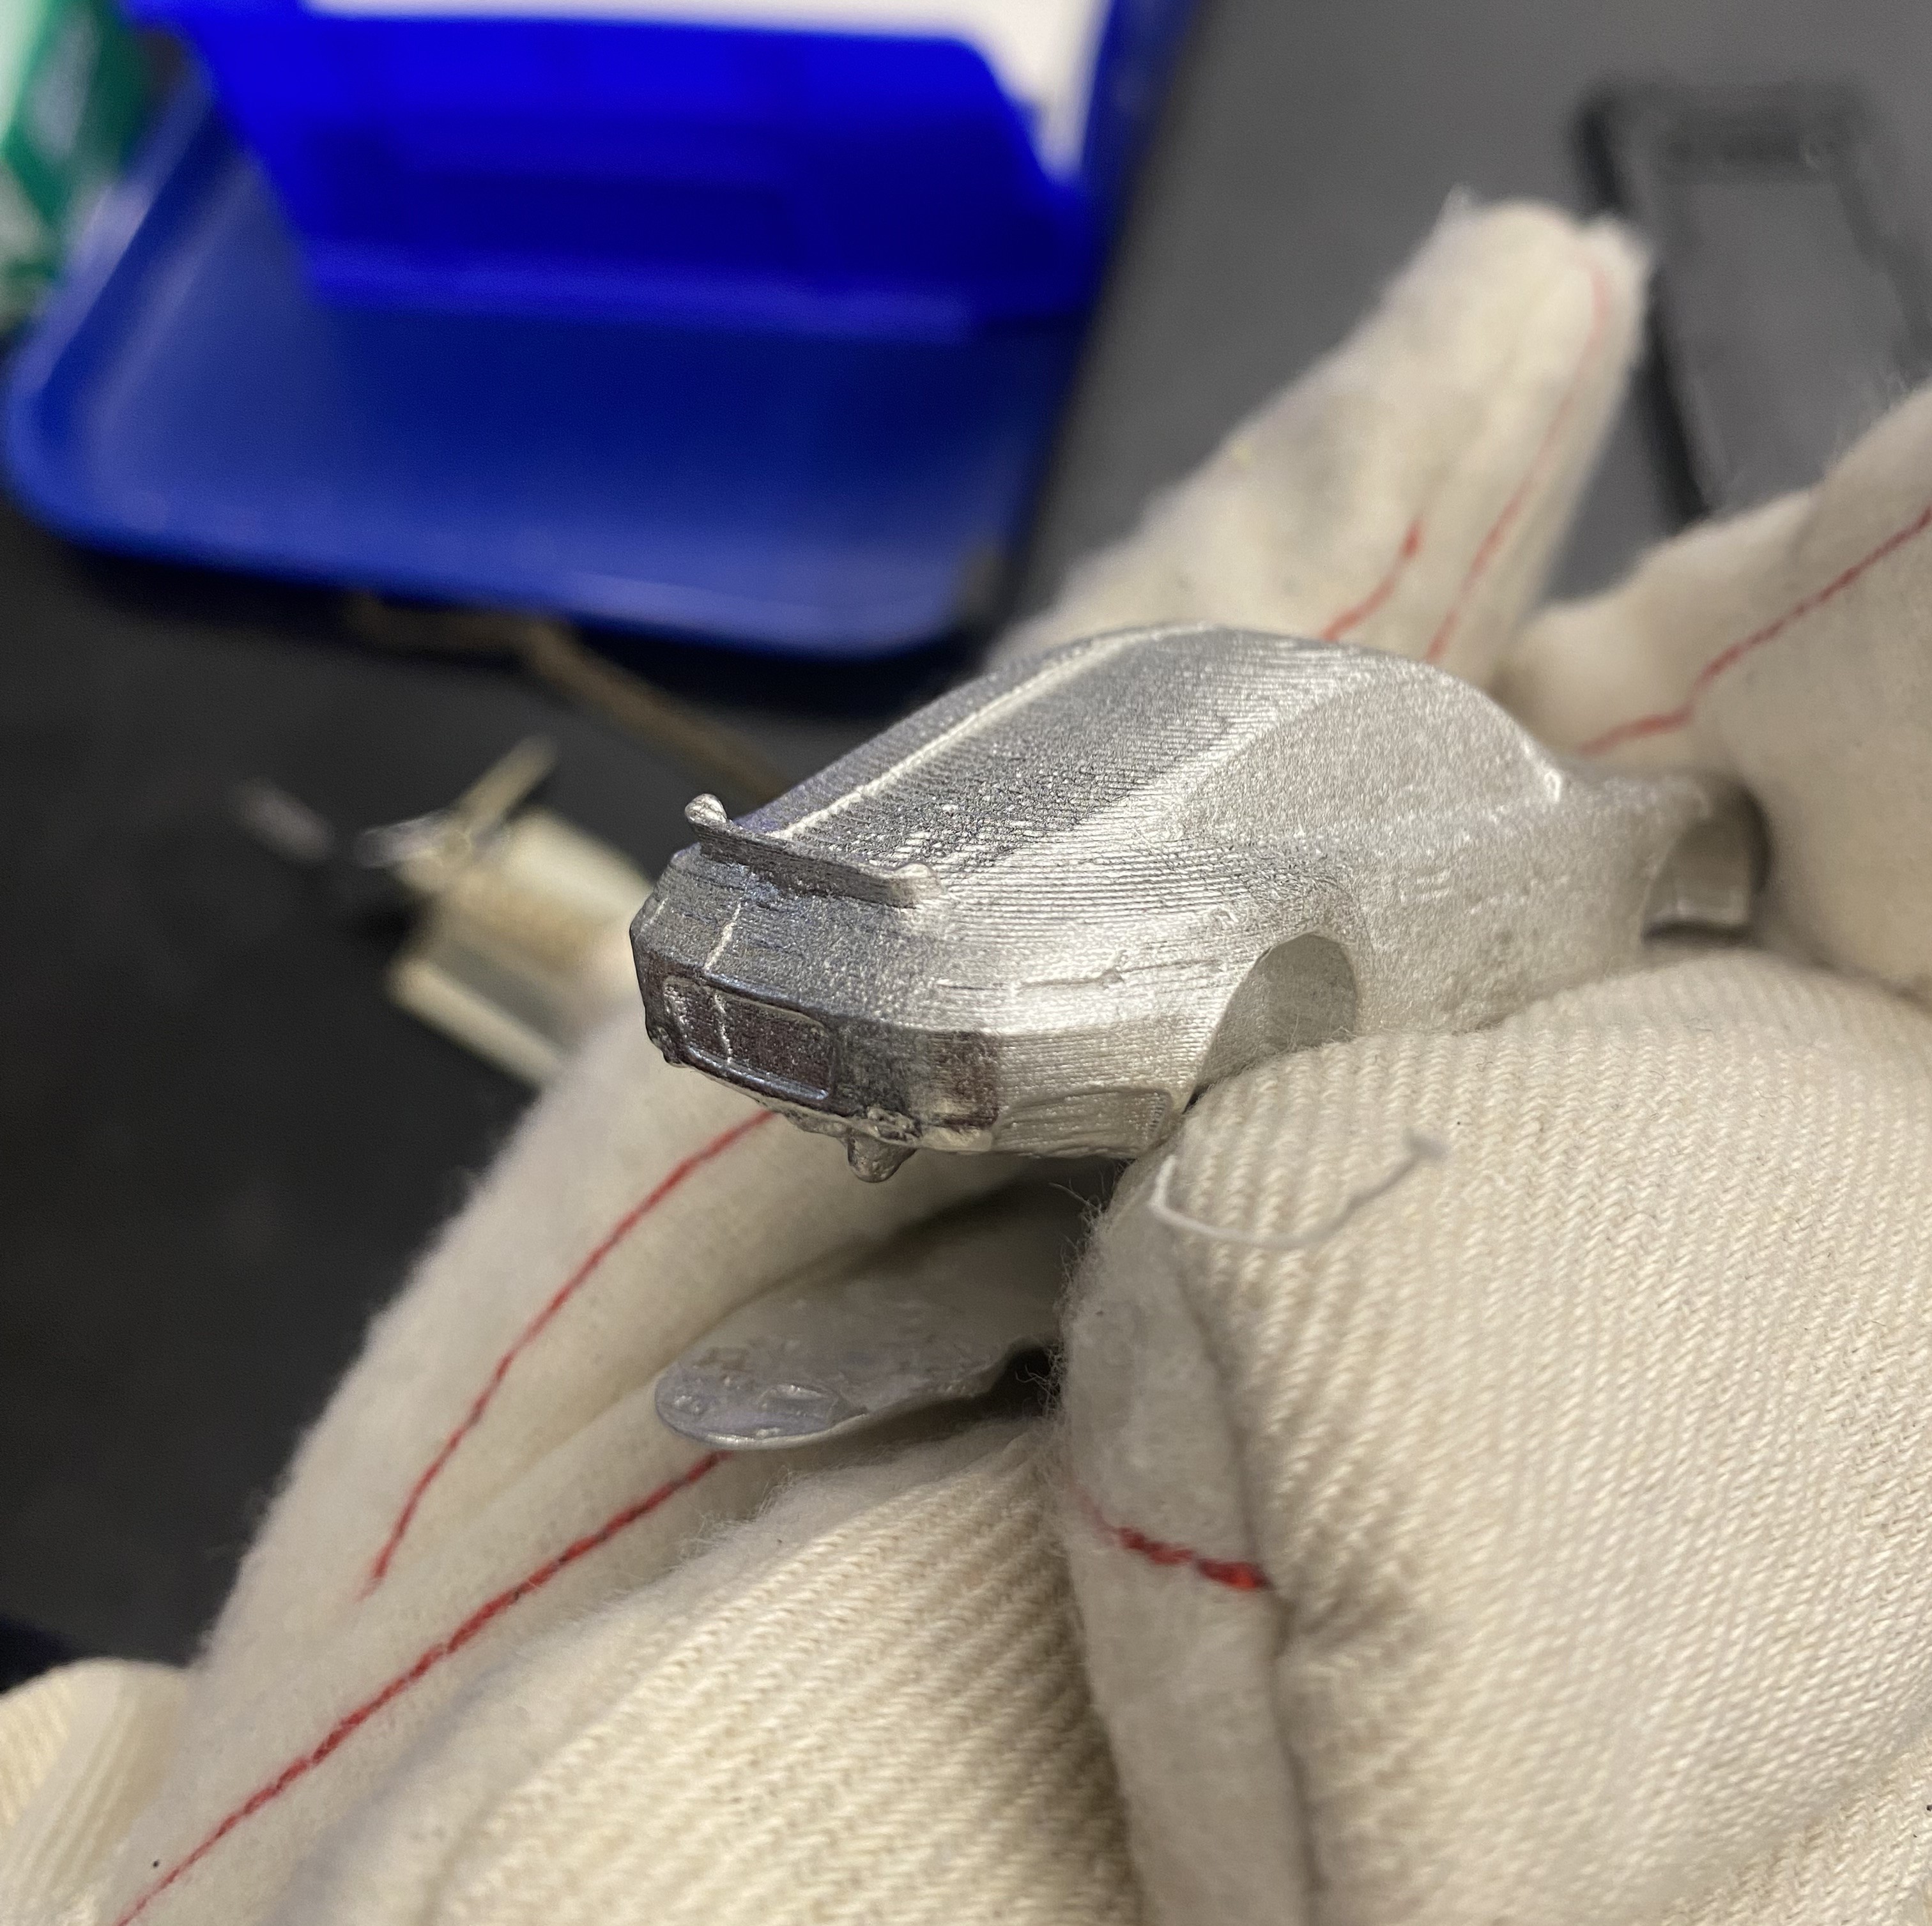
It turned out great! Once removed from the mold seeing the detail was pretty incredible.
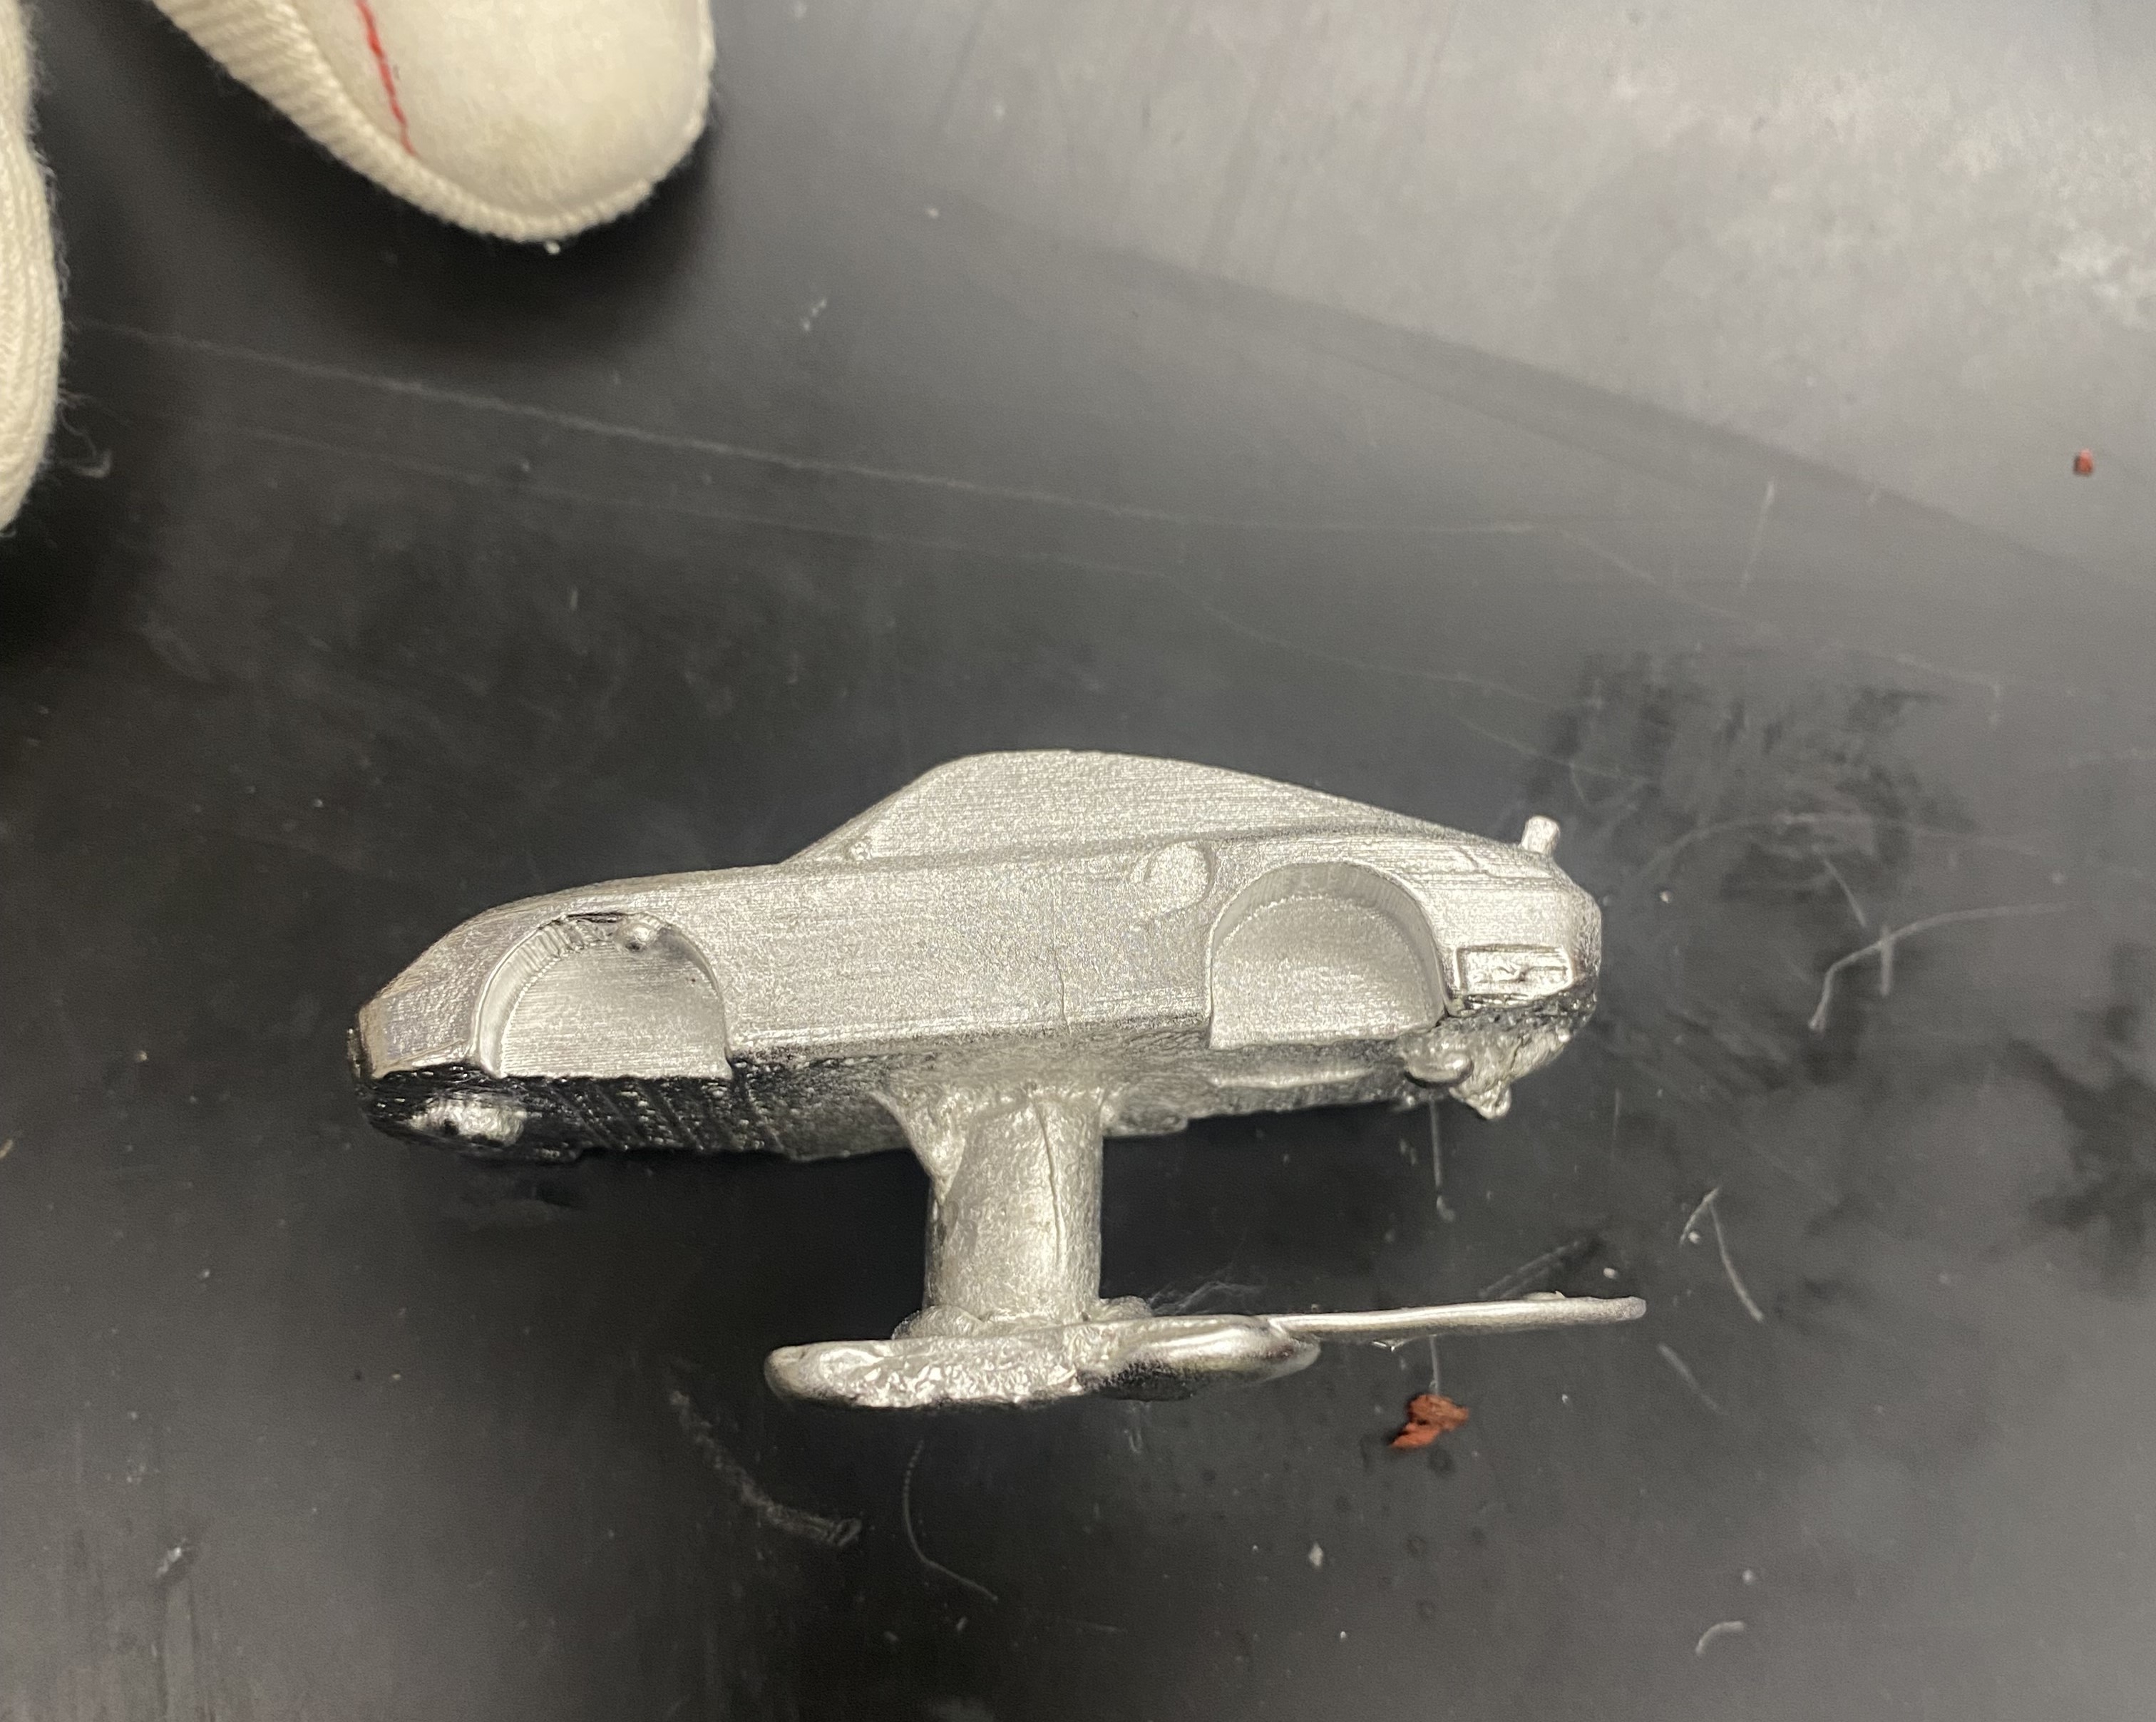
Excess
As you can see, there is quite a lot of excess on the bottom to clean up in post processing.
Parting line
The parting line here is slighlty bigger than I would have liked, but at least it did not effect the front of the car like the first plastic cast.
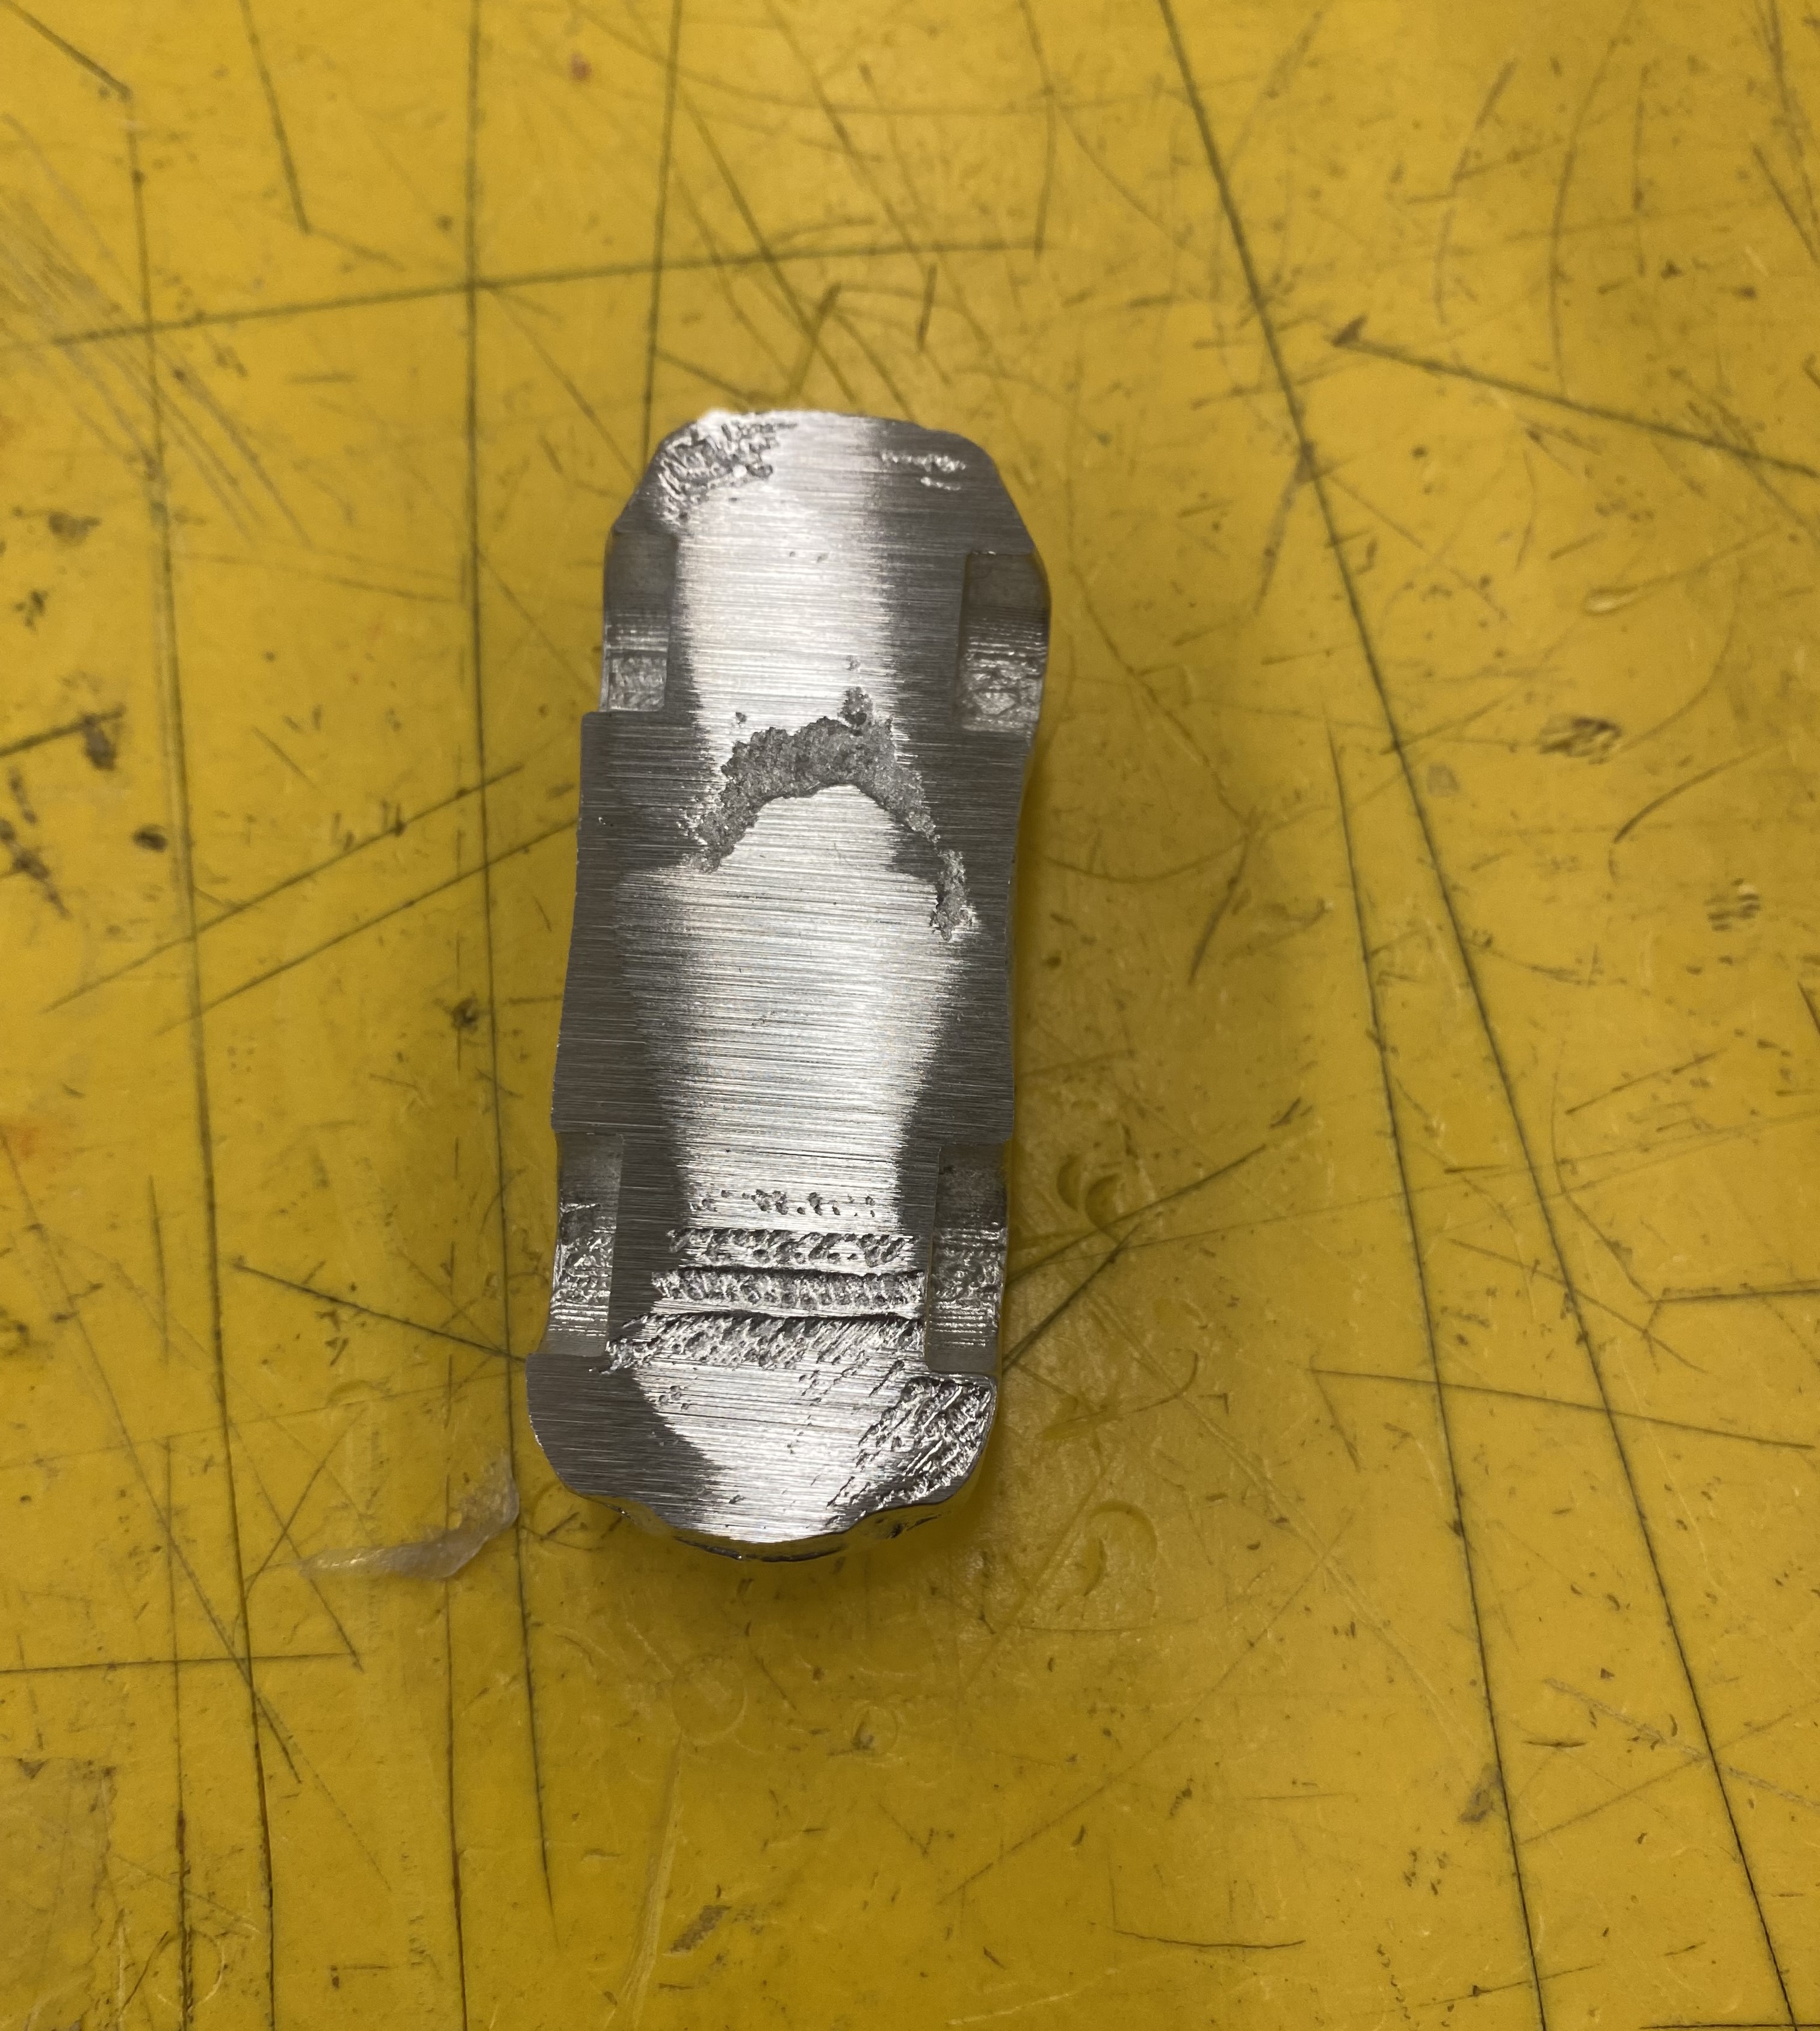
Flat bottom
Used a band saw to cut off the sprue, and a belt sander to smooth out the bottom. I tried to keep a little of the bowed nature of the car for authenticity.
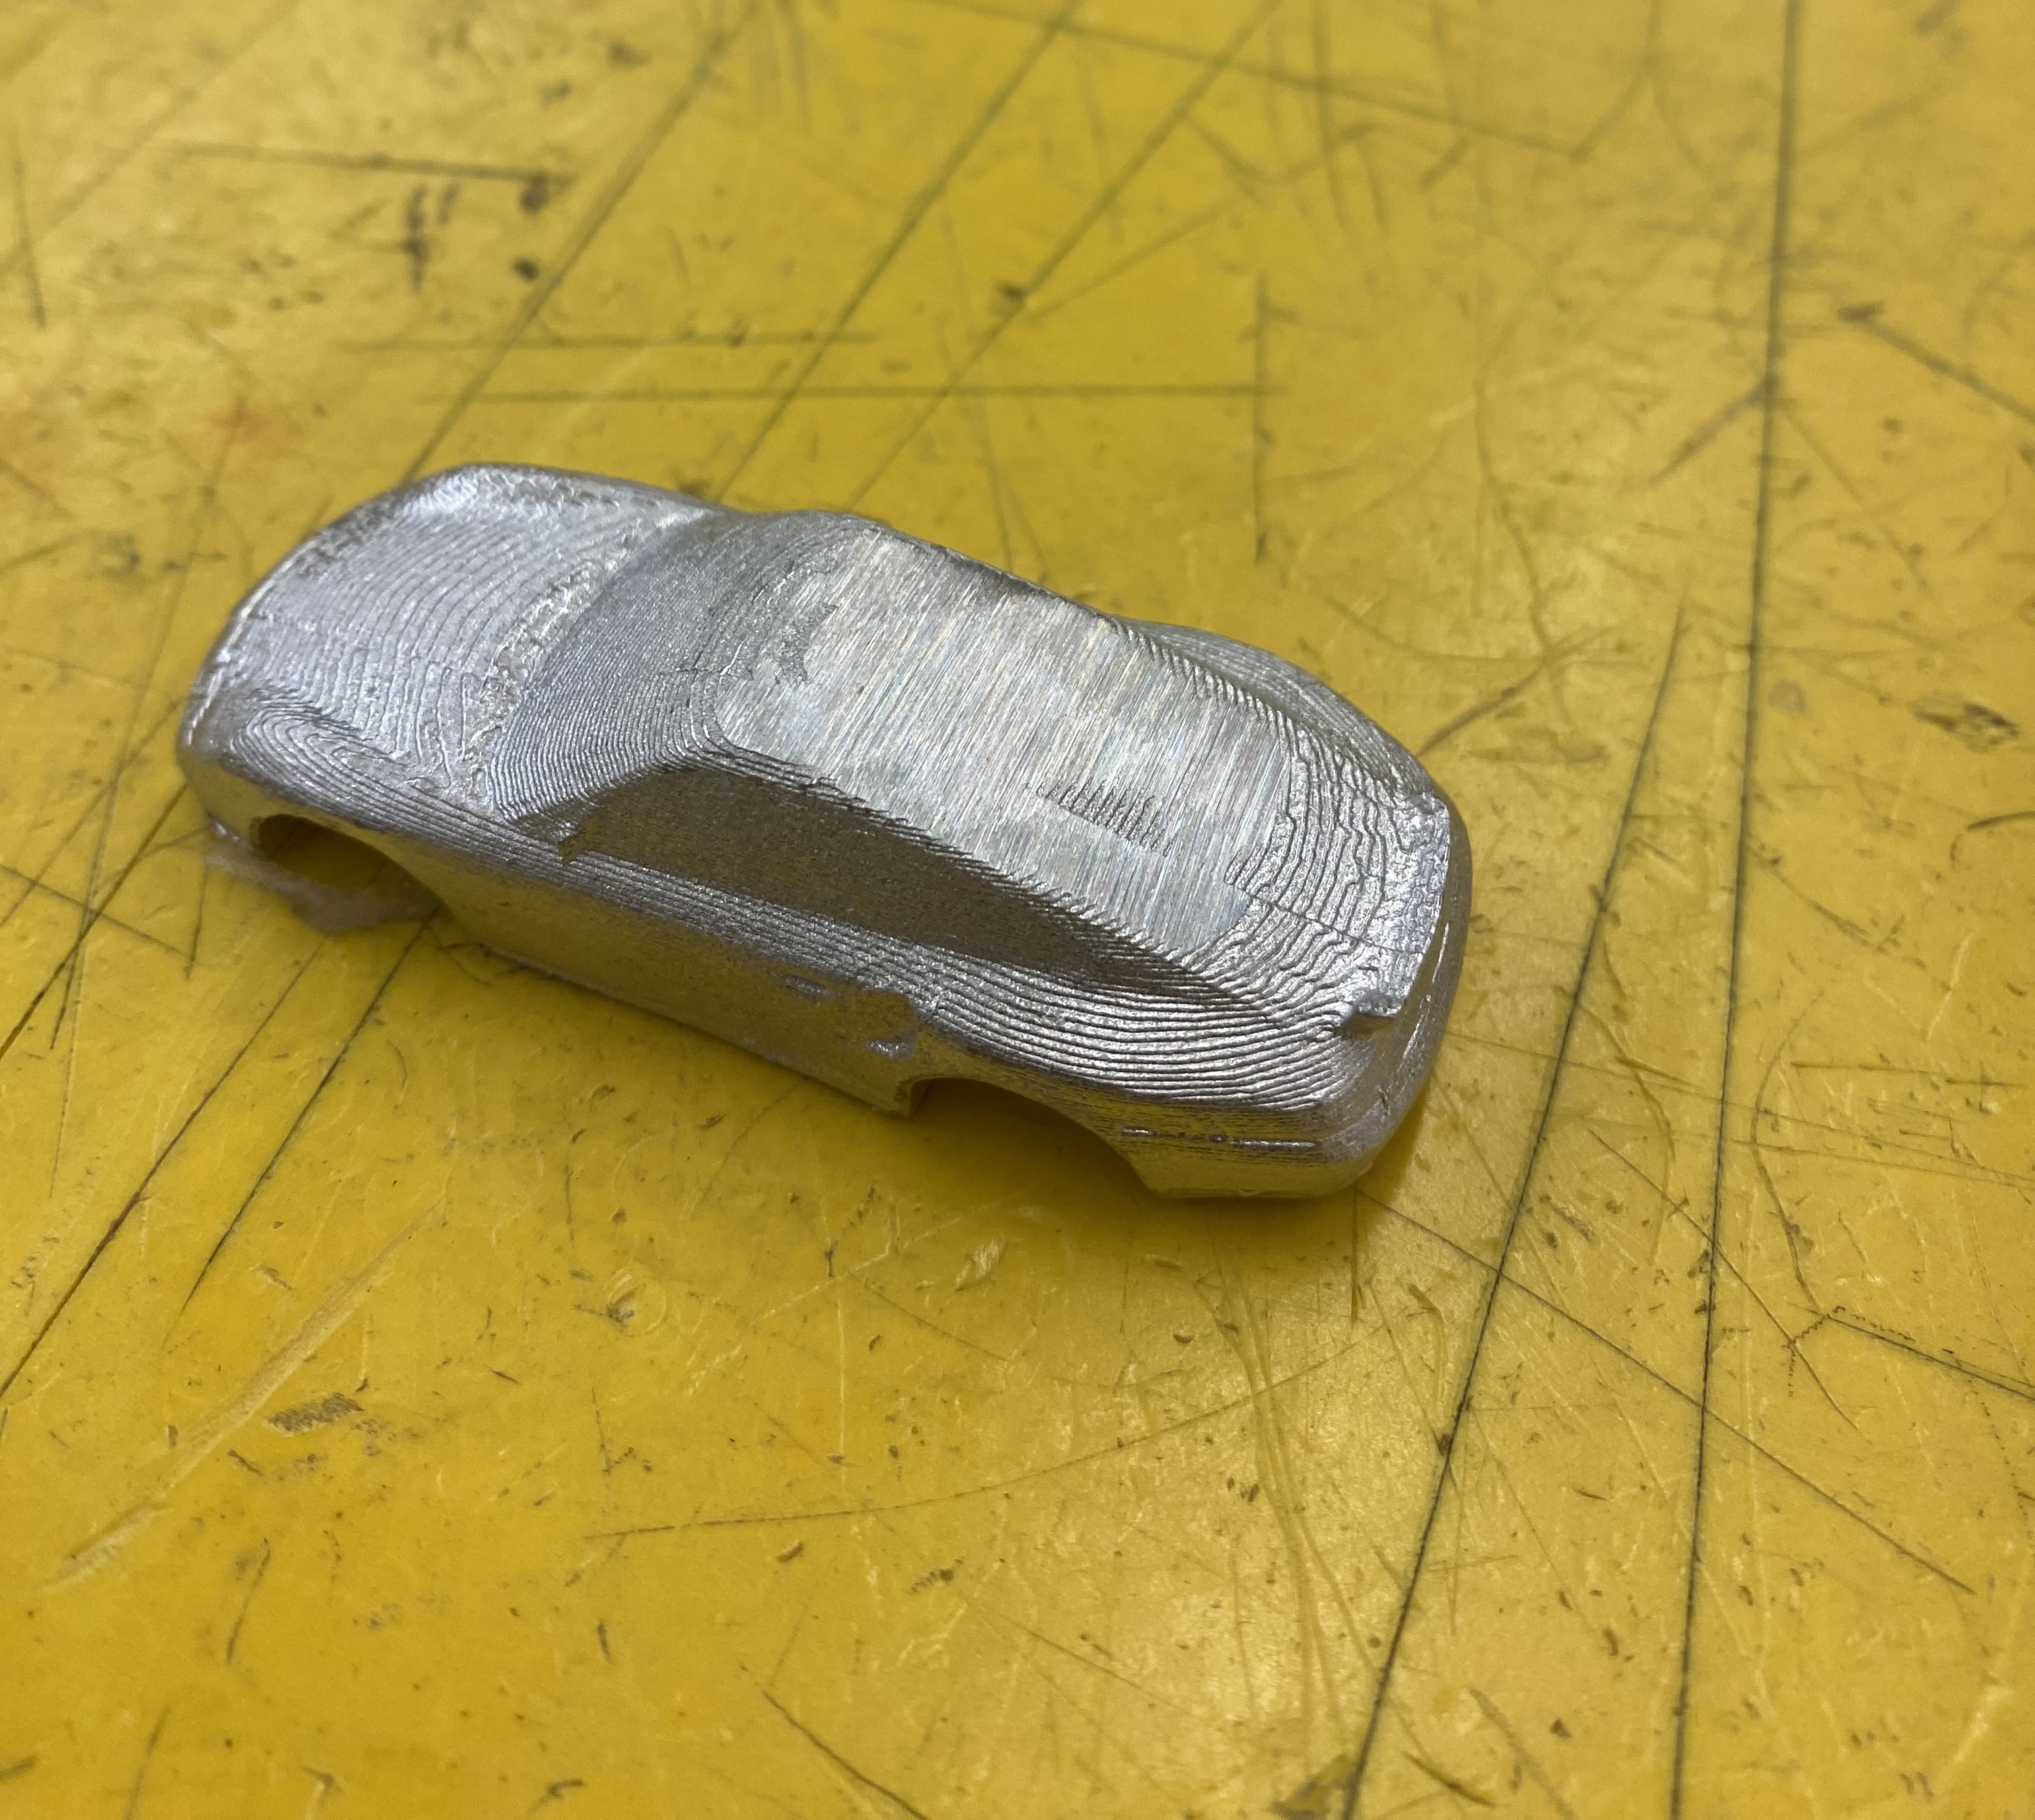
Finished product!
Final step was lightly belt sanding the back glass to get rid of the parting line. I think it turned out great! Its quite heavy, but very detailed. Next steps– maybe adding wheels…
Click on each image to get a little more info on the step by step process of creating the final product! Overall, a super fun project, and now I have a great paper weight. The original inspiration was a hot-wheels car, so maybe down the line I will add wheels.
